


TL;DR
For two windows, choose desktop tiling or classic Split View based on how you want them grouped.
- Drag a window to a screen edge or use the green window button for tiling.
- Classic Split View places both apps in a separate full-screen space.
- The labels vary by macOS version.
Sources: Apple’s current tiling guide · Split View guide
“Split screen” can mean two different things on a Mac: tile regular windows on the desktop, or use Split View to place two apps in a full-screen space.
Pick the result you want before choosing a green-button option. Many apps support Split View, but some apps do not.
How to Split Screen on a Mac
These current steps follow Apple’s macOS 27 Golden Gate and macOS Tahoe 26 guides. Menu names and features can differ on older releases.
1. Use the green button to tile windows or start Split View
Open the first app and move the pointer over the green button in the top-left corner of its window. Apple’s current guide calls the regular desktop layouts Move & Resize and Fill & Arrange.
If you want two regular windows side by side, choose a left/right layout under the window-tiling options, then place or tile the second app on the opposite side.
For a paired desktop layout, open Fill & Arrange from the green-button menu and choose the side-by-side arrangement shown for your macOS version.
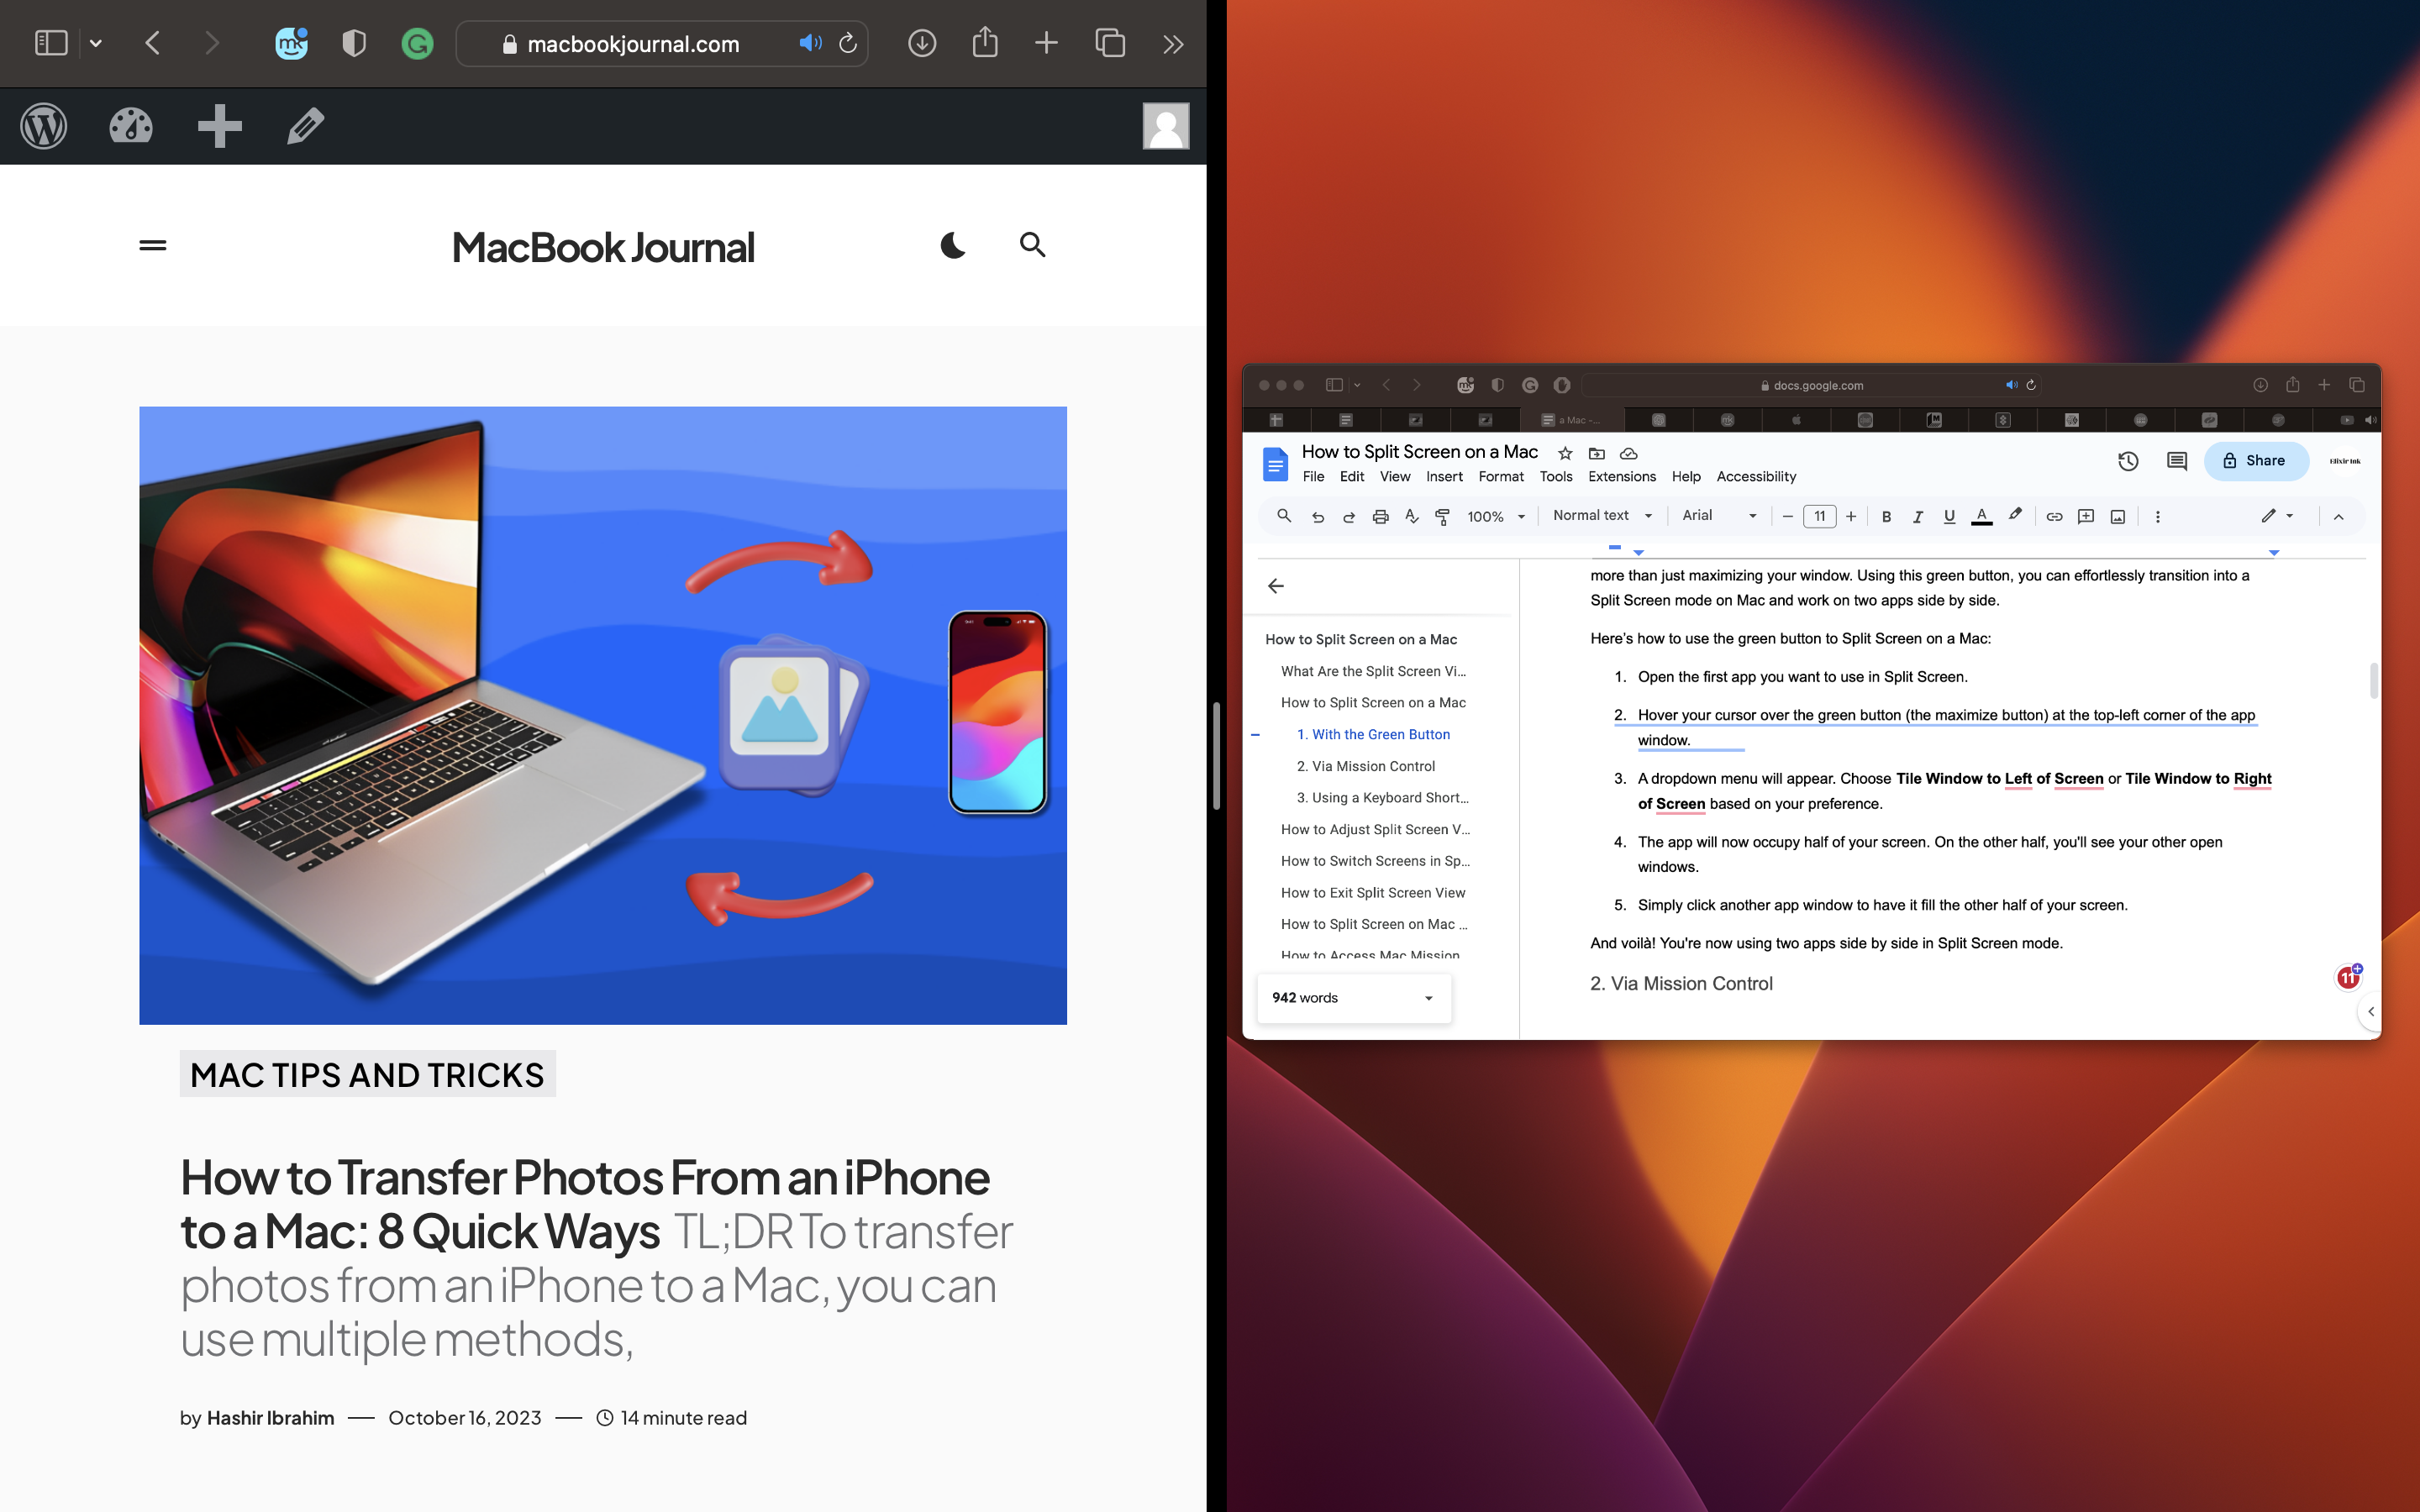
To use classic Split View instead, hold the pointer over the green button, then choose Full Screen > Left of Screen or Right of Screen. Click the second app on the other side.
The pair opens in its own desktop space; move the pointer to the top edge to reveal the menu bar and window controls.
Keyboard shortcut: Apple lists window-tiling shortcuts such as Fn-Control-Left Arrow and Fn-Control-Right Arrow for moving an active window to a desktop half. These tile a window.
They are not a dedicated shortcut that automatically pairs two apps in Split View. See Apple’s window-tiling shortcut list.
Older screenshot: The following green-button screenshots were captured in an earlier macOS interface. Use them to recognize the control and general choice; their menu wording may not match macOS 26 or 27.



2. Pair apps through Mission Control
Use Mission Control when both apps are already open or when you want to pair a window with a full-screen app.
- Open both apps.
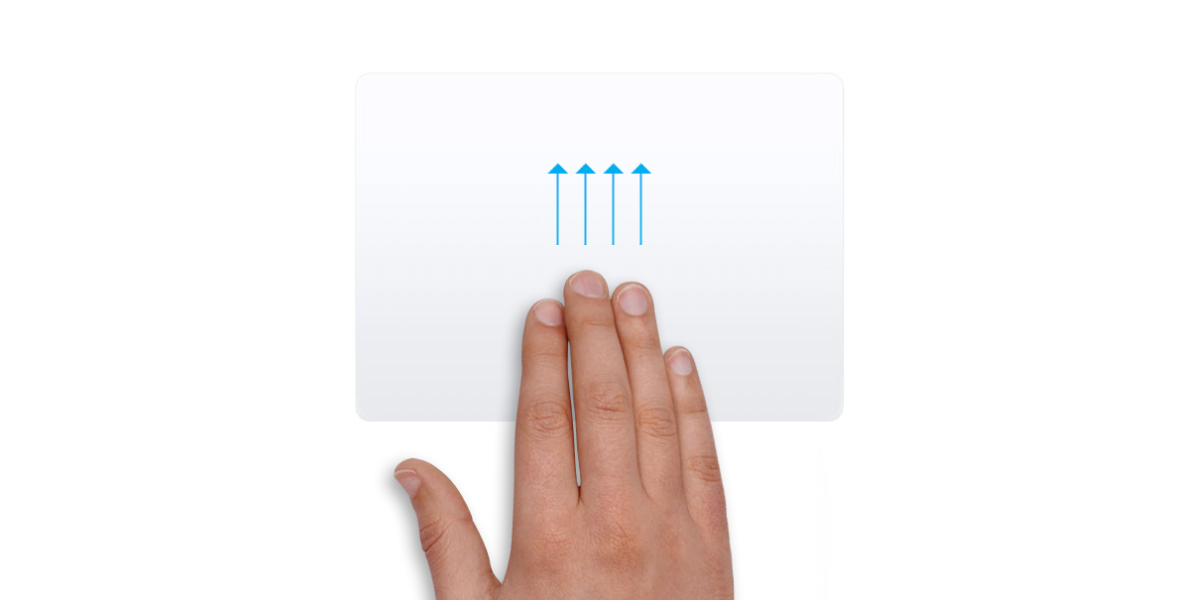
- Press Control-Up Arrow, or swipe up with three or four fingers on a trackpad, to open Mission Control.
- Drag a window from Mission Control onto the thumbnail of a full-screen app in the Spaces bar. You can also drag one app thumbnail onto another.
- Select the resulting Split View space in the Spaces bar. The two apps appear together in that full-screen space.
Apple documents this Mission Control route in its Split View instructions. The shortcut opens Mission Control; it does not by itself split the screen.
Older screenshot: These Mission Control screenshots show an earlier macOS interface. The Control-Up Arrow shortcut and the drag-to-pair idea remain documented by Apple; the Spaces bar may look different now.

Adjust or leave Split View
In Split View, drag the divider between the two apps left or right to give one side more room. Apple says you can double-click the separator to return to equal sizes.
The following divider image and clip show an earlier macOS interface.

To move one app out of Split View, move the pointer over its green button and choose Move Window to Desktop. The remaining app stays in its full-screen space.
To leave full screen for an app, move the pointer over its green button and choose Full Screen > Exit Full Screen. The other app may remain in its own full-screen space.
You can return to the Split View space from Mission Control or the Spaces bar. Apple documents these controls in its current Split View guide.
Window tiling versus Split View
Window tiling keeps windows arranged on the desktop. You can still see and use the desktop and Dock, and current macOS offers halves and other arrangements.
Split View pairs two supported apps in a separate full-screen desktop space. If you want a quick side-by-side working layout without switching spaces, choose a tile layout.
If you want the classic full-screen pair, choose the Full Screen option.
Frequently Asked Questions
How do I split screen on a Mac?
On macOS 26 or 27, drag a window to the left or right screen edge until the highlighted tile appears, then release it and place a second window on the other side.
For classic Split View, use the green button and choose Full Screen, then Left of Screen or Right of Screen.
What is the shortcut for split screen on a Mac?
Apple’s published shortcut list does not show a single key combination that automatically pairs two apps in Split View.
It documents Fn-Control-Left Arrow and Fn-Control-Right Arrow for tiling the active window into a desktop half.
Control-Up Arrow opens Mission Control, where you can pair windows for Split View.
How do I put two Mac windows side by side without full screen?
Use window tiling: drag the first window to a screen edge or use the green-button layout under Move & Resize, then tile the second window on the other side.
Avoid the Full Screen option if you want to stay on the desktop.
Can I use more than two windows on a Mac?
Classic Split View pairs two apps. macOS 27 also provides window-tiling layouts for multiple windows.
Open Fill & Arrange and choose a layout shown on your Mac; available layouts can differ by macOS version.
Why can’t I use Split View with an app?
Apple notes that some apps do not support Split View. Try regular window tiling instead, or check the app developer’s instructions. Menu labels also vary between macOS versions.
Affiliate disclosure: MacBook Journal may earn a commission when you buy through links on this page, at no extra cost to you.
More Mac shortcuts
- Mac trackpad gestures for opening Mission Control.
- Copy and paste on Mac while working between apps.
- If you need to adjust a mouse action, see how to right-click on a Mac.
For details about how the steps are checked, read our editorial process.
How helpful was this article?
Your feedback helps us improve our guides.