TL;DR
To clear system data on your Mac:
- Delete cache and temp files from ~/Library/Caches/.
- Remove old iOS backups from ~/Library/Application Support/MobileSync/Backup.
- Clear app leftovers from /Library/Application Support and /Library/Preferences.
- Use the Console app to clear unnecessary system logs.
- Delete local Time Machine snapshots via Terminal.
Tried and Tested ✅: The methods and steps mentioned in this article have been tried and tested firsthand by Ojash Yadav on his MacBook Pro M3 and rechecked for errors on Hashir’s MacBook Air M2.
If your Mac is running slow, it could be due to system data buildup. In this post, I’ll show you simple steps to clear system data on your Mac to free up space and boost performance.
8 Easy Ways to Clear System Data on Your Mac
Why You Can Trust MacBook Journal ![]() We always conduct first-hand research and verify every method or solution we present, ensuring you receive reliable and effective advice. Learn more about our process.
We always conduct first-hand research and verify every method or solution we present, ensuring you receive reliable and effective advice. Learn more about our process.
Below, I’ve shared simple and safe ways to clear system data on your Mac:
🚨 Be careful when deleting or changing system data—it can cause serious Mac performance issues if done without proper knowledge.
Before We Begin
Clearing system data can take time if you do it file by file. Instead of searching through cache folders and logs manually, you can use MacKeeper to scan for junk, old logs, cache files, and leftover items in one go. It makes the cleanup process faster and safer.
1. Clear System Data on Your Mac Using MacKeeper
You can easily clear out unnecessary system data on your Mac using MacKeeper. It can help improve performance, free up storage space, enhance privacy, and maintain a healthy and efficient system.
To clear system data on your Mac using MacKeeper, you can follow these simple steps:
- Download and install MacKeeper on your Mac.
- Launch the app and open Safe Cleanup from MacKeeper’s Cleaning section.
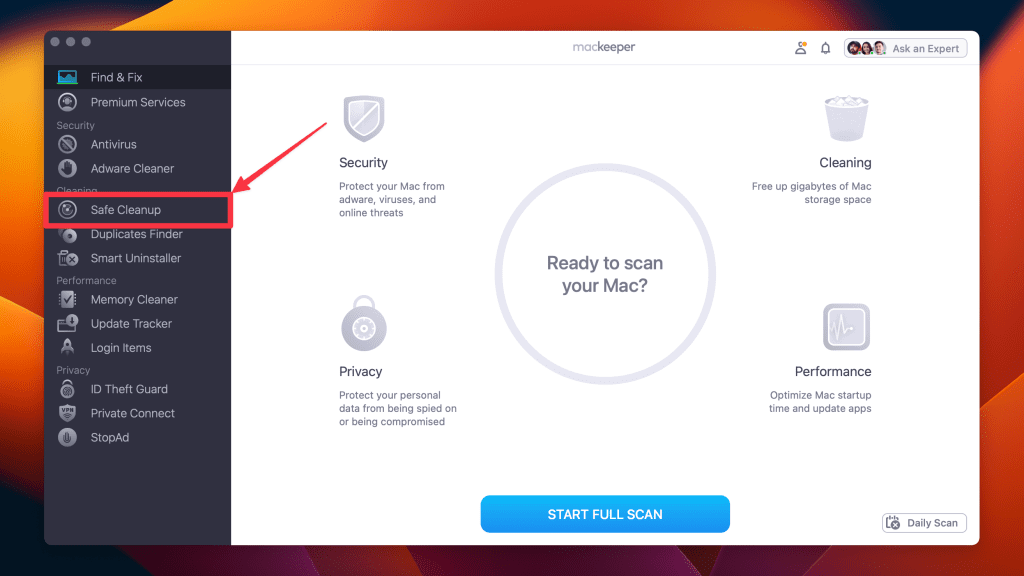
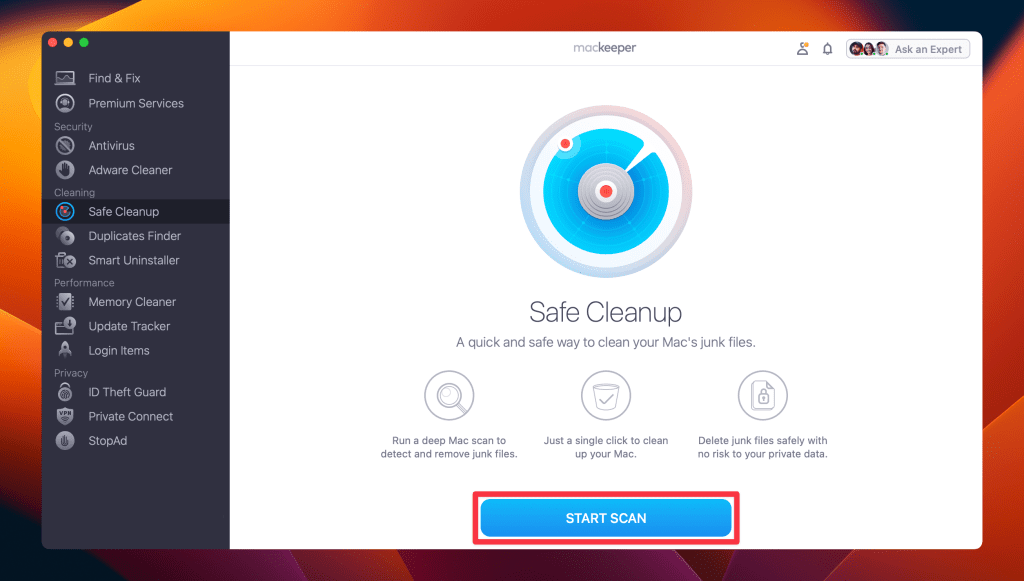
- Click Start Scan.
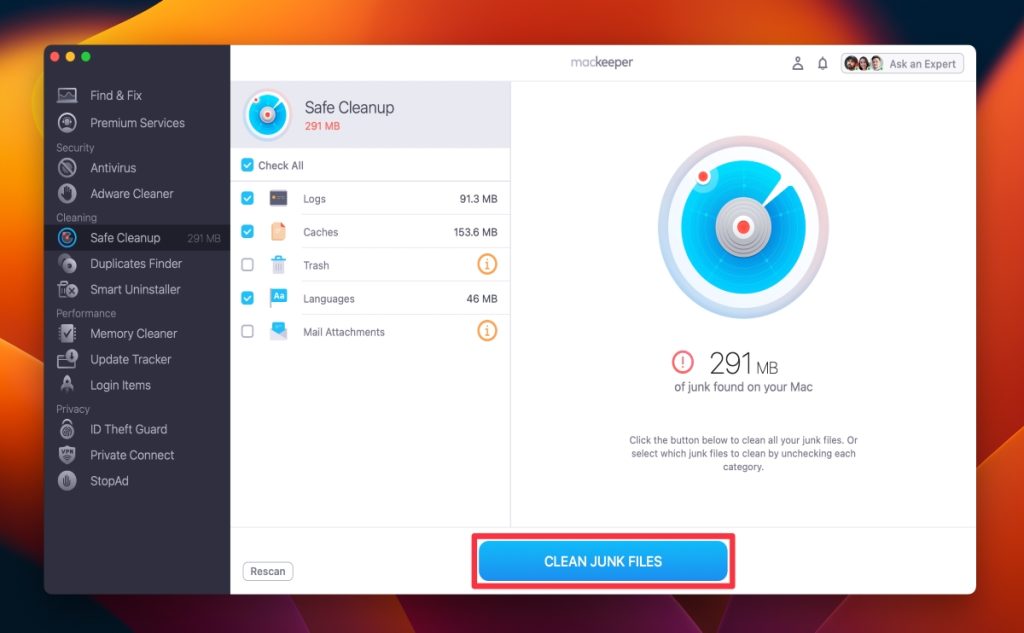
- Select the files you want to remove, such as logs and caches, or click Check All.

- Click Clean Junk Files.
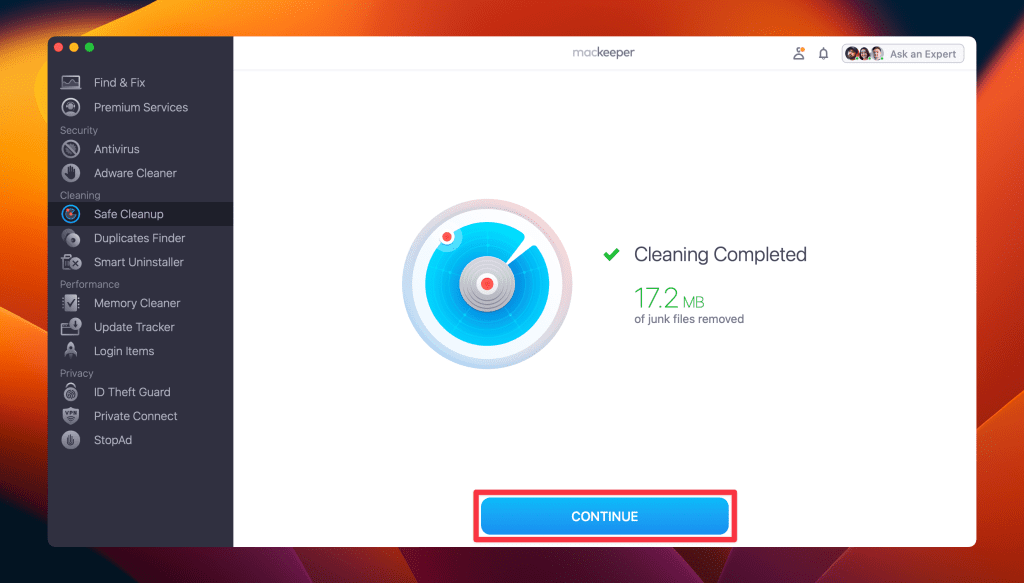
- Wait for MacKeeper to remove the selected system data. It may take some time, depending on how much data needs to be deleted.
- Once the selected junk files are removed from your Mac, you can click Rescan to repeat the process.
2. Uninstall Unnecessary Applications Using MacKeeper
You can also use MacKeeper for removing unnecessary applications to clear system data on your Mac. Here’s how you can uninstall unnecessary applications using MacKeeper:
- Download and install MacKeeper on your Mac.
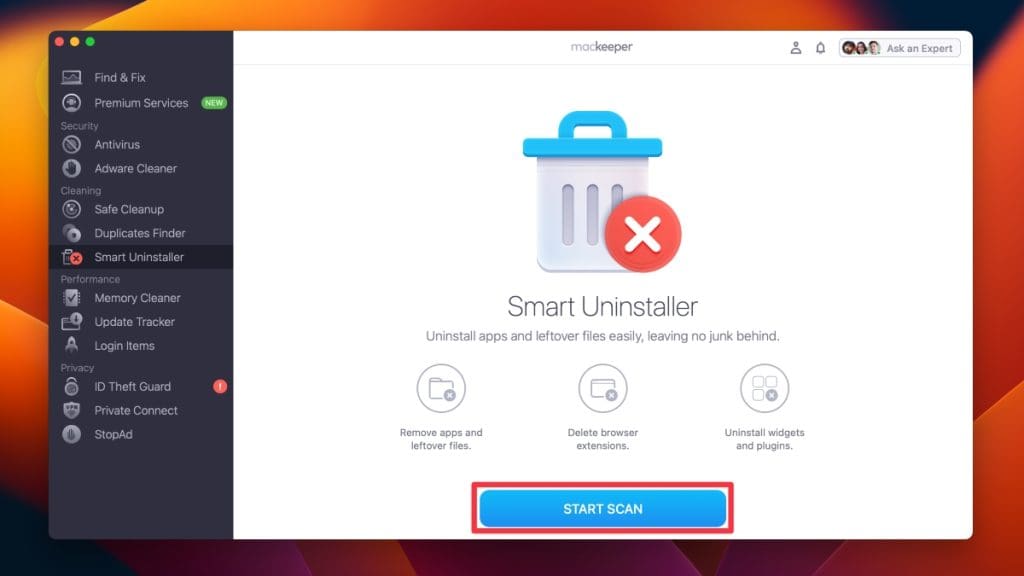
- After installation, launch MacKeeper and click the Smart Uninstaller in the left-hand menu.

- Click Start Scan.
- Select the applications you want to delete from the list and click Remove Selected.

- Tap the Remove button on the pop-up to confirm the deletion.

- MacKeeper will uninstall the apps and remove associated files and folders. You will get a Removal Completed notification. If you want to scan your Mac again, click Rescan.

What Else Can MacKeeper Do?
Along with clearing system data, MacKeeper can help you clear cache files, remove unwanted apps, delete duplicate files, and free up storage automatically. You can read the full MacKeeper review to see all its tools in one place.
3. Clear Cache and Temporary Files
Here’s how to clear temp files on your Mac:
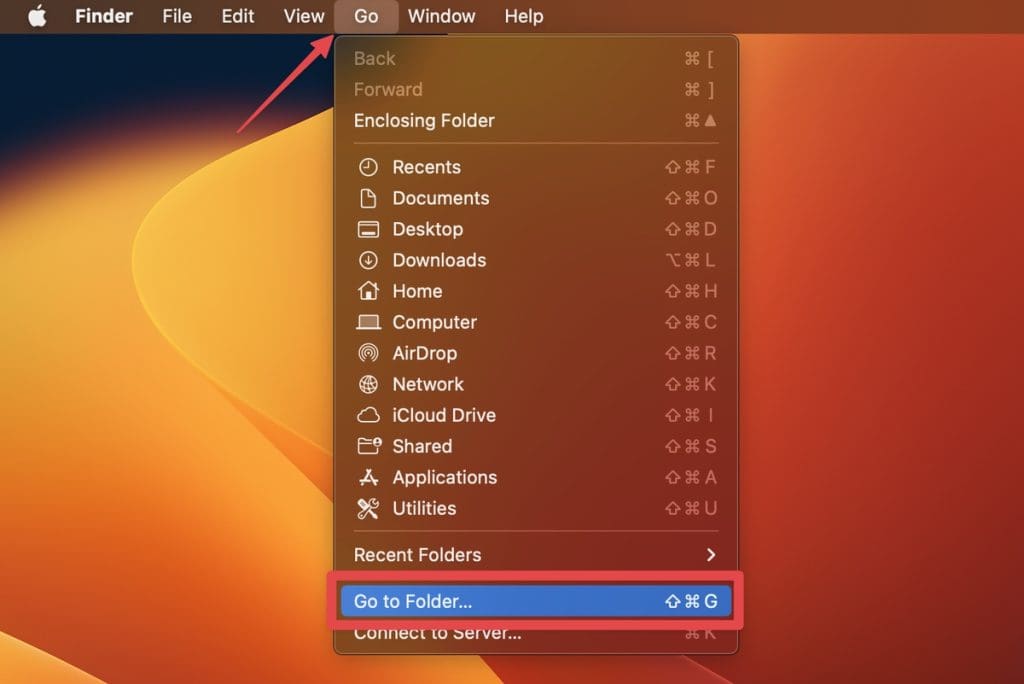
- Open Finder, click Go in the top menu bar, and select Go to Folder.
- A pop-up box will appear with an empty search bar. Type the following path into the search bar and press Enter:
~/Library/Caches/
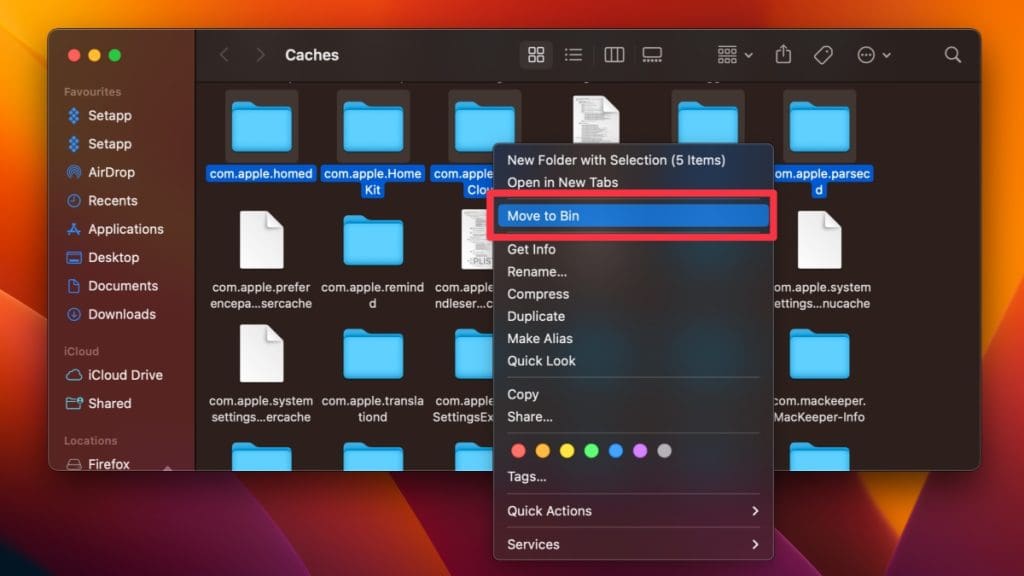
- This will open the Caches folder. Here, select the folder for the system data you want to clear.
- Right-click the files and select Move to Bin.
- Permanently delete the cache from your Mac by right-clicking the Bin icon and selecting Empty the Bin.

4. Clear Application Logs and Support Files
Here’s how you can check and clear application logs and support files on Mac:
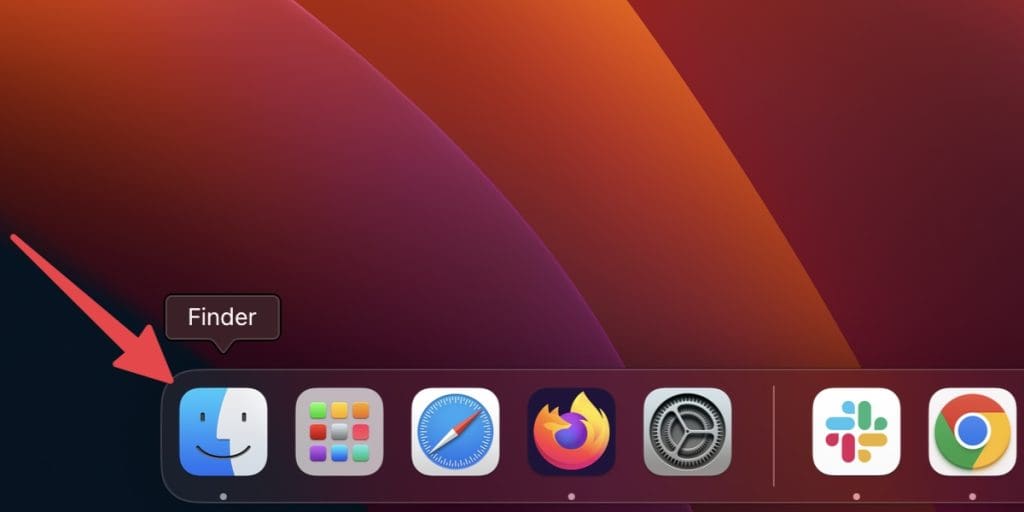
- Open a Finder window.
- Click Go in the menu bar and select Go to Folder.
- In the dialog box, type the following path and press Enter:
~/Library/Application Support
- In the Library folder, look for folders related to specific applications or developers and delete them if you no longer need the associated logs and support files.

Be careful when managing System Data manually. Avoid randomly deleting cache files or folders.
5. Remove Old iOS Backups
If you have backed up your iOS devices on your Mac, those backups can take up a significant amount of space. Here’s how to remove old iOS backups:
- Open Finder on your Mac.
- Use a USB cable to connect your device and click Trust Your Device if it’s the first time you’re connecting it.
- In the General tab, click Manage Backups to see a list of your backups.
- Right-click the backup you want and select Delete, Archive, or Show in Finder.
- If you select Show In Finder, a Finder window will open.
- Once you’re done, click OK to return to Finder.

6. Delete Old Email Attachments
When you don’t delete Email attachments for a longer time, they can also take up space on your Mac. Here’s how to delete old email attachments on your Mac:
- Open the Mail app on your Mac.
- Click Mailbox in the menu bar and select Erase Deleted Items.

- Click Mailbox in the menu bar again and select Rebuild.

7. Remove Old Time Machine Backups
If you want to delete system data on a Mac by removing Time Machine backups, follow the steps below.
⚠️ This action will erase the local copies of your backups. So, don’t do it if you may need them in the future.
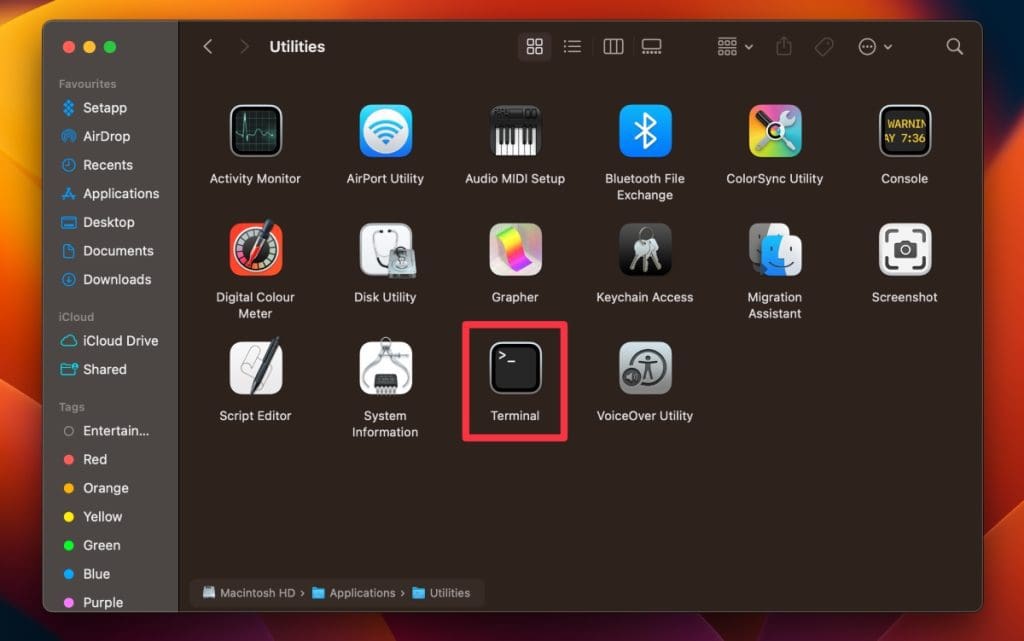
- Open Terminal from the Utilities folder in Applications.
- In the Terminal window, type the following command and press Enter:
sudo tmutil delete /path/to/backupReplace /path/to/backup with the actual path to the Time Machine backup you want to remove. For example, if the backup is located in an external hard drive called BackupDrive, the command would be:
sudo tmutil delete /Volumes/BackupDrive/Backups.backupdb/ComputerName/YYYY-MM-DD-HHMMSSReplace ComputerName with the name of your Mac and YYYY-MM-DD-HHMMSS with the specific backup date and time.
- You’ll be prompted to enter your admin password. Type it and press Enter.
- Terminal will start deleting the Time Machine backup. This process may take some time, depending on the size of the backup.
8. Clear System Logs
Clearing system logs using the console is a safe and effective way to free up space on your Mac’s hard drive. Here’s how to clear system logs on your Mac:
- Open the Console app on your Mac.

- Click All Messages at the top of the app.

- Click Action in the menu bar, and select Clear from the drop-down menu.

- This will remove system logs from your Mac.
Stop Mac System Data From Piling Up
Clearing system data on a Mac can free up storage space, improve performance, enhance privacy, resolve software issues, and maintain a healthy system. Here are some more tips related to optimizing your Mac’s performance:
- Apart from clearing caches, you can also clear cookies from browsers to secure your Mac and free up space.
- Organize your files on Mac to keep clutter from burdening your system resources and have it running without lag or crashes.
- Consider using a system cleaning tool to automate clearing out system data. You can install and activate MacKeeper for this purpose.