TL;DR
Follow these steps to compress a video on Mac:
- Open your video in QuickTime Player.
- Go to the File menu and select Export As.
- Choose a resolution, like 480p or 720p, to reduce the file size.
- Optionally, trim the video or make other adjustments.
- Export the video to save the compressed file.
Tried and Tested ✅: The methods and steps mentioned in this article have been tried and tested firsthand by Ojash Yadav on his MacBook Pro M3 and rechecked for errors on Hashir’s MacBook Air M2.
Ever tried to send a video from your Mac and realized it’s way too big? It’s a common issue, but there’s an easy fix: compressing the video. In this post, I’ll walk you through the best methods to reduce your video file size without sacrificing quality.
What is Video Compression?
Video compression is the process of reducing the size of a video file. Videos can be large, taking up a lot of space on your device or being slow to upload and download. Compression makes the file smaller, so it’s easier to store, share, and stream. The goal is to shrink the file size while keeping the video quality as high as possible.
Did You Know? Compressing a video using modern codecs like H.265 can reduce the file size by up to 50% more than older codecs like H.264, with only a slight difference in quality. This can save significant storage space while keeping your videos looking sharp.
How to Compress a Video on Mac
Why You Can Trust MacBook Journal ![]() We always conduct first-hand research and verify every method or solution we present, ensuring you receive reliable and effective advice. Learn more about our process.
We always conduct first-hand research and verify every method or solution we present, ensuring you receive reliable and effective advice. Learn more about our process.
Here are the detailed steps for each method to compress a video on Mac:
Method 1: Using Mac’s Built-in Compression Tools
When it comes to compressing videos on Mac, why look any further than the tools already at your fingertips? Your Mac comes equipped with built-in tools that allow you to compress videos without third-party software.
Let’s look at two popular options: QuickTime Player and iMovie.
1. Using QuickTime Player

Here’s how to use QuickTime Player to compress your videos on Mac:
- Launch QuickTime Player on your Mac and open the video you want to compress.

- Go to the File menu and select Export As.

- Choose a suitable format for your compressed video, such as 480p or 720p.
- You can also trim the video and make additional adjustments before exporting.
When using QuickTime, exporting at 720p is a good middle ground for quality and file size, especially if your original video is in 1080p.
2. Using iMovie

Requires macOS 13.5 or later. Supports a wide range of video formats, including .mov and .mp4.
Here’s how to use iMovie to compress a video on Mac:
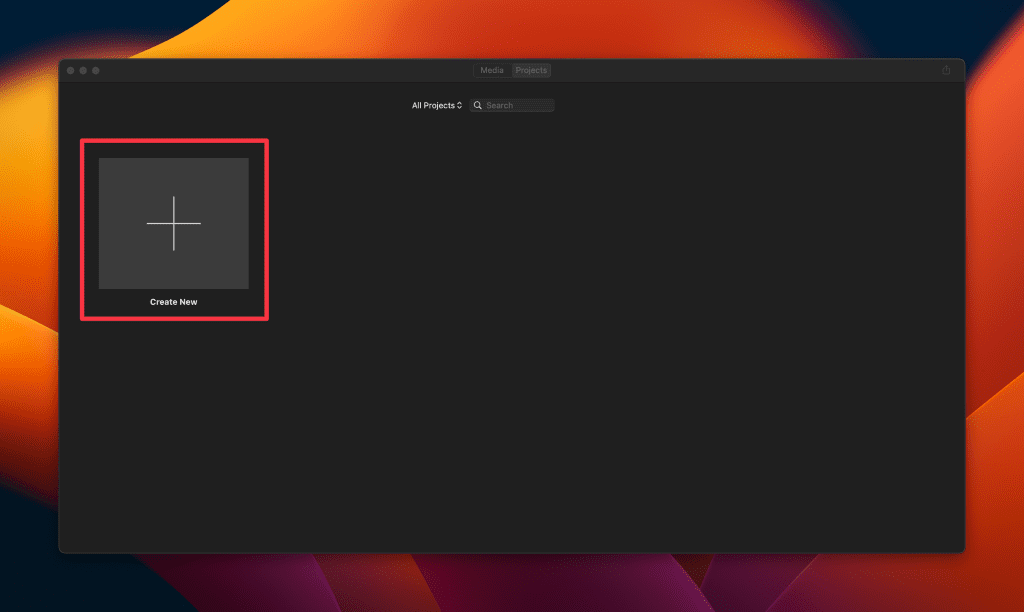
- Launch iMovie on your Mac and create a new project.

- Import the video you want to compress into your project.
- Drag the video clip to the timeline.
- Go to the File menu and select Share > File.

- Choose a suitable resolution or quality option, such as 480p or 720p.
- Click Next and follow the prompts to save the compressed video.
Method 2: Using Third-Party Software
If you require more advanced video compression features or additional control over the compression process, third-party software can be an excellent option.
Let’s explore two popular choices: HandBrake and Adobe Media Encoder.
Disclaimer: Using third-party software for compression might alter the original quality of your video. Always keep a backup of your original file before applying any compression.
1. HandBrake
Here’s how to use HandBrake to compress a video on Mac:
- Download and install HandBrake from the official website.

- Launch HandBrake and click Open Source to select the video you want to compress.

- Choose an output format and adjust settings such as bitrate and resolution to reduce the file size.
- Optionally, apply filters or make other advanced adjustments.
- Click Start to initiate the compression process, and wait for the compressed video to generate.
2. Adobe Media Encoder

- Download and install Adobe Media Encoder on your Mac.
- Launch Adobe Media Encoder and import the video file you want to compress.
- Choose an output format or preset suitable for your needs.
- Adjust settings such as bitrate and resolution to achieve the desired file size.
- Optionally, explore additional features like video filters and watermarking.
- Click Encode to start the compression process, and patiently wait for the software to generate the compressed video.
Method 3: Online Video Compression Tools
If you prefer a convenient, web-based solution, there are several online video compression tools available. Let’s explore two popular options: WeCompress and CloudConvert.
1. WeCompress
WeCompress is a user-friendly online platform that enables you to compress videos without software installation. Follow these steps to compress a video on Mac using WeCompress:
- Visit the WeCompress website in your web browser.

- Drag and drop the video file you want to compress onto the upload area or click the + button to browse for the file.
- WeCompress will automatically start compressing your video.
- After compression, you can download the compressed video to your Mac.
2. CloudConvert
CloudConvert is a versatile online file conversion platform that also offers video compression capabilities. Follow these steps to compress your videos using CloudConvert:
- Visit the CloudConvert website in your web browser.

- Click Select Files to upload the video you want to compress.
- Choose the desired output format and customize compression settings like bitrate and resolution.
- Start the compression process by clicking Start Conversion.
- Once the compression is complete, you can download the compressed video to your Mac.
Warning: ⚠️ Over-compressing videos can lead to a noticeable loss in quality, including blurriness and pixelation. Always preview your video after compression to ensure it meets your quality standards.
Compress Videos on Your Mac Like a Pro
Compressing videos on your Mac is an essential skill that allows you to save storage space and optimize video sharing across various platforms. Here are some more tips to get the most out of your MacBook:
- Find out what software comes with a MacBook Pro or Air to know what you’ll get.
- If you’re into audio recording, learn how to record audio on Mac.
- Learn how to delete duplicate files on your Mac to free up space.