TL;DR
To record a video on your Mac:
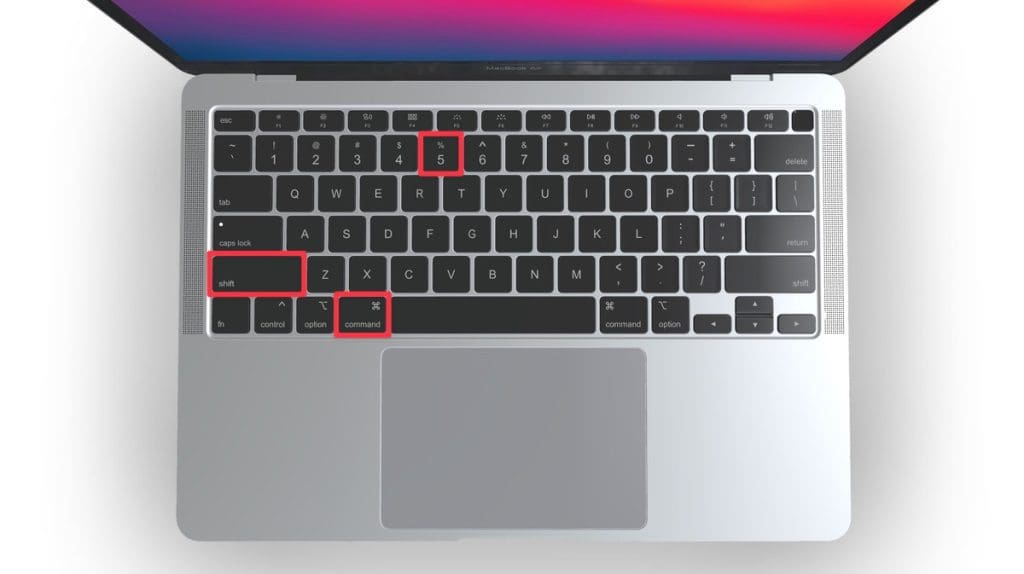
- Press Command ⌘ + Shift ⇧ + 5 to open the screenshot toolbar.
- Choose Record Entire Screen or Record Selected Portion.
- Click Record to start recording.
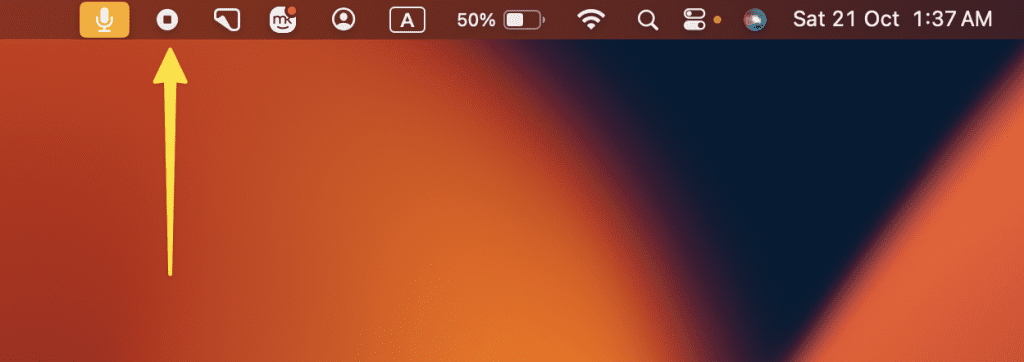
- Click Stop in the menu bar to stop recording.
- Wait for the thumbnail of your recording to appear and click it to edit your recording, or let it be and your recording will get saved as it is, automatically.
- Alternatively, right-click the thumbnail and choose Save to Desktop or Documents.
Tried and Tested ✅: The methods and steps mentioned in this article have been tried and tested firsthand by Ojash Yadav on his MacBook Pro M3 and rechecked for errors on Hashir’s MacBook Air M2.
Recording videos on a Mac seemed difficult initially, but after exploring a few options, I found some methods that simplified the process. Whether you’re looking to capture your screen or record with your camera, easy solutions are available.
How to Record a Video on Your Mac
Why You Can Trust MacBook Journal ![]() We always conduct first-hand research and verify every method or solution we present, ensuring you receive reliable and effective advice. Learn more about our process.
We always conduct first-hand research and verify every method or solution we present, ensuring you receive reliable and effective advice. Learn more about our process.
Here, I am going to share 5 best ways to record a video on your Mac:
1. With Hotkeys
Here’s how you can use keyboard shortcuts for video recording on Mac:
This method works on macOS Mojave or later.
- Press Command ⌘ + Shift ⇧ + 5 to bring up the screenshot toolbar.
- This toolbar offers options for recording the entire screen or a selected portion.
- Click Record Entire Screen or Record Selected Portion and select the portion of the screen you’d like to record.

- After making your choice, click the Record button to start.

- Click the Stop button in the menu bar when you want to stop recording.
- To save the recording, right-click the recorded file in the bottom right corner of your screen and select Save to Desktop or Save to Documents.
2. Via QuickTime Player
Here’s how to use QuickTime Player to record a video on your Mac:
- Launch QuickTime Player via the Launchpad.

- In the menu bar, click File and select New Screen Recording.
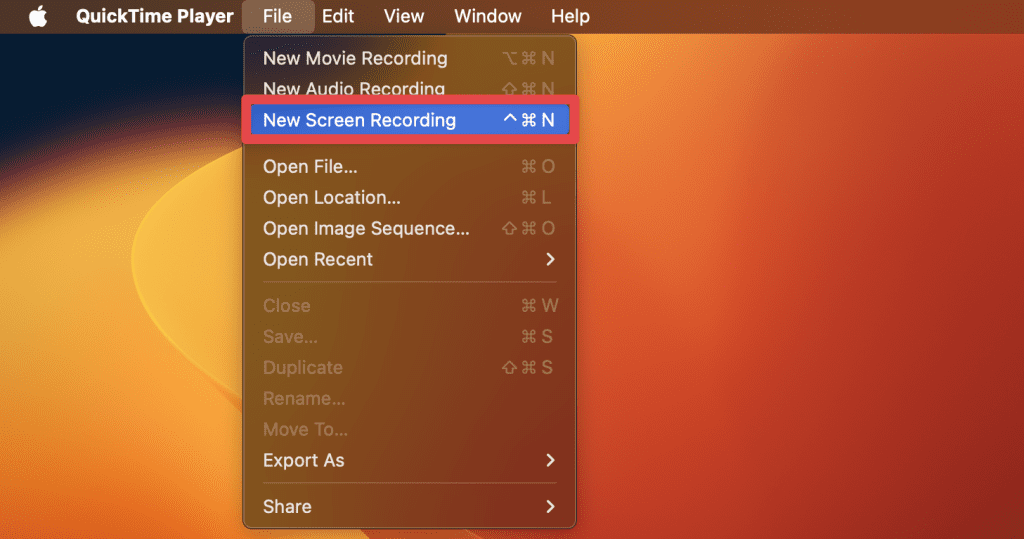
- The screenshot toolbar will appear at the bottom of your screen.
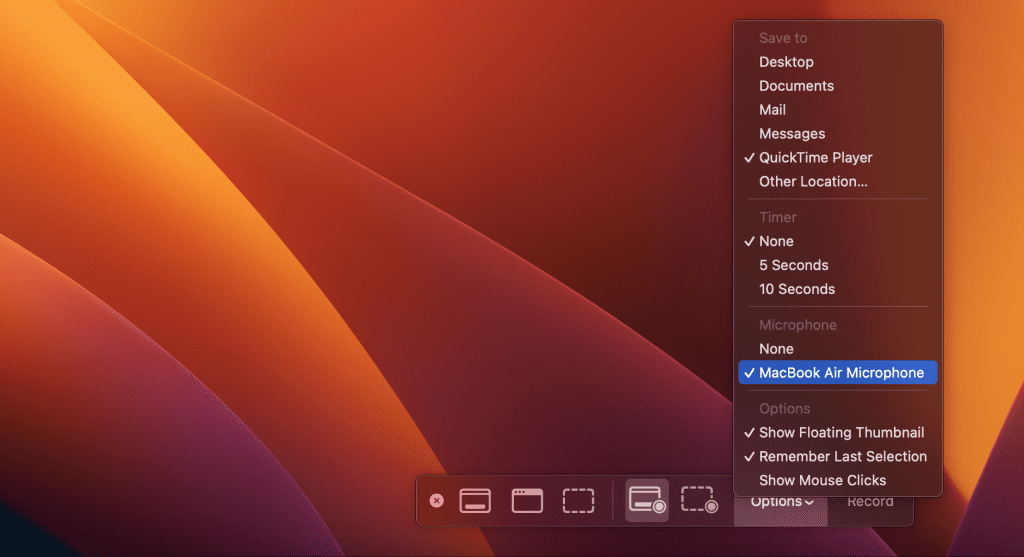
- Before you start recording, you can opt to record the entire screen or drag to select a specific area.
- If you wish to include audio, click the arrow next to the Options button and choose the appropriate microphone source.
- Once you’ve made your selections, click the Record button.
- To stop the recording, click the Stop icon in the menu bar.
After recording, QuickTime will automatically open the video. You can save, edit, or share it as needed.
3. Using Photo Booth
If you need to record videos using your Mac’s built-in camera, Photo Booth offers a quick and straightforward way to capture everything in front of your screen. Follow these steps to record a video on your Mac:
- Navigate to your Applications folder and open Photo Booth.

- Once inside, you’ll notice three icons next to the red capture button. Click the video mode icon to switch from photo to video.
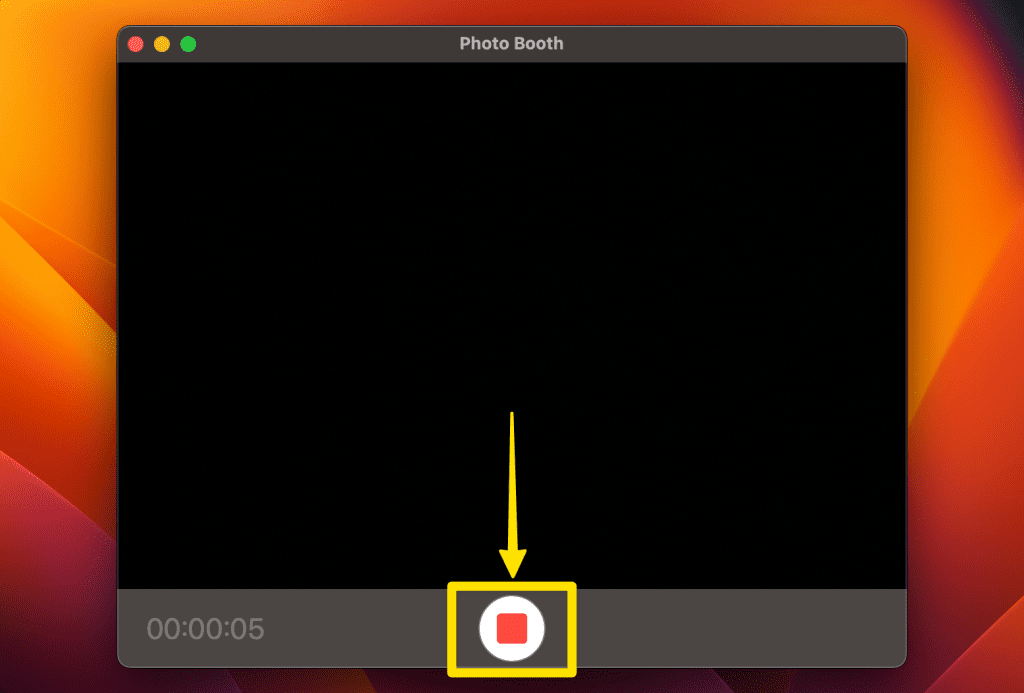
- With video mode activated, press the red button to start recording.

- Your Mac’s camera will capture everything in its view.
- To end the recording, click the red button again.
- Your video will automatically be saved to the Photo Booth library, and you can also export it to your desired location.
Apple doesn’t always make it clear how to configure external microphone input in Photo Booth. Audio is included by default via built-in mic but external mic support may be limited.
4. Using iMovie
iMovie is perfect if you want to both record and edit videos in one go, offering powerful editing features alongside video capture. Here’s how to use iMovie to record a video on your Mac:
- Open iMovie from the Launchpad.

- Click Create New.
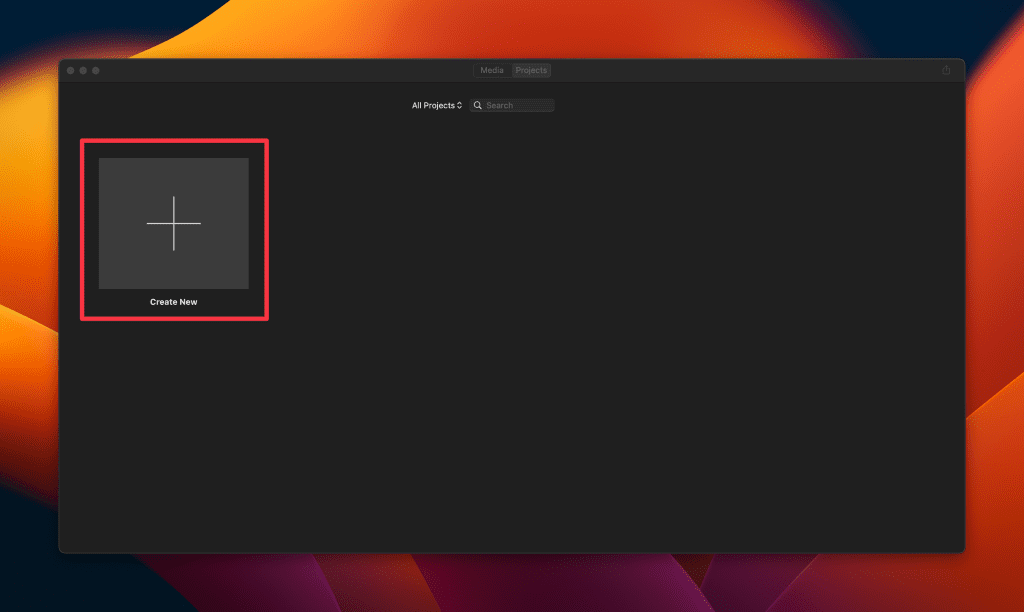
- Select Movie from the dropdown.

- In the workspace, click Import Media.

- Select FaceTime HD Camera in the left sidebar and click the red record button.

- iMovie will capture video using your Mac’s built-in camera.
- Click the record button again to stop. The recorded clip will appear in the media library, and you can drag it to the timeline for editing or exporting.
5. Via Third-Party Apps
While Mac’s built-in tools are efficient, sometimes you might need advanced features or a different user experience. This is where third-party apps come into play. Here is how to use to use CleanShot X for video recording apps on Mac:
- Install CleanShot X on your Mac through Setapp if you haven’t already.

- Open CleanShot X from the menu bar or Applications folder.

- Click the CleanShot X icon and choose Record Screen.

- Select the area to record or choose to record the full screen.
- Enable the microphone if you need audio.

- Click Record Video to begin capturing your screen.

- To stop, click the icon again and select Stop Recording, or press Command ⌘ + Shift + 9.

- Save or share your recording, or edit it directly in CleanShot X.
Recording the screen with the internal microphone may pick up background noise or system sounds. It’s a good idea to use an external mic for better audio quality.
Record Videos on Your Mac in No Time
Recording videos on your Mac has never been more accessible, thanks to a range of built-in tools and third-party apps. From quick hotkey commands to sophisticated software, there’s a method to suit every user.
Here are some more tips to enhance your video recording experience on Mac:
- If your Mac camera isn’t responding, it might be worth troubleshooting the issue to ensure smooth video recording.
- You can record audio on your Mac to add it as a voice-over to your videos.
- If you want to upload your videos to social media, you can compress a video on Mac to make it easy to upload.