TL;DR
To make a slideshow on a Mac:
- Open Photos and select the images you want.
- Go to File and select Play Slideshow.
- Pick a Theme and add Music if desired.
- Click Play Slideshow to start.
- Use the arrow keys to move through slides, and press Escape to exit.
Tried and Tested ✅: The methods and steps mentioned in this article have been tried and tested firsthand by Ojash Yadav on his MacBook Pro M3 and rechecked for errors on Hashir’s MacBook Air M2.
I remember the first time I had to make a slideshow on my Mac—it felt tricky at first, but I quickly discovered some simple options. In this post, I’ll share the methods that I found to be the easiest and most effective.
Before We Begin
Creating slideshows on Mac is fun but it can be a mess if you have too many duplicate photos. To avoid adding the same photos to your slideshow, delete duplicates with MacKeeper. It identifies duplicate photos and you can delete them in a single-click.
How to Make a Slideshow on a Mac
Why You Can Trust MacBook Journal ![]() We always conduct first-hand research and verify every method or solution we present, ensuring you receive reliable and effective advice. Learn more about our process.
We always conduct first-hand research and verify every method or solution we present, ensuring you receive reliable and effective advice. Learn more about our process.
Here are the three quick and easy ways to make a slideshow on a Mac.
1. Create a Slideshow in Photos
The Photos app lets you easily create beautiful slideshows by arranging images, adding music, and applying themes.
a. Create an Instant Slideshow in Photos
Here’s a step-by-step guide on how to create a slideshow using the Photos app on a Mac:
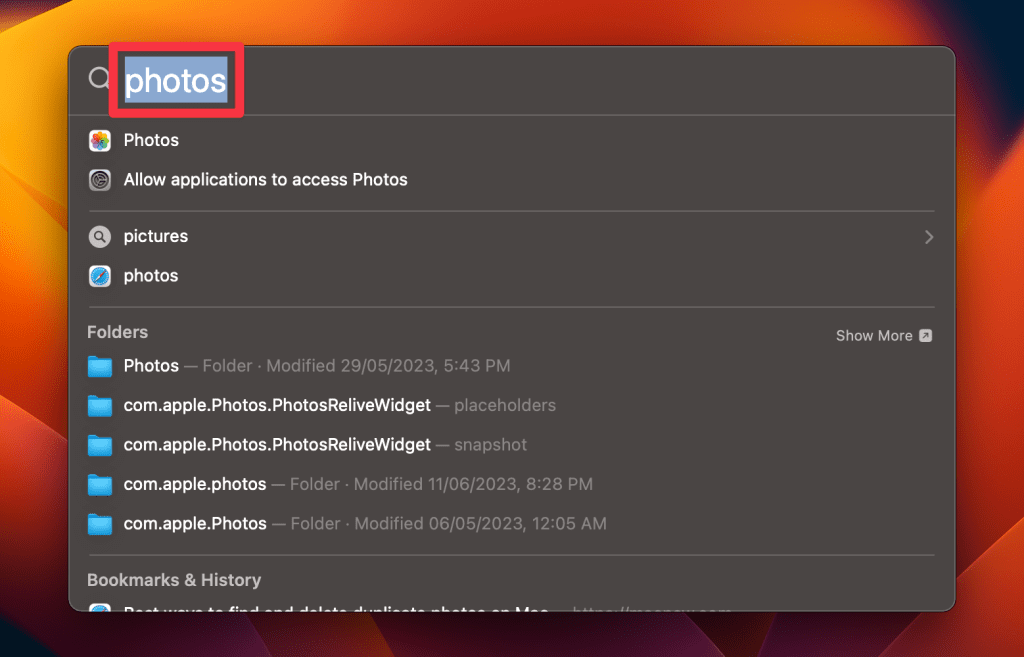
- Launch the Photos app by searching for it in Spotlight search.
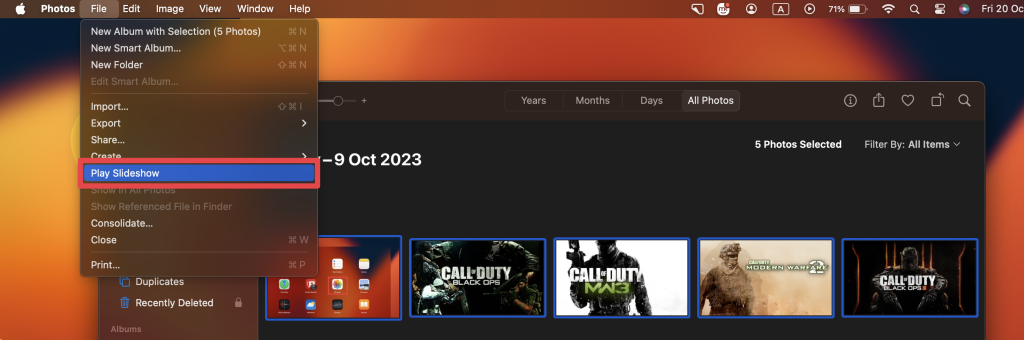
- Navigate to the photos you want to include in your slideshow. You can select individual photos by holding down the Command ⌘ key while clicking each photo.
- With your photos selected, click File in the menu bar and choose Play Slideshow.
- A new pop-up menu will appear. You can choose a Theme and Music for your slideshow. Once you’re done, click the Play Slideshow button.
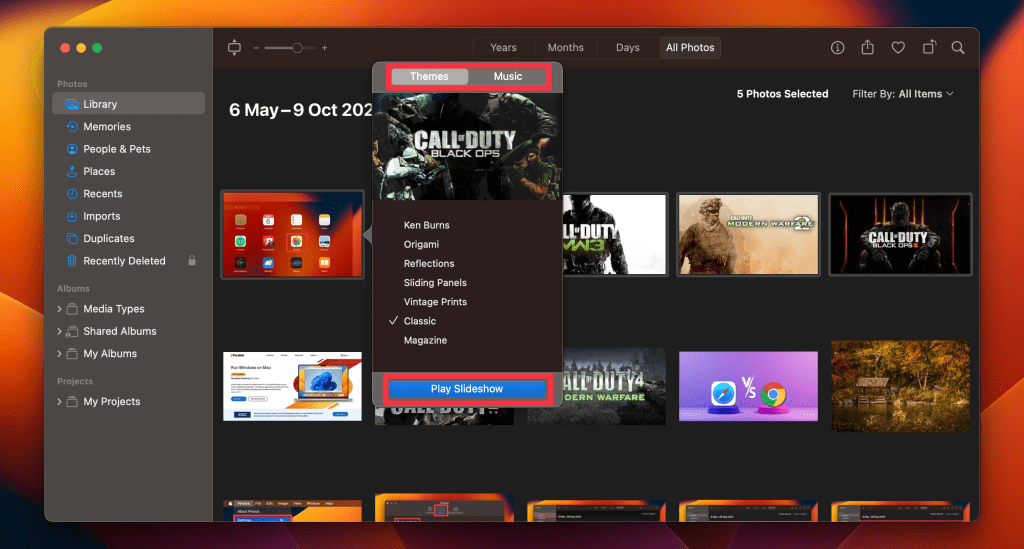
- It will start the slideshow in fullscreen.
You can navigate the slideshow using your keyboard. Press the left and right arrow keys to switch between slides. Tap the Spacebar to stop the slideshow and the Escape key to close it.
b. Create a Custom Slideshow in Photos
You can use the Photos app slideshow project tool to create a more custom and sophisticated slideshow. Here’s how to create a custom slideshow in Photos:
- Launch the Photos app by searching for it in Spotlight search.
- Click File in the menu bar and navigate to Create > Slideshow > Photos.

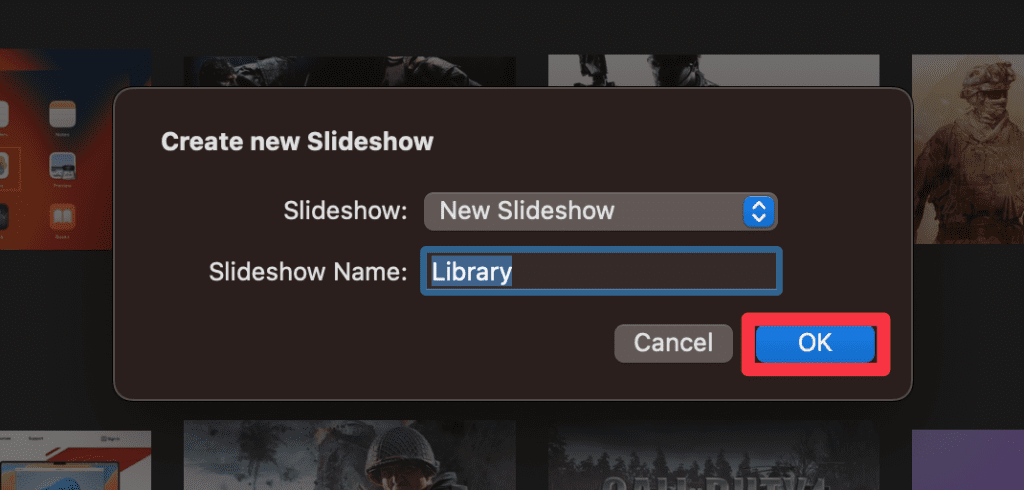
- A new window will appear. Select New Slideshow from the dropdown and give the slideshow a name. Then, click OK.
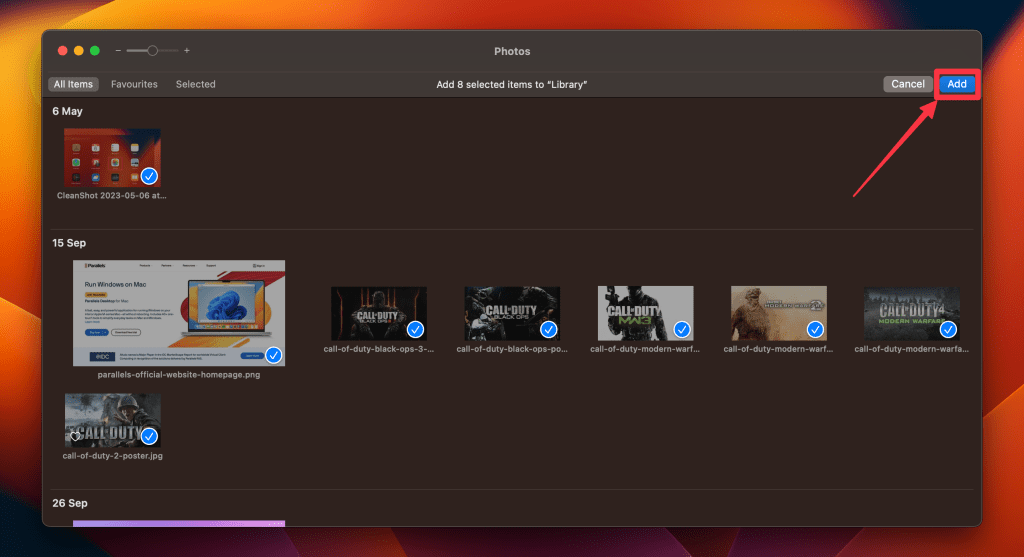
- Select the photos you want to include in the slideshow and click the Add button in the top-right corner.
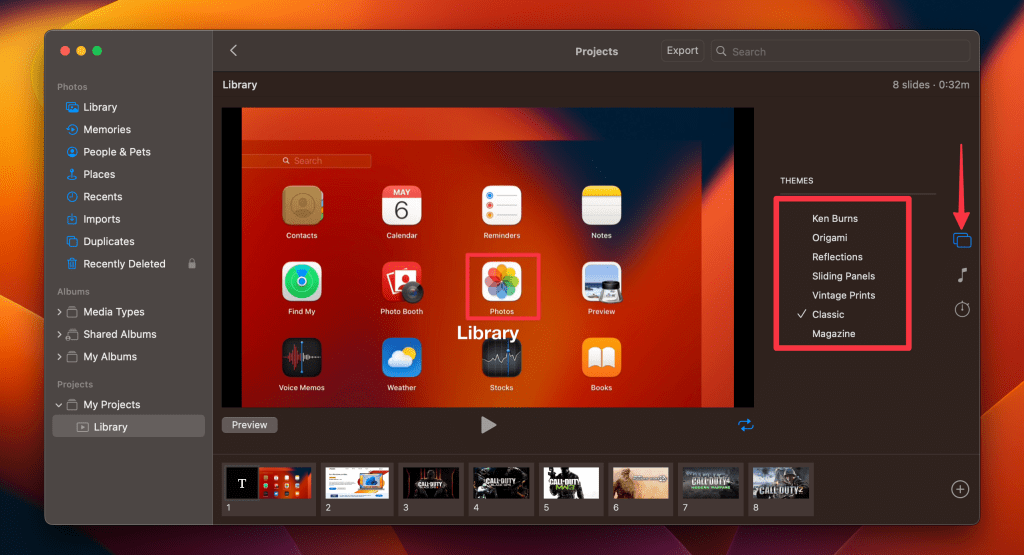
- You can click the icons in the right strip to customize your slideshow’s appearance.
- To modify slide transitions, positioning, font style, and zoom level, click the Theme icon and pick from the list.
- Click the Music icon to select your slideshow’s music.
- To adjust the slideshow’s length, open the Duration menu and drag the Custom slider. Or check the Fit to Music feature to synchronize the slideshow’s duration with your chosen soundtrack.
- Configure transitions via the Transition dropdown, which will be applied to all slides.
- Check the Scale photos to fit screen option to ensure images are displayed optimally.
- Activate the Loop feature if you want the slideshow to replay indefinitely, restarting after the concluding slide.
- Click the Preview button to view your slideshow. Click it again to stop the slideshow.
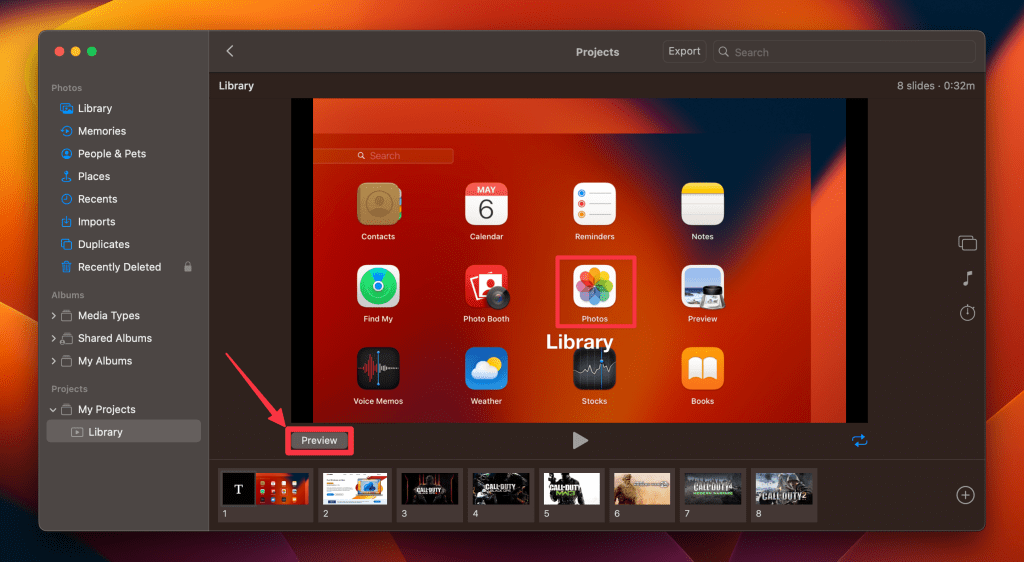
- The Play button also initiates the slideshow.
- To exit the slideshow, press the Escape key.
Did you know? You can export your Photos slideshow as a video by selecting File > Export > Slideshow. This lets you easily share it on social media or with friends and family.
2. Make a Slideshow With Preview
The Preview app allows you to quickly view images or a PDF in a simple slideshow format with minimal setup, though it lacks the full features of Photos or Keynote. Here’s how to make a slideshow on a Mac in the Preview app:
- Launch the Preview app from the Dock or the Applications folder.

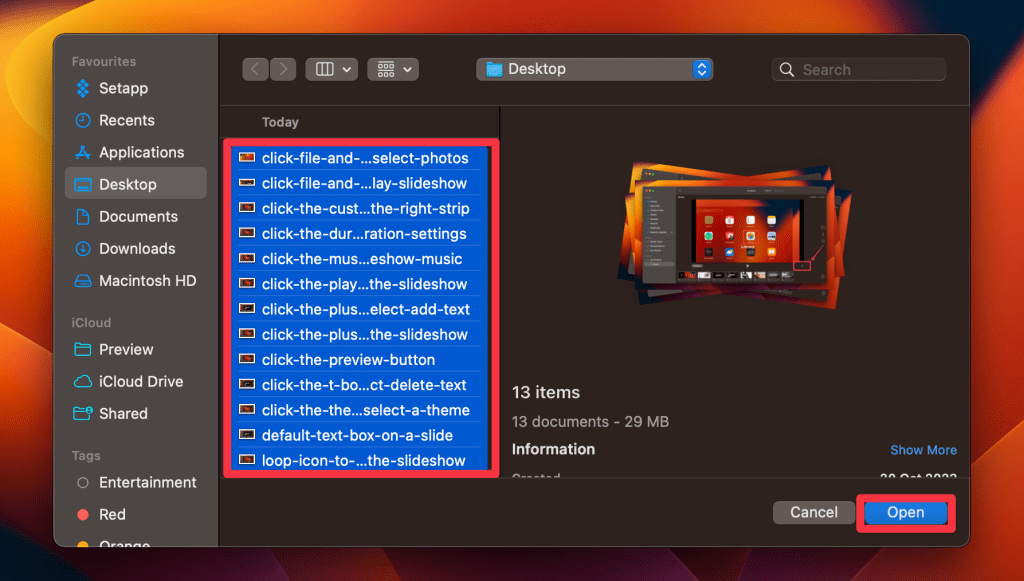
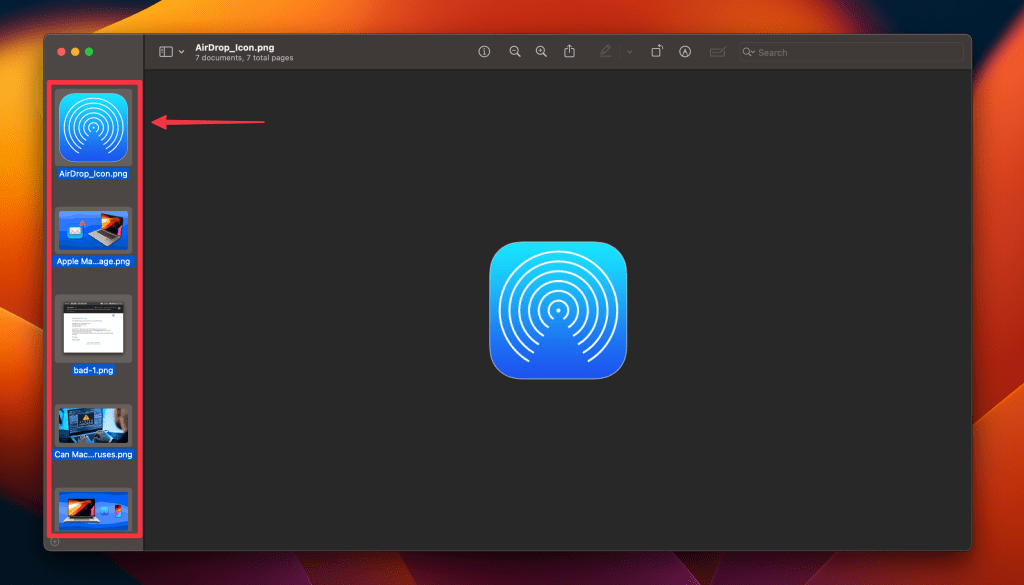
- A new window will open. Navigate to the location where your images are saved and select the ones you want in a slideshow. Click Open.
- This will open all selected images in a Preview window. Select all the images in the left sidebar by pressing Command ⌘ + A.
- With all your images open in Preview, go to View in the menu bar and select Slideshow.

- Navigate through the slideshow using the left and right arrow keys on your keyboard.
- Press the Spacebar to pause or play the slideshow.
- Use the Escape key to exit the slideshow.
Note: Preview doesn’t allow changing slide duration, transitions, or export as video.
3. Make a Slideshow in Keynote
Keynote lets you create highly customizable slideshows with advanced transitions, animations, and media integration. Here’s how to make a slideshow on a Mac using Keynote:
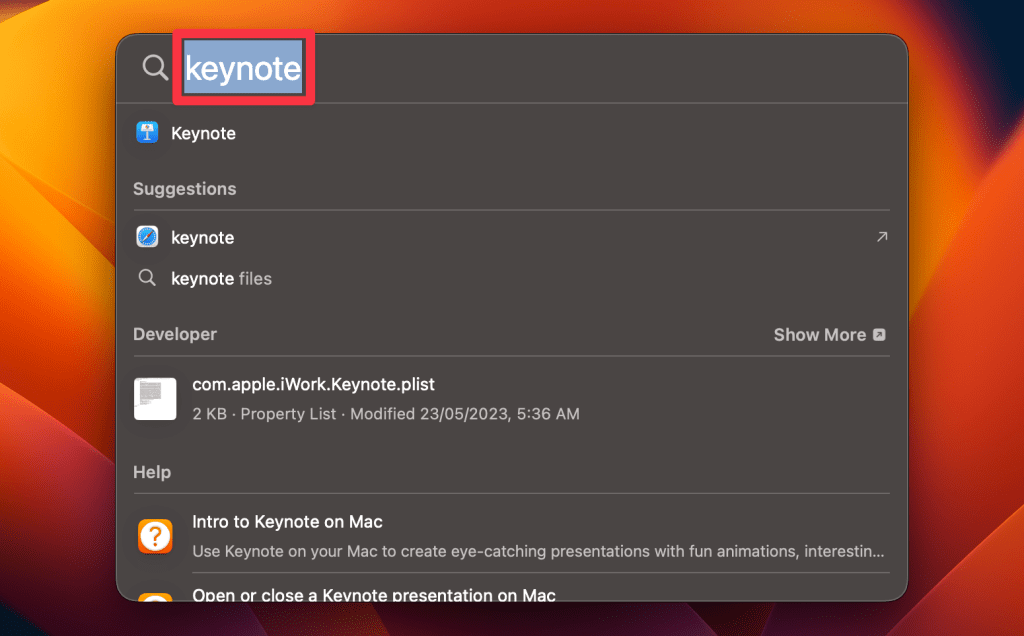
- Open Keynote by searching for it in the Spotlight search.
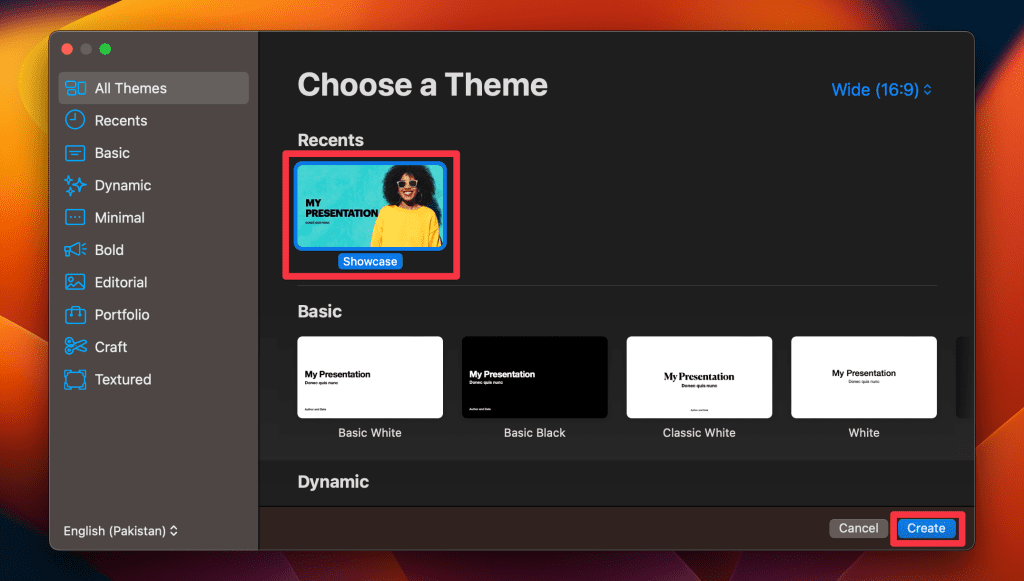
- Upon opening, Keynote will present you with various templates. Choose one that fits the style of your slideshow.
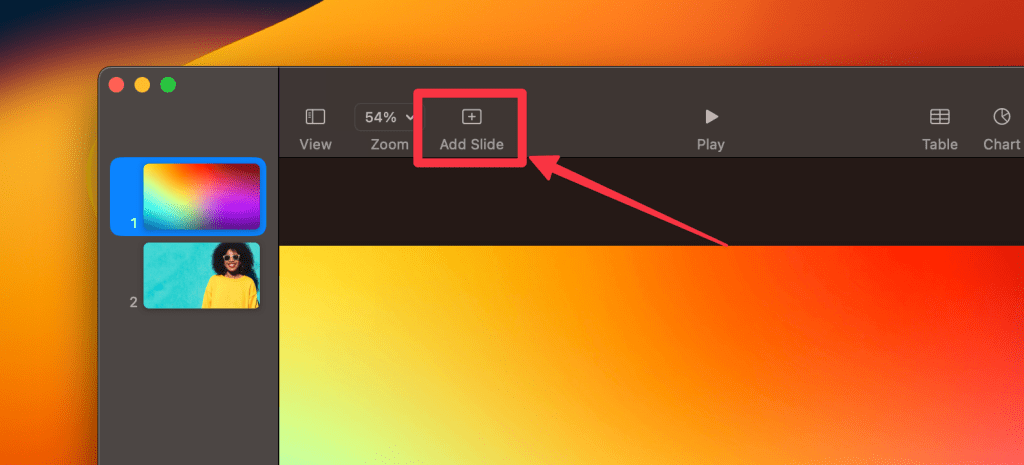
- Click Slide in the menu bar and select New Slide.
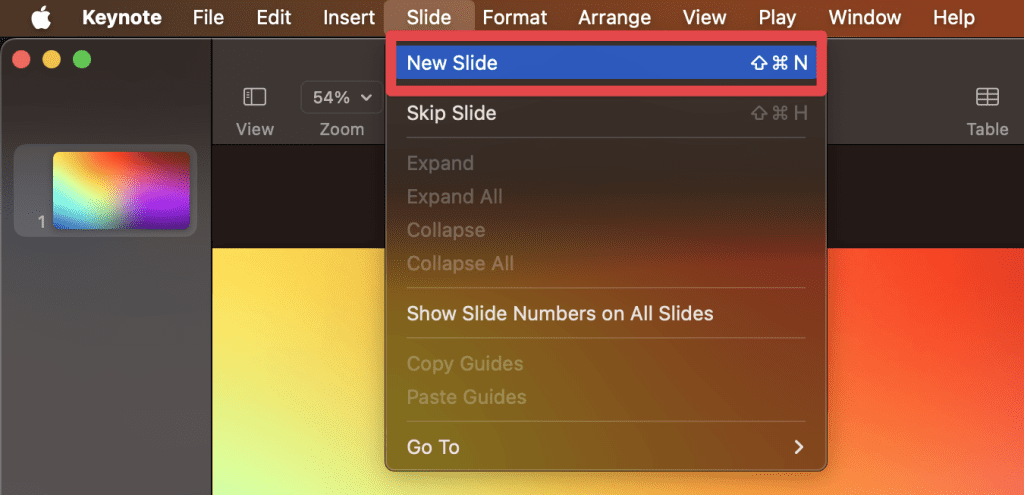
- Alternatively, click the Add Slide button in the top toolbar.
- You can choose different slide layouts based on content (e.g., title slides, content slides, photo slides).
- Drag and drop photos, videos, or text into the slide placeholders.
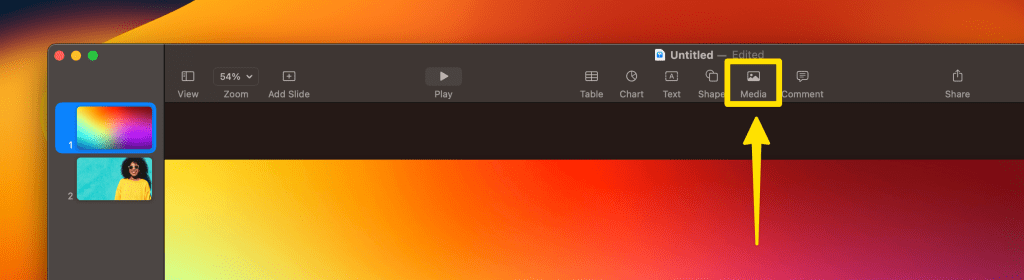
- Use the Media button in the toolbar to insert images, videos, and music directly from your library.
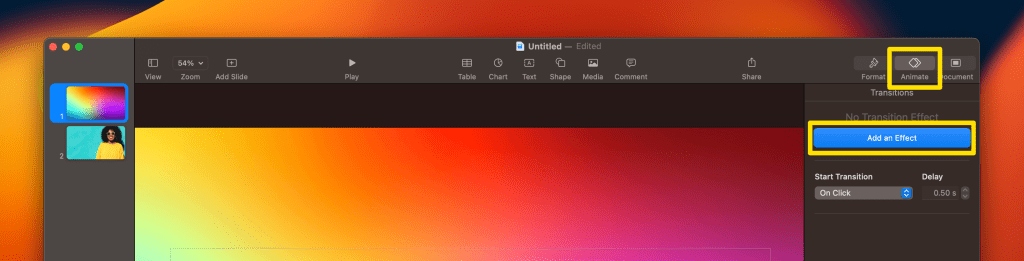
- Click a slide, then choose the Animate button in the toolbar.
- Select Add an Effect to choose from various slide transitions. You can also add object animations for individual elements within a slide.
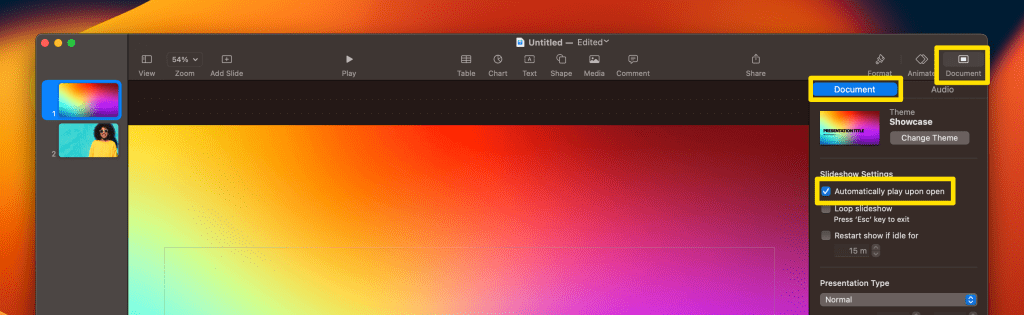
- If you want the slideshow to play automatically, go to Document > Document in the top right corner and check Automatically play upon open. Adjust the slide duration as desired.
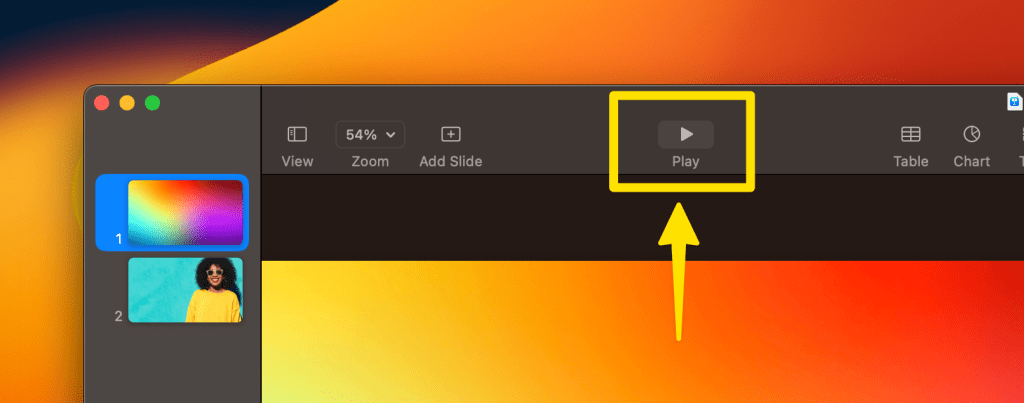
- Click the Play button in the top toolbar to view your slideshow.
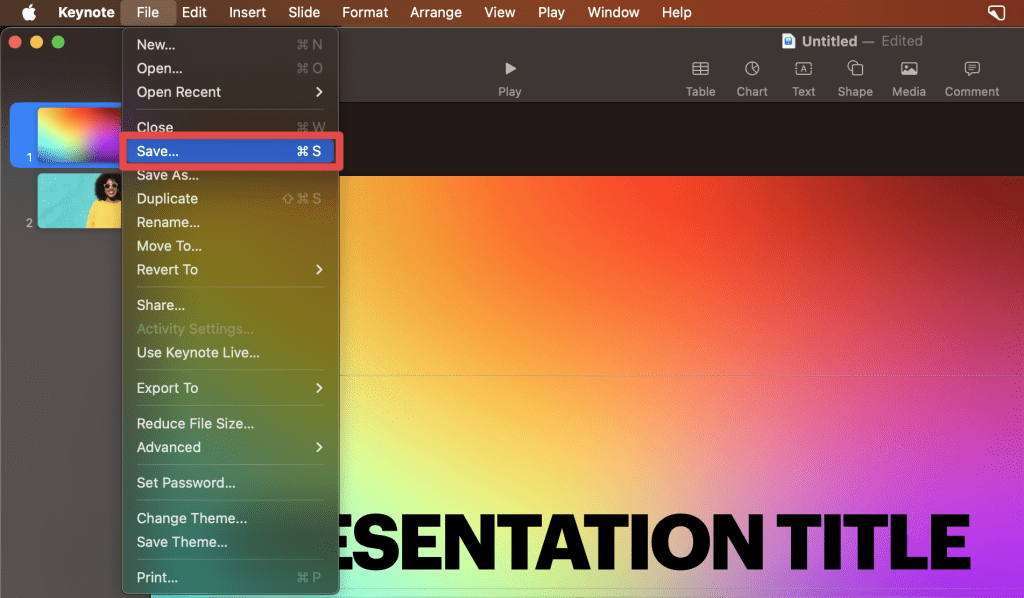
- Save your project by going to File > Save.
- To export the slideshow as a video or another format, go to File > Export To and choose your desired format.

Large image files or long slideshows with many transitions can slow down your Mac, especially on older models. Make sure to save your project regularly to avoid losing progress.
Create Slideshows on Your Mac Quickly
Whether you’re using the Photos app for a quick and simple presentation, Preview for a rapid image display, or Keynote for a more intricate and interactive experience, Mac ensures a seamless and efficient process.
Here are some more tips for you:
- If you want to add a voice-over to your slideshow, you can easily record audio on your Mac.
- When uploading a slideshow video to social media, compressing the video could be a helpful step.
- You can take a screenshot on your Mac and add that to a slideshow.