TL;DR
To remove the Windows Defender Security Warning on your Mac:
- Remove unwanted extensions from your browser to stop pop-ups.
- Reset your browser to default settings to fix issues.
- Run a virus scan to detect and remove hidden threats.
Tried and Tested ✅: The methods and steps mentioned in this article have been tried and tested firsthand by Ojash Yadav on his MacBook Pro M3 and rechecked for errors on Hashir’s MacBook Air M2.
It really confused me when a Windows Defender pop-up showed up on my Mac. After doing some research, I found out how to get rid of it quickly. Let me show you the steps I took to fix it.
What’s the Windows Defender Security Warning on Mac?

The “Windows Defender Security Warning” on a Mac is a fake alert.
It usually appears when you visit certain websites, and it tries to trick you into thinking your computer has a virus. The message might claim that Windows Defender (a Windows security program) has found a problem on your Mac. However, this is just a scam, because Windows Defender doesn’t work on Macs.
The scammers want you to panic and click on their links, which could lead to downloading harmful software or giving away personal information. If you see this message, you can safely ignore it, close the browser tab, and clear your browsing data to avoid more pop-ups like this.
How to Remove Windows Defender Security Warning Pop-ups on Mac
Why You Can Trust MacBook Journal ![]() We always conduct first-hand research and verify every method or solution we present, ensuring you receive reliable and effective advice. Learn more about our process.
We always conduct first-hand research and verify every method or solution we present, ensuring you receive reliable and effective advice. Learn more about our process.
Keep reading for detailed steps on how to remove Windows Defender Security Warning on Mac:
1. Remove Suspicious Extensions From Your Browser
Unwanted or sneaky extensions can cause annoying pop-ups like the Windows Defender Security Warning, so it’s best to remove them. In this section, I’ll show you how to remove unwanted browser extensions on your Mac.
If you’re unsure about an extension, disable it first instead of uninstalling right away. Sometimes, it’s easier to troubleshoot by testing this step-by-step.
a. Safari
Follow these steps to remove browser extensions on Mac from Safari:
- Open Safari on your Mac.
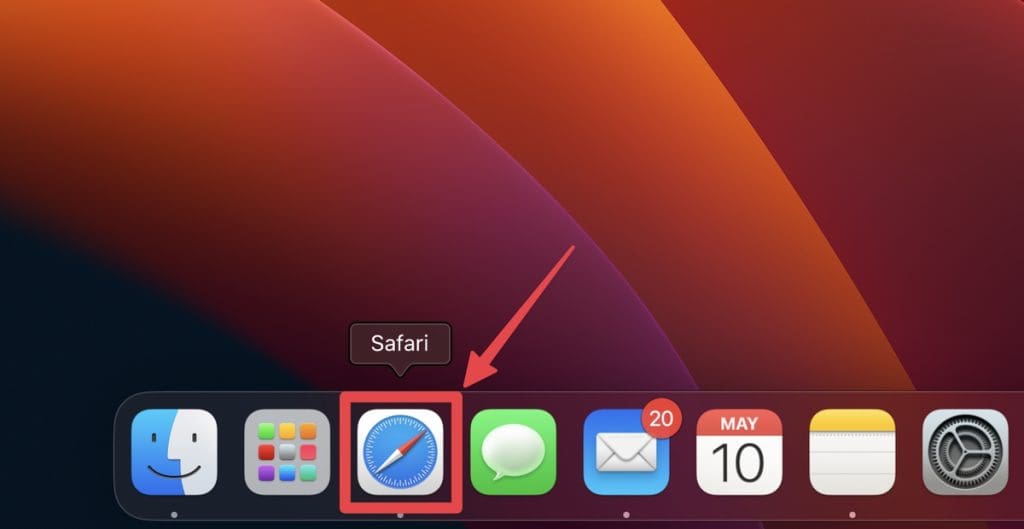
- Click Safari in the menu bar and select Settings from the drop-down menu.
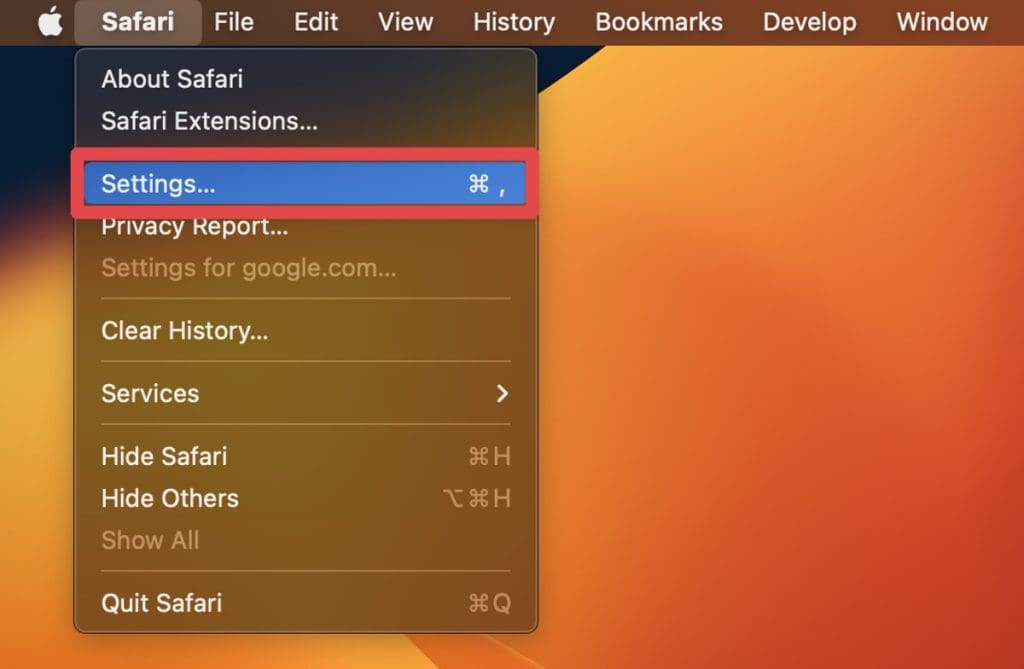
- Click the Extensions tab to view all your installed extensions.
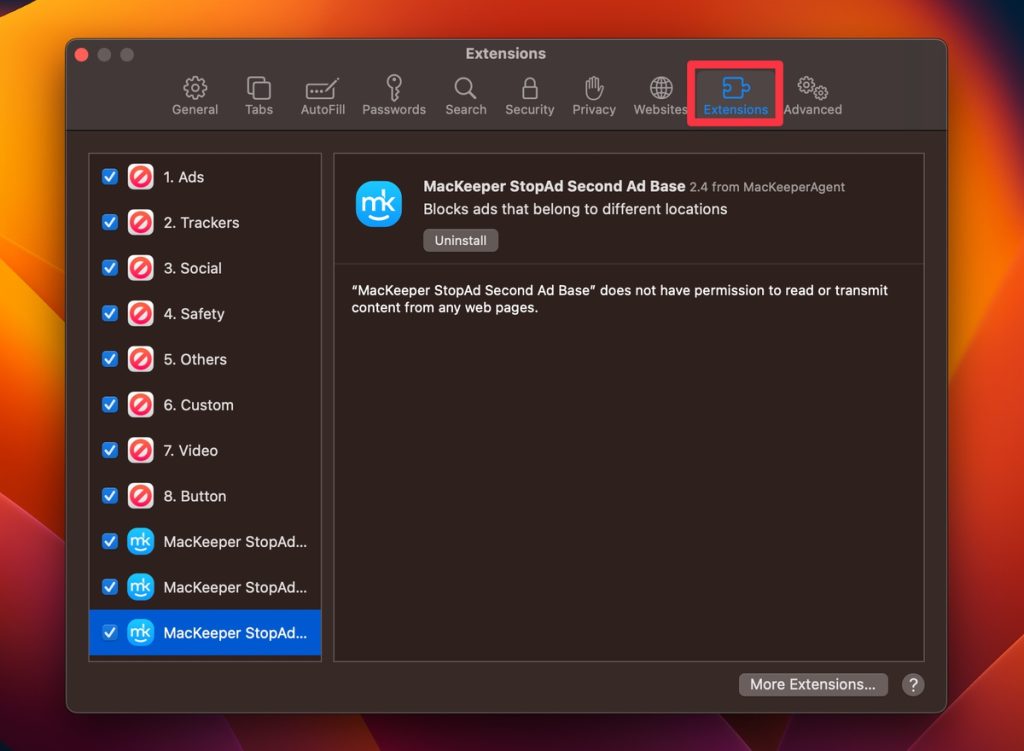
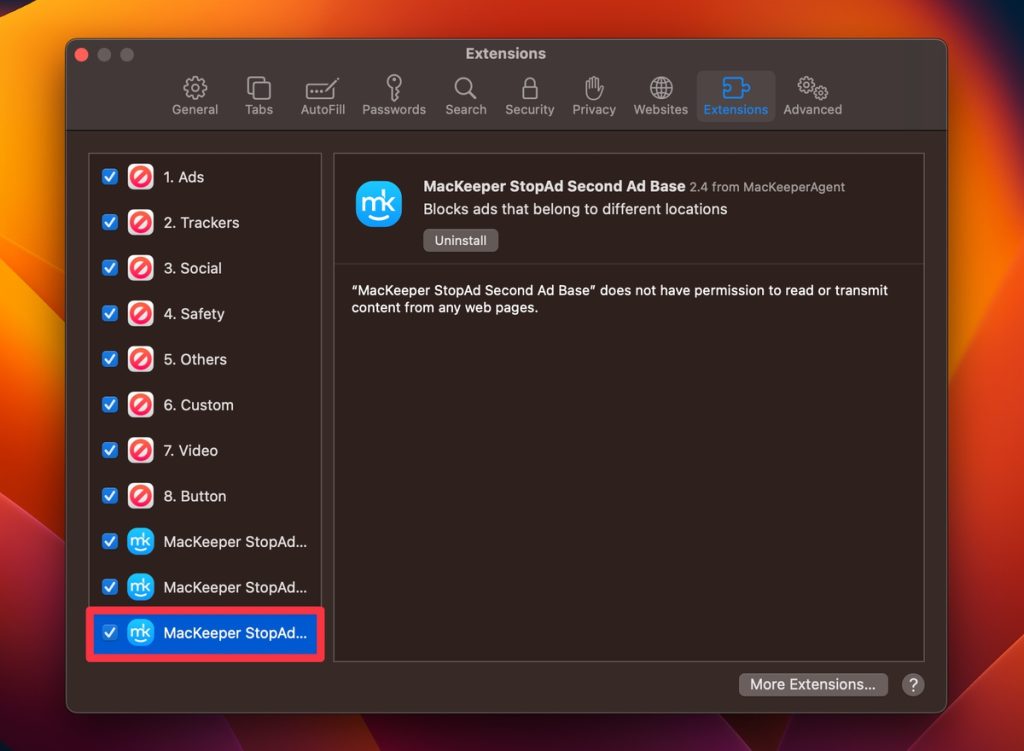
- Find the extension you want to remove and click it.
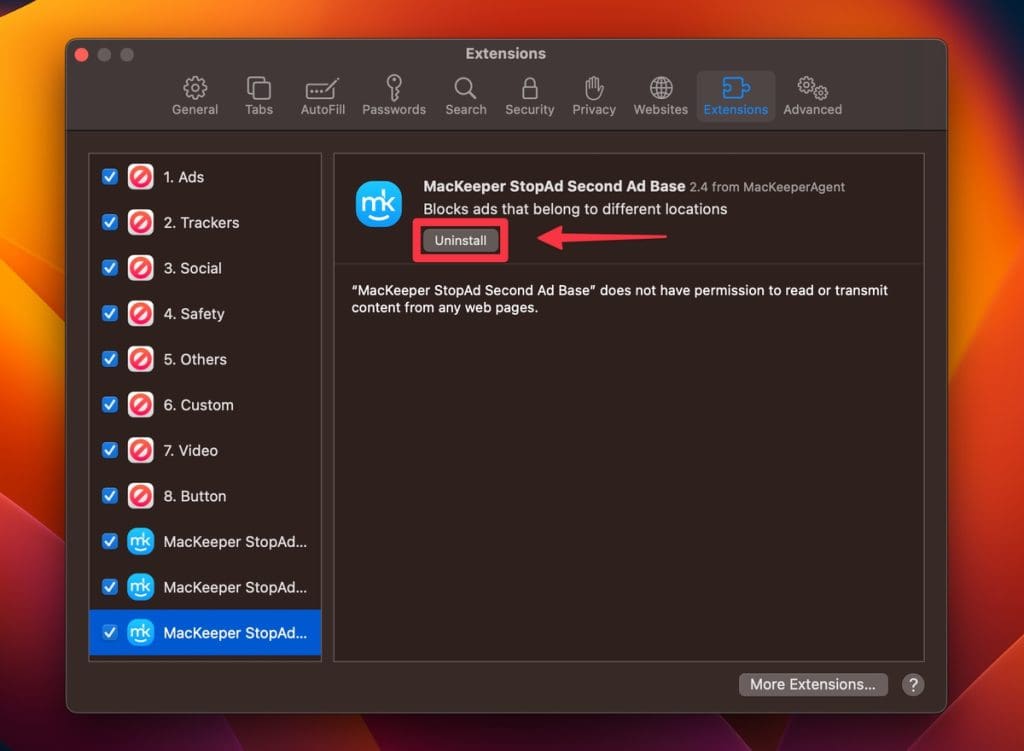
- Click the Uninstall button to confirm that you want to remove the extension.
b. Chrome
Follow these steps to remove extensions from Google Chrome on your Mac:
- Click the Google Chrome icon in your Dock or search for it in the Applications folder.
- Click the three-dot icon in the top right corner of the Chrome window. Hover your mouse over More Tools and select Extensions from the submenu.

- Find the extension you want to remove from the list of installed extensions.
- Click the Remove button next to the extension you want to uninstall. Confirm the removal when prompted.
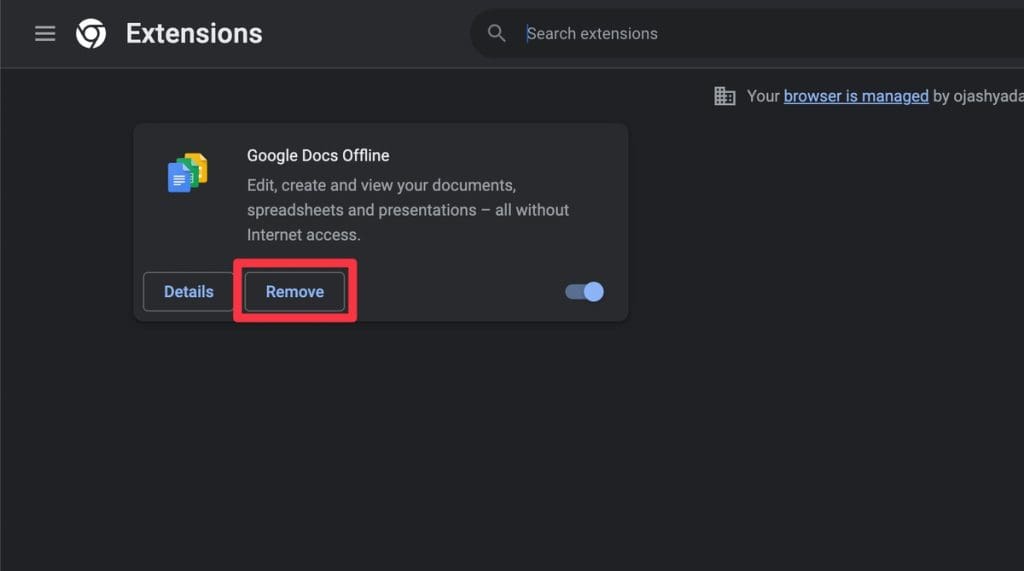
- If you want to temporarily disable an extension without removing it, you can toggle off the switch next to it.
c. Firefox
Follow these steps to remove unwanted extensions on Firefox:
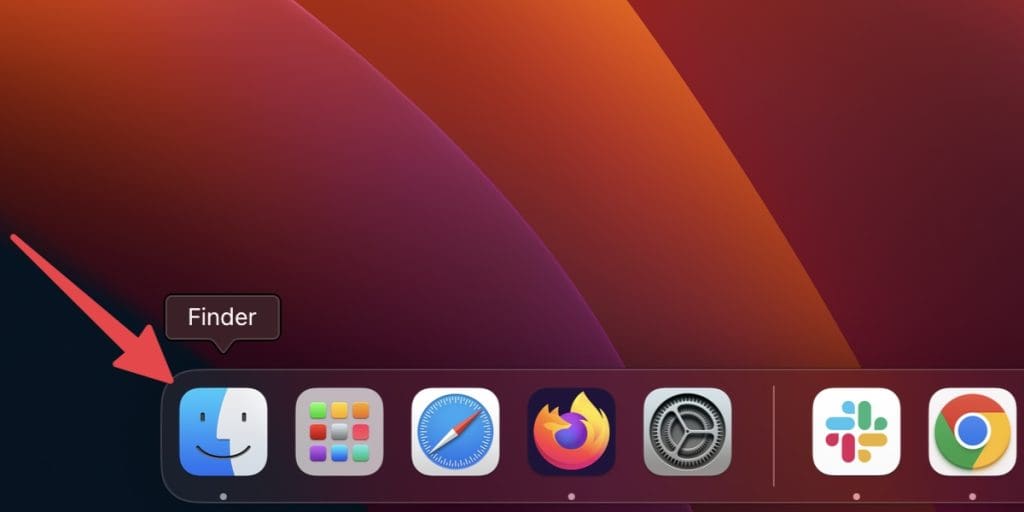
- Open Firefox on your Mac by clicking its icon in the Dock.
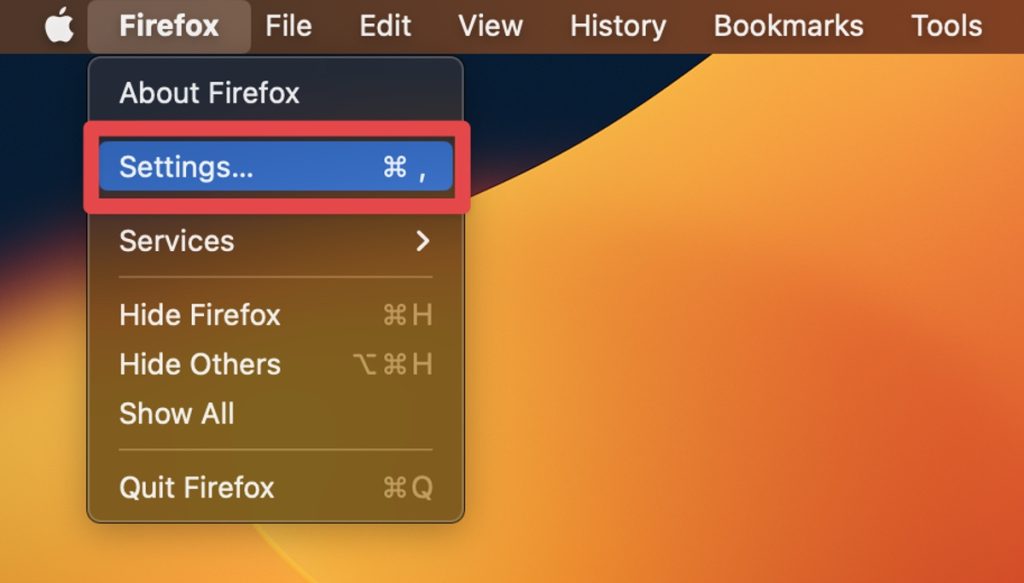
- Click Firefox in the menu bar and select Settings.
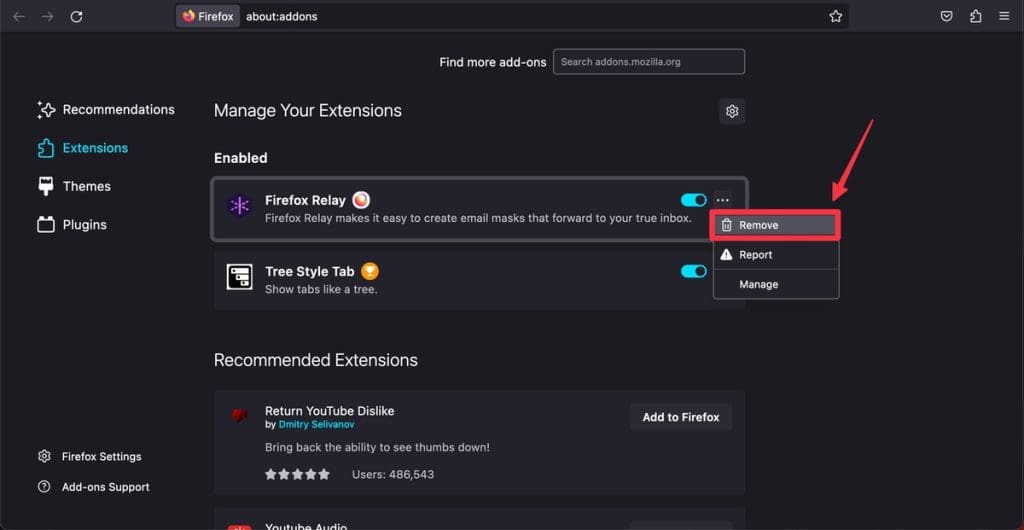
- Click Extensions & Themes in the left-hand menu to view all the extensions installed in Firefox.

- Find the extension you want to remove and click the three dots icon. Tap Remove in the drop-down menu.
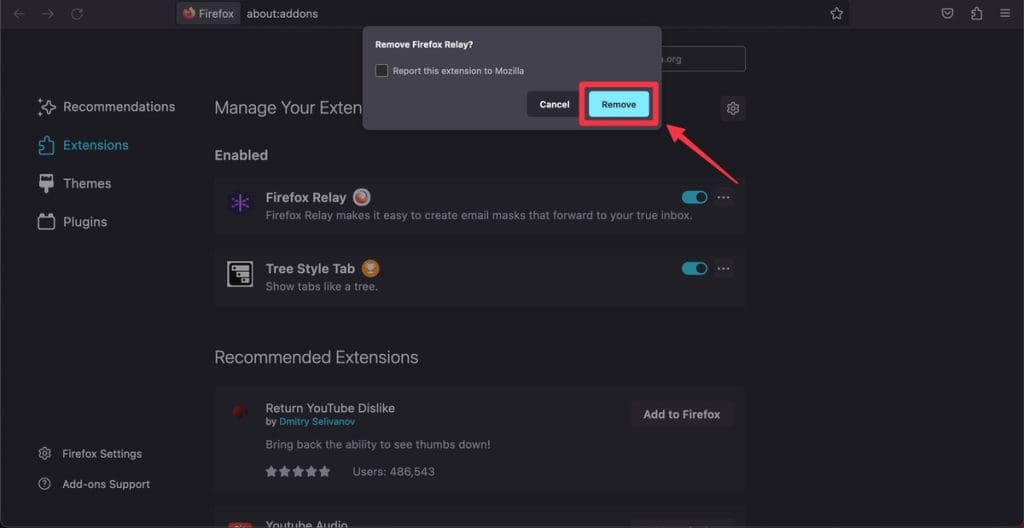
- Click Remove again to confirm that you want to remove the extension.
2. Reset Your Browser to Default Settings
Resetting your browser to its original settings can resolve issues like pop-ups and browser slowdowns caused by misconfigurations or malware. Below, I’ve shared the steps to reset your browser to default settings:
a. Reset Safari to Factory Defaults
Follow these steps to reset Safari to factory defaults:
- Open Finder by clicking its icon in the Dock.
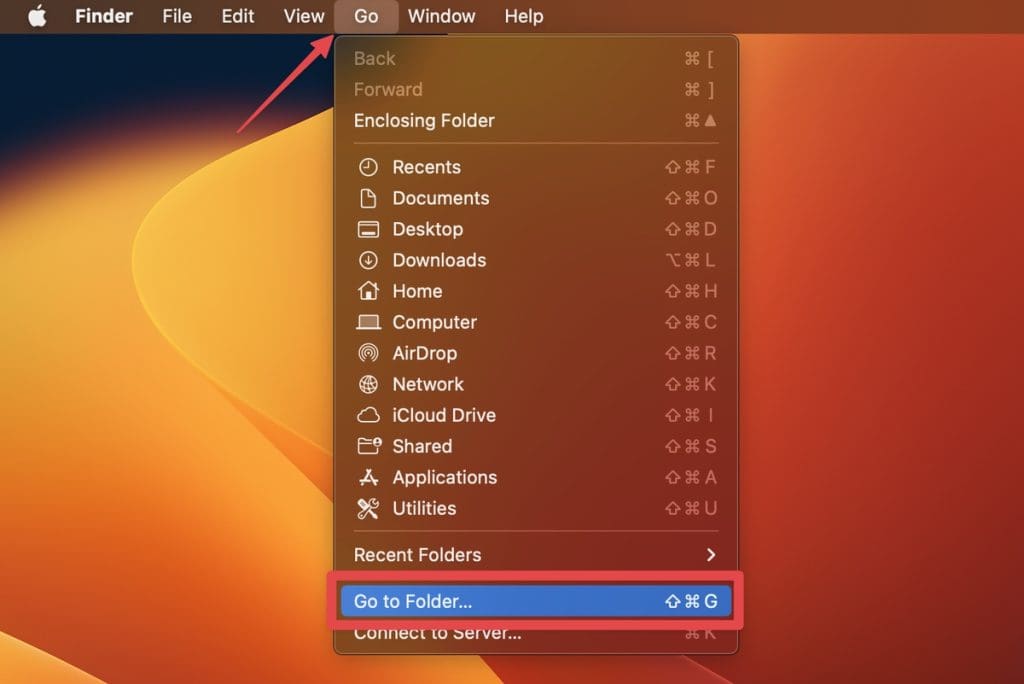
- With Finder open, click Go in the menu bar and select Go to Folder.
- Type the following directory in the box and press Enter:
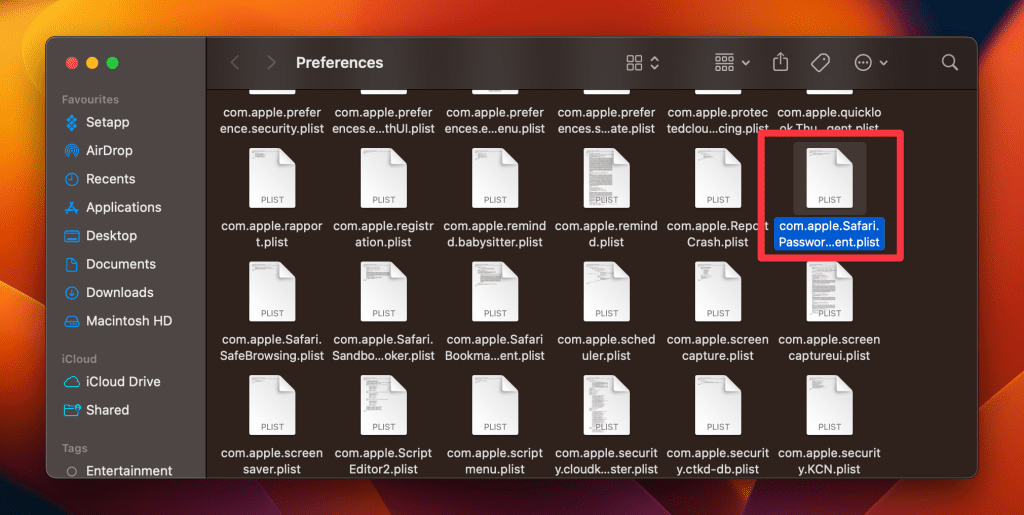
~/Library/Preferences/
- Find and drag the com.apple.Safari.plist file into the Bin.
- Next, type the following directory in the Go to Folder box and press Enter:
~/Library/Safari/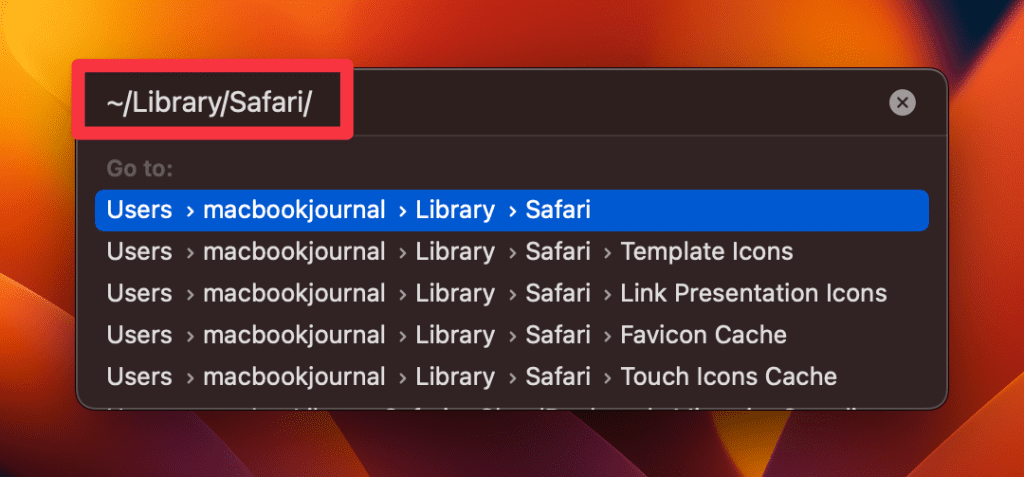
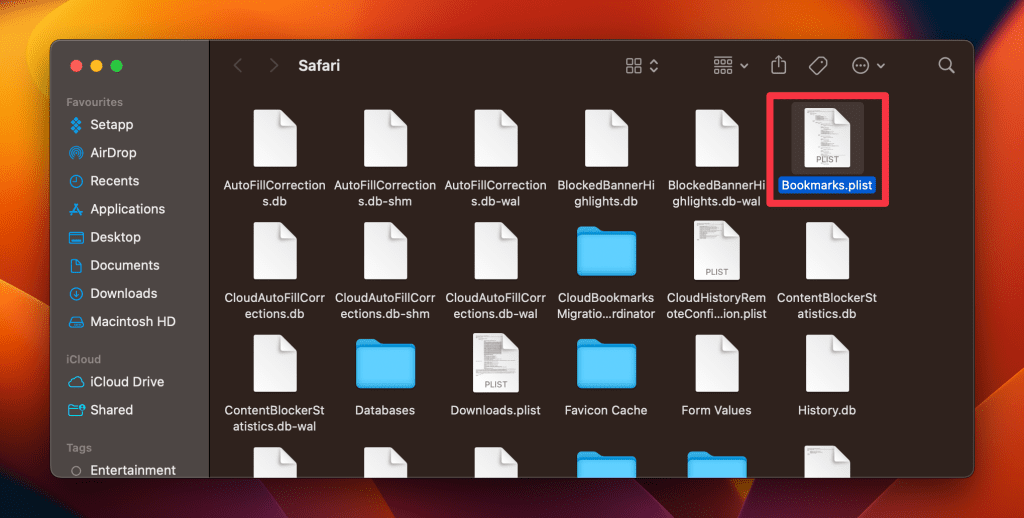
- Inside this folder, delete everything except the Bookmarks.plist file.
- Lastly, bring the Go to Folder box again and type the following directory:
~/Library/Containers/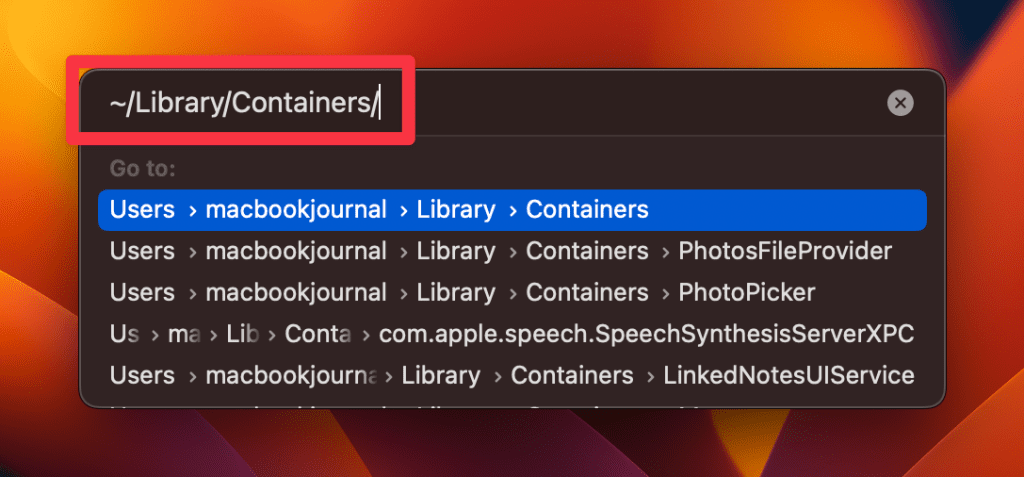
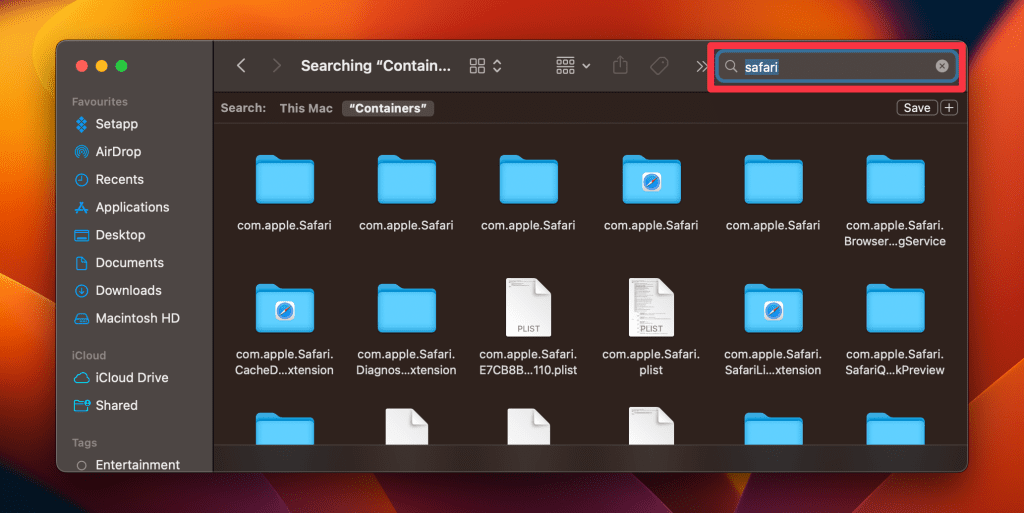
- Type Safari in the search box on the top-right of the window and delete all files and folders that appear in the result.
b. Reset Chrome to Factory Settings
Follow these steps to reset Chrome to factory settings:
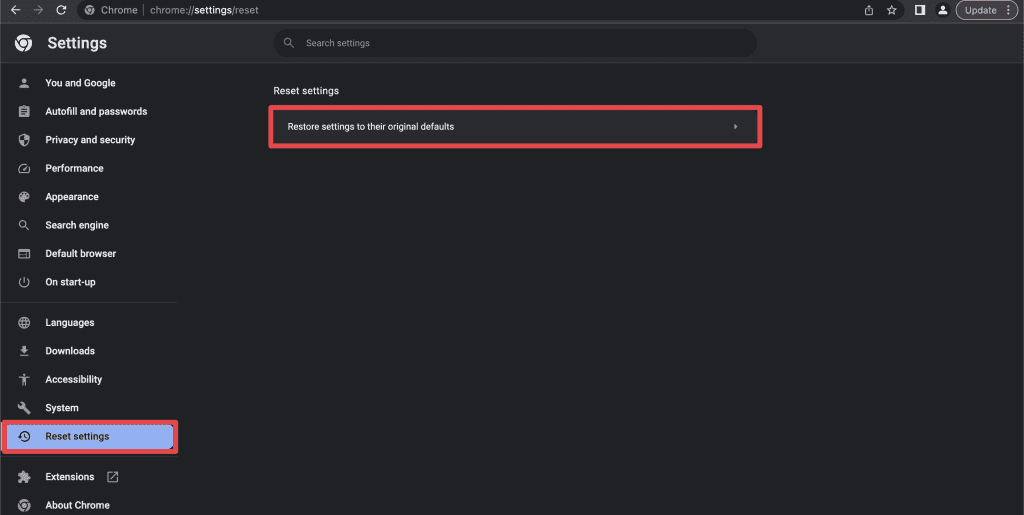
- In Chrome, click the three vertical dots and go to Settings.

- In the next window, click Reset settings in the left sidebar and select Restore settings to their original defaults.
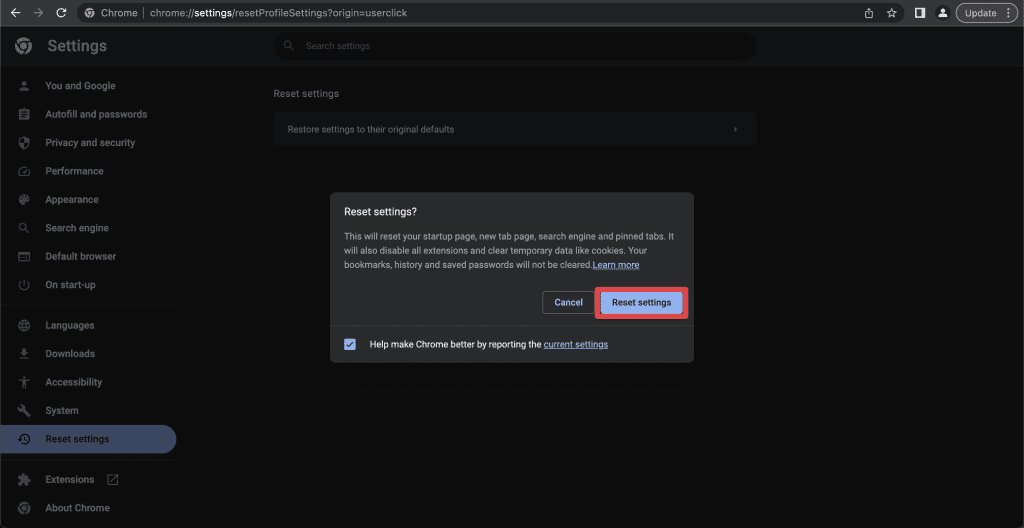
- A pop-up window will appear. Click Reset settings, and it will restore your Chrome settings to default.
c. Reset Firefox to Factory Settings
Here’s how to factory reset Firefox on Mac:
- In Firefox, click the three horizontal lines and go to Help.
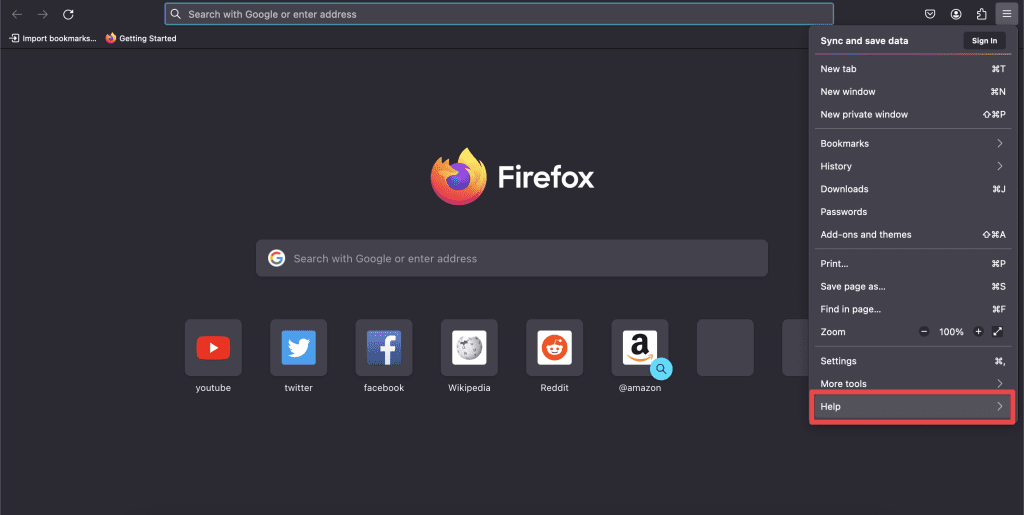
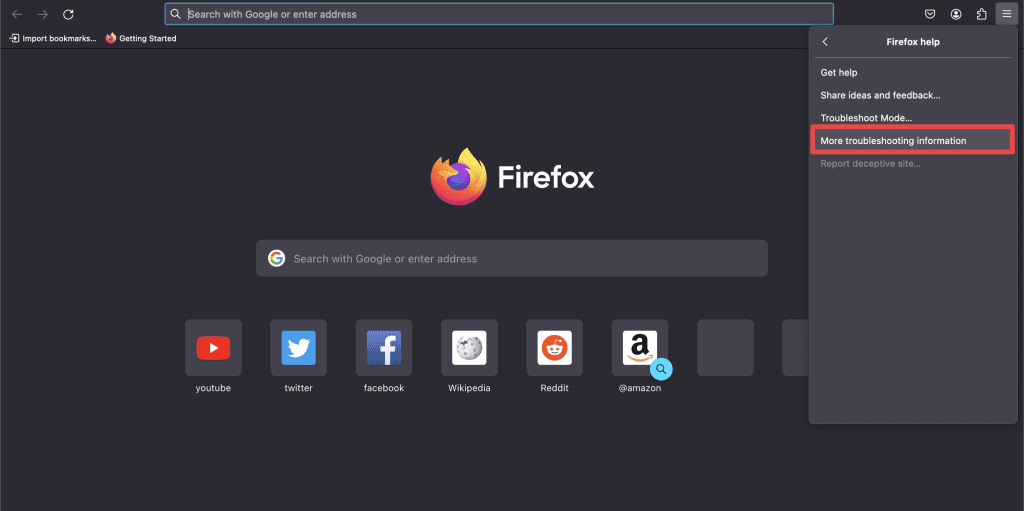
- Select More troubleshooting information.
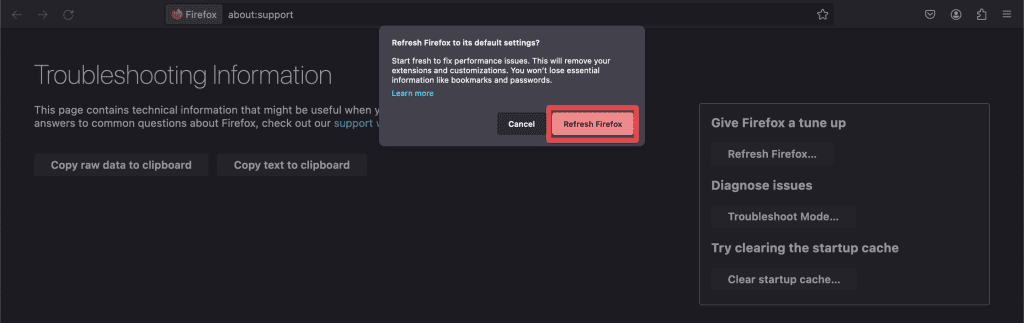
- On the right, click the Refresh Firefox button.

- When you click Refresh Firefox, a pop-up will appear at the top of the page. Click Refresh Firefox again.
3. Run a Virus Scan on Your Mac
Running a virus scan helps detect and remove any hidden threats causing pop-ups or performance issues on your Mac. Here’s how to run a virus scan on your Mac using MacKeeper:
- Download and install MacKeeper.
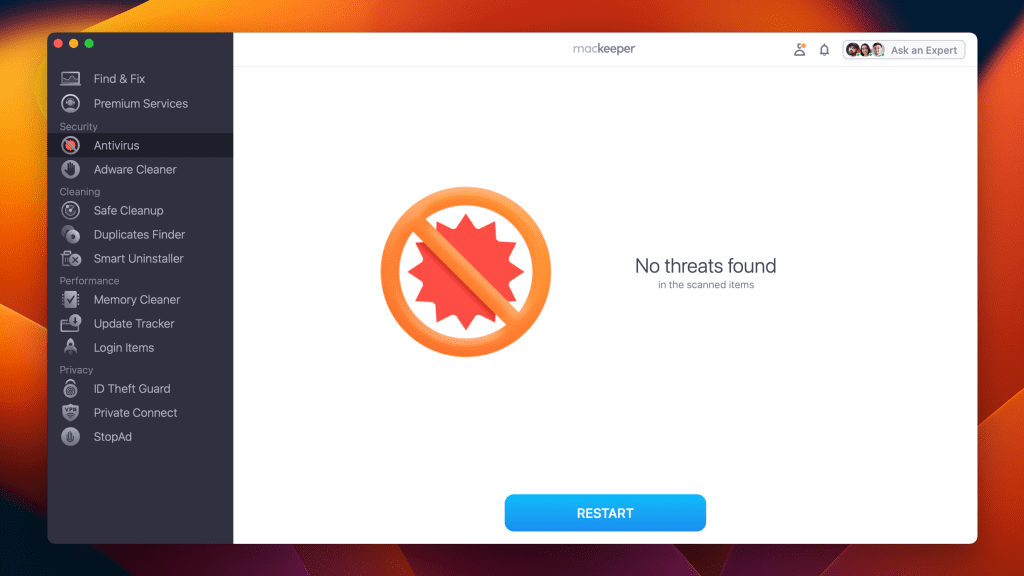
- Launch MacKeeper and navigate to the Antivirus tab in the left sidebar.

- Initiate an instant virus scan by clicking the Start Scan button.

- If viruses are detected during the scan, click the Fix Items button to resolve the issues.
- You’ll see a No threats found message if your system is threat-free. You can tap the Restart button to run the scan again.
- Enable real-time antivirus protection to safeguard your Mac from future threats by clicking the Enable button.

After setting up your security settings, MacKeeper will work quietly in the background. It’ll constantly check for dangers and stop any harmful actions in their tracks.
Did You Know? Pop-ups like the “Windows Defender Security Warning” are often part of phishing scams, where scammers attempt to steal your personal information or install malware by tricking you into clicking their links. Always avoid clicking anything in suspicious pop-ups.
Protect Your Mac Against Windows Defender Security Warning
Seeing a Windows Defender Security Warning on a Mac can be confusing, but knowing what it is and how to handle it helps a lot. Always keep your Mac’s security top of mind. Update your software often and learn about common scams. Be careful with alerts, and if unsure, ask an expert.
Here are some more tips to protect your Mac against scams and malware:
- Disable pop-ups on Safari and other browsers to block unwanted pop-ups on your Mac.
- Remove unidentified or random toolbars from your browser as they can be malicious.
- Change startup programs on your Mac if you notice suspicious items to prevent malware.