


TL;DR
To find files on your Mac:
- Open Spotlight by pressing Command ⌘ + Space.
- Type the file name or keyword.
- Click the file in the suggestions to open it.
Tried and Tested ✅: The methods and steps mentioned in this article have been tried and tested firsthand by Ojash Yadav on his MacBook Pro M3 and rechecked for errors on Hashir’s MacBook Air M2.
Searching for files is frustrating, time-consuming, and, let’s face it, a little bit overwhelming. To save you from this tedious task, I’ve shared four simple methods below to find files on your Mac easily.
4 Methods to Find Files on Mac
Why You Can Trust MacBook Journal ![]() We always conduct first-hand research and verify every method or solution we present, ensuring you receive reliable and effective advice. Learn more about our process.
We always conduct first-hand research and verify every method or solution we present, ensuring you receive reliable and effective advice. Learn more about our process.
Here are four quick ways to find any file with ease:
1. Using Spotlight
Spotlight is macOS’s built-in search feature that lets you quickly find files, apps, and more on your Mac. Here’s how to use Spotlight to find files on your Mac:
- Click the magnifying glass icon in the top right corner of your screen, or use the keyboard shortcut Command ⌘ + Space to open Spotlight.

- Type in the name or keyword of the file you’re looking for. As you type, Spotlight will provide suggestions based on what you’ve typed so far.

- If you see the file you’re looking for in the list of suggestions, click to open it.
Did You Know? Spotlight can also do calculations, currency conversions, and even launch apps. Simply type what you need directly into Spotlight, and it will give you an instant answer or open the app you’re looking for.
2. Using Finder’s Search Bar
Follow these steps to use Finder’s Search Bar to find files on your Mac:
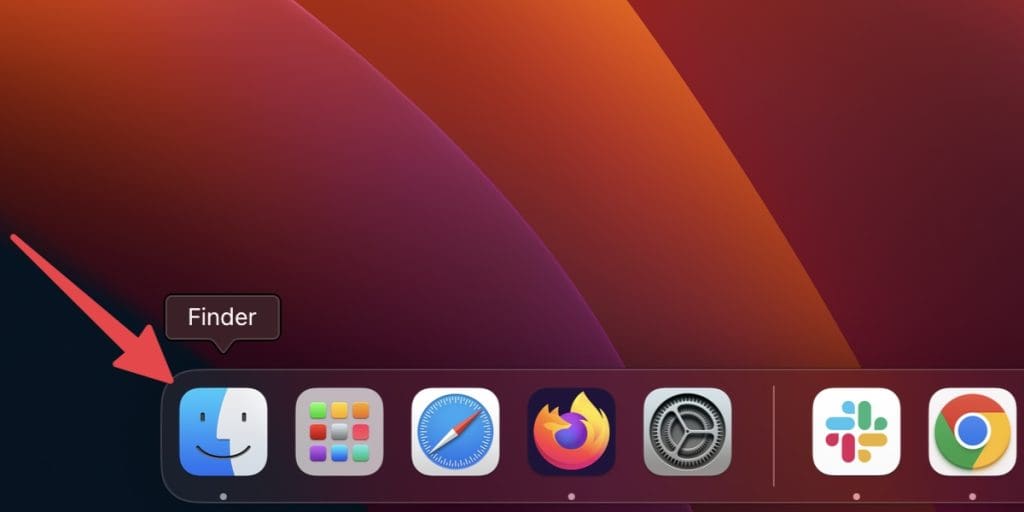
- Open a Finder window by clicking on the Finder icon in the Dock.
- Click the search bar in the top right corner of the window. If you don’t see the search bar, click the magnifying glass icon and it will expand into a search bar.
- Type in the name or keyword of the file you’re looking for. As you type, Finder will provide suggestions based on what you’ve typed so far.

- Skim through the results to find files on your Mac.
3. Using Finder’s Advanced Search
Finder’s Advanced Search provides enhanced search options, allowing you to find files using multiple criteria at once. You can find files on your Mac using Finder’s Advanced Search by following these steps:
- Open a Finder window by clicking on the Finder icon in the Dock.
- Click the File menu in the top left corner of the screen and select New Smart Folder or use the keyboard shortcut Command ⌘ + Option ⌥ + N to open a new Smart Folder.

- Click the + button in the window’s top right corner to add a search criterion.

- Choose the search criteria you want to use from the drop-down menus.
- Once you’ve added your search criteria, click the Save button in the top right corner of the window to save your Smart Folder. You can name your Smart Folder and choose where to save it.

To access your Smart Folder, open a Finder window and click the Smart Folder in the sidebar. Your search results will be displayed in the Finder window.
4. Using Recent Items
Mac’s Recent Items feature lets you quickly access files that you’ve recently opened, saving time and effort. To find files using the Recent Items feature on your Mac, follow these steps:
- Start by clicking the Apple logo in the top-left corner of your screen.
- From the dropdown menu, select the Recent Items option.
- This will display a list of recently accessed folders, applications, and documents.
- To open a specific file or application, simply click its corresponding icon in the list.
If the file you’re looking for doesn’t appear in the Recent Items list, it’s possible that the file hasn’t been opened recently, or the feature is disabled.
How Can You Make Files More Accessible on Your Mac?
To keep your files easy to find, consider using Spotlight Comments. These are simple tags you can add to any file, making it easier to locate later using Spotlight or Finder.
Here’s how to add Spotlight Comments to find files easily on your Mac:
Make use of tags and organize your files with color-coded tags for different projects or categories. It’s a lifesaver!
- Select the file you want to add a comment to in Finder.
- Right-click the file and select Get Info.

- In the Info window that appears, expand the Comments section.

- Click the empty field under Comments and type in any keywords or notes you want to associate with the file and press Enter.

Spotlight will display a list of all files on your Mac that match the search criteria, including those with matching Spotlight Comments.
Close the Info window and repeat the process for any other files you want to tag with comments.
Never Lose a File on Your Mac
Finding files on your Mac doesn’t have to be a difficult task with the help of these four easy methods. As you continue to use your Mac, here are three unique tips to keep in mind for finding files in the future:
- Use color-coded tags to organize and locate files on your Mac easily.
- Declutter your Mac to quickly find files without sifting through excess items.
- Regularly clean and optimize your Mac’s storage to make space for important files.


