TL;DR
To back up your data on macOS:
- Connect an external drive to your Mac.
- Go to System Settings > General > Time Machine.
- Click Add Backup Disk and select the external drive.
- Time Machine will automatically start backing up.
Tried and Tested ✅: The methods and steps mentioned in this article have been tried and tested firsthand by Ojash Yadav on his MacBook Pro M3 and rechecked for errors on Hashir’s MacBook Air M2.
It only takes one mistake to realize how important backups are. After losing some important work files, I learned my lesson. Now, I make sure to back up everything on my Mac, and I’ll show you four easy ways to do it, just like I do.
4 Easy Ways to Back Up Your Data on macOS
Why You Can Trust MacBook Journal ![]() We always conduct first-hand research and verify every method or solution we present, ensuring you receive reliable and effective advice. Learn more about our process.
We always conduct first-hand research and verify every method or solution we present, ensuring you receive reliable and effective advice. Learn more about our process.
macOS offers not one, not two, but four different options for backing up your data. Let’s explore each method in detail:
1. Back Up Your Data Using Time Machine
Time Machine, macOS’s built-in tool, automatically backs up your system, apps, settings, and files for easy restoration. Here is how to use Time Machine to back up your data on Mac:
Make sure to have two Time Machine drives. Use one for regular backups and store the other offsite or in a safe place. This way, if something happens to your Mac and backup drive, you still have another copy!
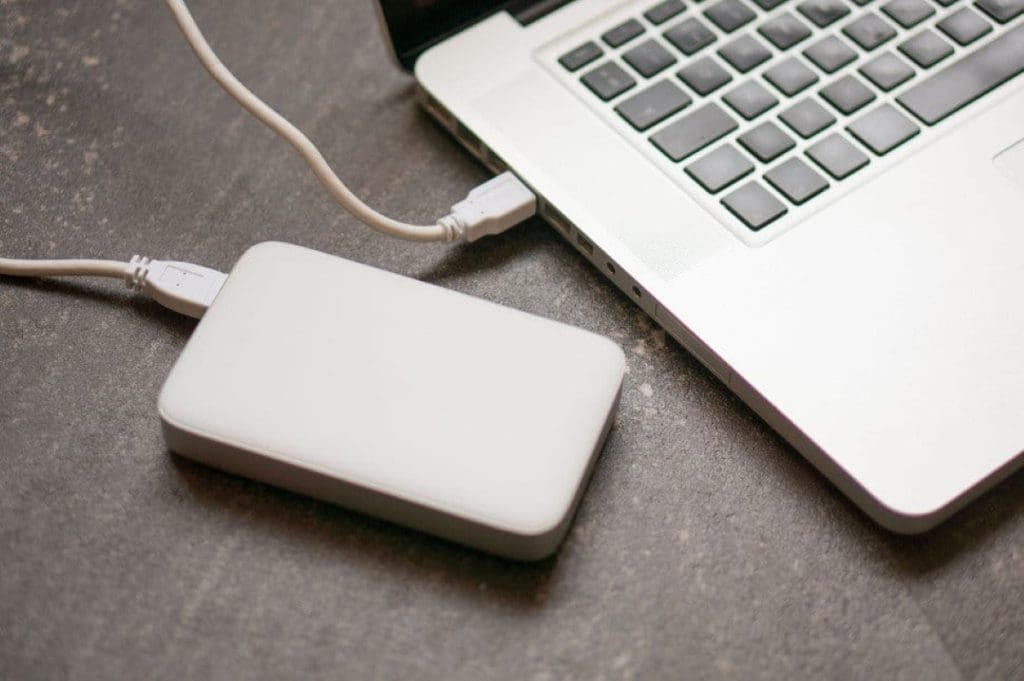
- Connect an external hard drive or SSD to your Mac.
- Click the Apple icon in the menu bar and select System Settings.
- Click General and select Time Machine.

- Tap the Add Backup Disk button and choose the external hard drive you connected.
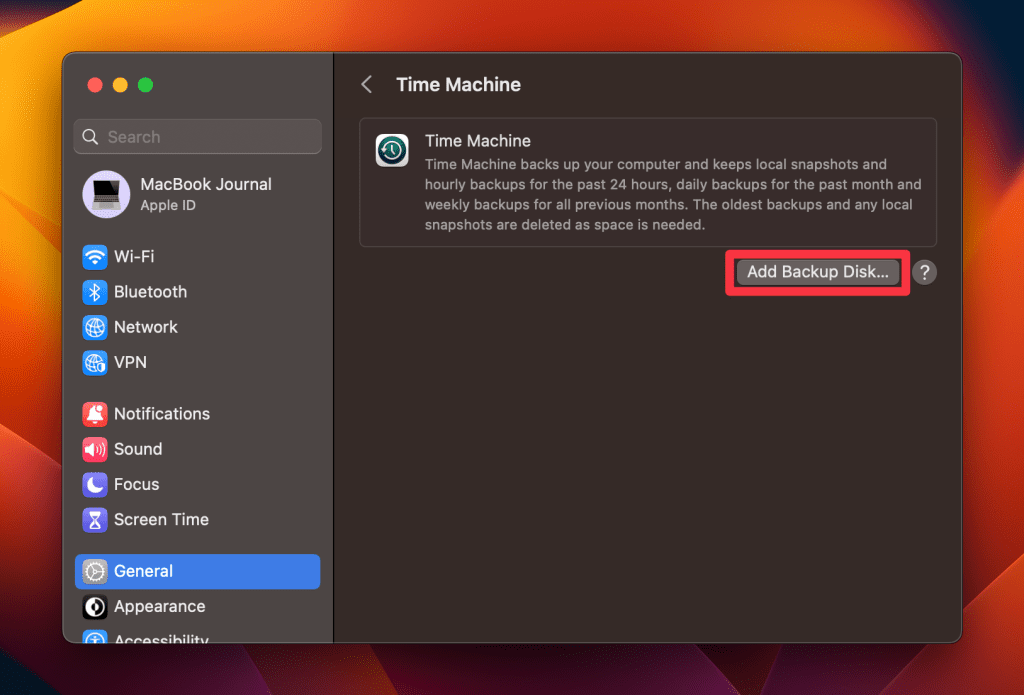
- Once selected, Time Machine will automatically start backing up your data.
How to Restore a Mac From a Time Machine Backup
To perform a full or partial restoration, the Migration Assistant is the ideal tool, available on every Mac by default. Here’s how to use Migration Assistant on your Mac:
- Connect your external drive to your Mac.
- Open Migration Assistant, located in the Utilities folder.

- Choose to transfer information From a Mac, Time Machine, or Startup disk.
- Select your Time Machine backup and click Continue.
- Select the data you wish to transfer and click Continue to initiate restoration.
2. Back Up Your Mac Data Using iCloud
iCloud securely stores your files, photos, and data online, allowing access across devices and offering a convenient cloud backup solution. Follow these steps:
If you forget your Apple ID password, you won’t be able to access your iCloud backup. So, make sure you remember it.
- Click the Apple icon and select System Settings.
- Click your Apple ID and select iCloud.

- Next, select iCloud Drive.

- On the window that appears, tap the Turn On button if your iCloud Drive is not turned on. If it is on, click the Options button to see which apps are syncing to the Drive.

- You’ll see a list of apps. Check the little box next to each app to enable syncing to iCloud Drive. Then, click Done.

3. Back Up Using an External Hard Drive
Using an external hard drive offers a reliable, offline method to back up your important files and folders directly on your Mac. Follow these steps:
Just a tip: these drives vary in size and storage capacity, so choose one that matches how much you need to store. Always ensure your drive has enough space and is formatted right for your Mac.
If you’re not sure how to format your drive on Mac to make it compatible, here’s how:
- Connect an external hard drive to your Mac.
- Open the Disk Utility application, which can be found in the Applications > Utilities folder.

- In the left sidebar of the Disk Utility window, select the external hard drive you want to format and click the Erase button at the top.

- On the confirmation pop-up, type a name for your drive.
– If you plan to use it with Time Machine on macOS Big Sur or later, choose APFS.
– On older macOS versions, you can use Mac OS Extended (Journaled).
Then, click Erase.

- This will format the external hard drive and make it compatible with macOS.
Now, follow these steps to back up your data to this drive:
- Connect the external hard drive to your macOS device.

- Open Time Machine or your third-party backup software and select the external hard drive as the destination for your backup.
- The software will automatically begin backing your data to the external hard drive.
4. Back Up Your Data to Dropbox, OneDrive, or Google Drive
If you’re using a third-party cloud storage service such as Dropbox, OneDrive, or Google Drive, you can also use it for backing up your Mac.
a. Backup Using Google Drive
To use Google Drive for backing up your Mac, follow these steps:
- Download and install Google Drive on your Mac.
- After installing, follow the on-screen prompts to set up Google Drive on your Mac.
- Once the Drive is set up, click the Google Drive icon in the menu bar.
- Click the Settings icon and select Preferences.
- Click Add folder in the Google Drive Preferences window.

- Select a folder you want to backup on your Google Drive and click Open.

- Select an option from Sync with Google Drive or Back up to Google Photos and click Done.

- This will add the folder to the list. Click Save to start the backup process.

- You can check the progress in the menu bar.

Once the files are backed up, you can open your Google Drive files from other devices, like a different Mac, iPhone, or iPad.
Remember, Google Drive is great for syncing files across devices, but it’s not the best choice for full backups.
b. Backup Using Dropbox
Here’s the process for backing up your Mac using Dropbox:
- Download and install the Dropbox desktop app on your Mac.
- Sign in to your Dropbox account.
- Click the Dropbox icon in the menu bar.
- Open the Preferences from the dropdown menu or click Show me how on the Keep your Mac files backed up prompt.

- Select a folder you want to back up and click Set up.

- Once the folder is saved, you’ll get a Your folders are set up successfully notification and Dropbox will begin backing up the data.

c. Backup Using OneDrive
For backing up your Mac with OneDrive, follow these steps:
- Download OneDrive on your Mac.
- Sign in to your OneDrive account or create a new one.
- Access Preferences in OneDrive from the menu bar.
- Go to the Backups tab.
- Choose Manage Back up.
- Select a folder you wish to back up and click Start Backup.
Create A Back Up of Your Mac
Backing up your data is crucial to avoid accidental data loss. Here are some more tips for additional information about backing up and protecting your files:
- Learn how to restore deleted files on Mac using Time Machine never to lose your important data.
- If you’re running out of space on your Mac, delete old Time Machine backups or downloads.
- If you use iCloud to back up your data, you can easily access your iCloud photos on your Mac or any other device.