TL;DR
If your iMessage not working on Mac:
- Adjust send and receive settings to troubleshoot.
- Sign out and back into iMessage to refresh.
- Ensure iMessage is enabled in settings.
- Reset iMessage after backing up chats.
- Scan your Mac for virus with MacKeeper.
Tried and Tested ✅: The methods and steps mentioned in this article have been tried and tested firsthand by Ojash Yadav on his MacBook Pro M3 and rechecked for errors on Hashir’s MacBook Air M2.
iMessage not working on your Mac? I’ve had that issue too, but I found a few quick fixes that solved it. Let me share what worked for me!
Before We Begin
Not always, but sometimes, malware is the reason behind your Mac apps acting weird, including iMessage. To rule out the possibility of virus causing iMessage not working on Mac, you should scan your Mac for malware using MacKeeper’s Antivirus.
How to Fix iMessage Not Working on Mac
Why You Can Trust MacBook Journal ![]() We always conduct first-hand research and verify every method or solution we present, ensuring you receive reliable and effective advice. Learn more about our process.
We always conduct first-hand research and verify every method or solution we present, ensuring you receive reliable and effective advice. Learn more about our process.
Here, I will share the nine best methods to fix iMessage not working on Mac issue:
1. Scan Your Mac for Malware
Although Macs are generally considered more secure than other operating systems, they’re not completely immune to malware. Unwanted software can interfere with system processes and applications, including iMessage. Performing a malware scan can help identify and remove these malicious elements.
Here’s how to run a virus scan on Mac using MacKeeper:
- Download and install MacKeeper.
- Launch MacKeeper and navigate to the Antivirus tab in the left sidebar.

- Initiate an instant virus scan by clicking the Start Scan button.

- If any viruses are detected during the scan, click the Fix Items button to resolve the issues.
- If your system is threat-free, you’ll see a No threats found message. You can tap the Restart button to run the scan again.

- Enable real-time antivirus protection to safeguard your Mac from future threats by clicking the Enable button.

Once you have configured your security settings, MacKeeper will continue to operate in the background, diligently scanning for threats and actively blocking any malicious activity.
What Else Can MacKeeper Do?
Besides scanning your Mac for viruses, MacKeeper can do many other Mac maintenance tasks. You can use it to connect to the internet privately via VPN, remove cache files, and delete login items. Learn more about its features in my detailed Mackeeper review.
2. Try Different Send and Receive Options
Try different send and receive options to fix the issue:
- Open the Messages app on your Mac
- Click Messages in the menu bar and select Settings.

- Click iMessage in the new window.

- On this screen, you’ll find all the phone numbers and email addresses associated with your Apple ID. Experiment by selecting different options to see if iMessage becomes functional.

- A good starting point could be to deactivate all options except for your mobile number and then test iMessage to see if it’s working.
3. Sign In and Out of iMessage
Refresh your iMessage connection by signing out and then back into your Apple ID. Here’s how to sign out and sign in to iMessage on Mac:
- Launch the Messages application on your Mac.
- Click Messages in the menu bar and select Settings.
- Go to the iMessage tab and click the Sign Out button in front of your Apple ID.

- Click Sign Out on the pop-up again to confirm your decision.

This will sign you out of your iMessage account, and your Mac will no longer send or receive iMessages.
- Wait for a few seconds, then go back to Messages, navigate to Settings, and under the iMessage tab, input your Apple ID credentials to sign back in.
4. Enable iMessage If It’s Not
Ensure iMessage is enabled in your settings, as it may have been disabled unknowingly. Here’s how to enable iMessage on Mac:
- Launch the Messages application on your Mac.
- In the menu bar, click Messages and choose Settings from the dropdown menu.
- Once the Settings window is open, locate and click the iMessage tab.
- Check the box next to Enable Messages in iCloud.

- If it’s already checked, consider unchecking and rechecking it to refresh the settings.
- Close the iMessage application and relaunch it to see if enabling the account resolved the issue.
5. Reset iMessage
Be warned, however, this may also remove your iMessage conversations, so proceed with caution and back up any important chats before starting.
Here’s how to reset iMessage on Mac:
- If you have important conversations, make sure you back them up using Time Machine or another backup method.
- Launch the Messages application on your Mac.
- Click Messages in the menu bar and select Settings.
- Navigate to the iMessage section and uncheck the option for Enable Messages in iCloud under your Apple ID.

- After that, reboot your Mac by selecting Restart from the Apple menu in the upper-left corner.
- Once your Mac is back up, re-enable this feature.
6. Update Your macOS
Follow these steps to update your macOS on Mac:
- Click the Apple menu in the upper left corner of your screen and select System Settings.
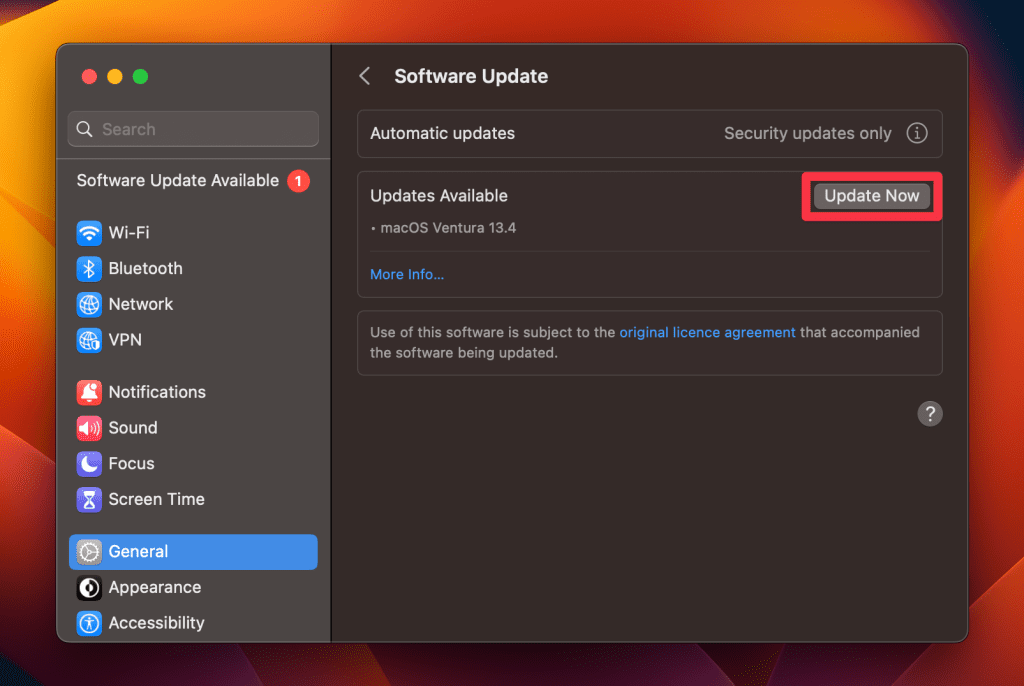
- Click General and select Software Update to open the updates menu.

- Your Mac will check for updates automatically. If your Mac is up-to-date, it will show your current macOS version.
- If an update is available, click the Update Now button to download and install it.
Wait for the update to finish downloading and installing.
7. Restart Your Mac
A simple restart can refresh your system and resolve iMessage connectivity problems. Here’s how:
- Before you restart, make sure to save any open files and close all applications to prevent data loss.
- Click the Apple icon in the upper-left corner of your screen.
- From the dropdown menu, select Restart.
- A dialog box will appear, asking you to confirm the action. Click Restart to proceed.

- Allow your Mac to complete the reboot process. This may take a couple of minutes.
- Once your Mac is back up, launch Messages to check if the issue has been resolved.
8. Reset the Network Settings
Reset your network settings to fix any connection issues that may be disrupting iMessage. Here’s how to reset the network settings on your Mac:
- Click the Apple menu at the top left corner of your screen and select System Settings.
- Click Network in the System settings window.
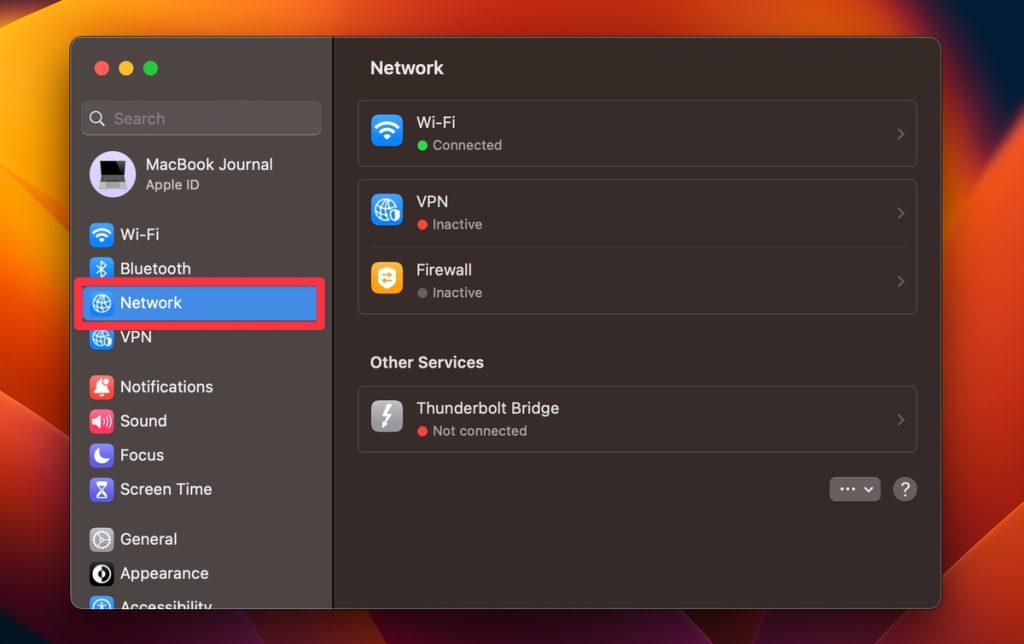
- Select the type of network connection you want to reset (Ethernet, Wi-Fi, etc.) from the list on the right-hand side of the screen.

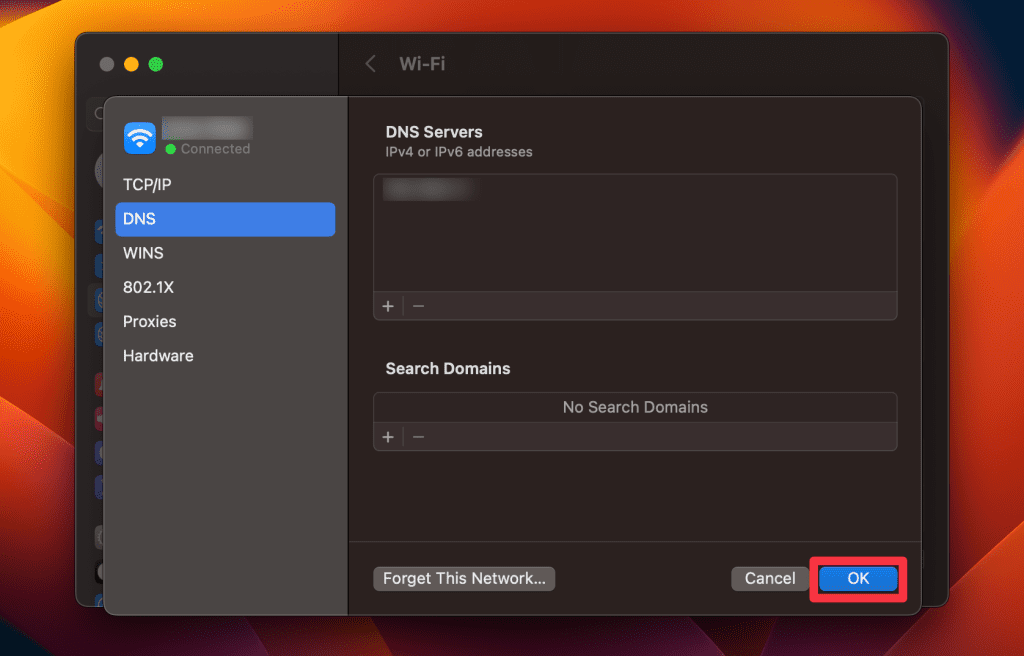
- Click the Details button next to your Wi-Fi network.

- Select the TCP/IP tab.

- Tap the Renew DHCP Lease button.

- Confirm by clicking the Apply button.

- Click the OK button to save your changes.
- Your Mac will now reset the network settings for the selected network connection.
9. Delete Messages Cache
Clear the iMessage cache to remove corrupt files and potentially fix performance issues. Here’s how to delete Messages cache on Mac:
Be cautious when clearing cache files or resetting settings. Always back up your Mac before making changes that could result in data loss.
- Before you delete any files, make sure to back up important chats you don’t want to lose.
- Make sure iMessage is closed. You can quit the app from the Dock or by using the Command ⌘ + Q shortcut.

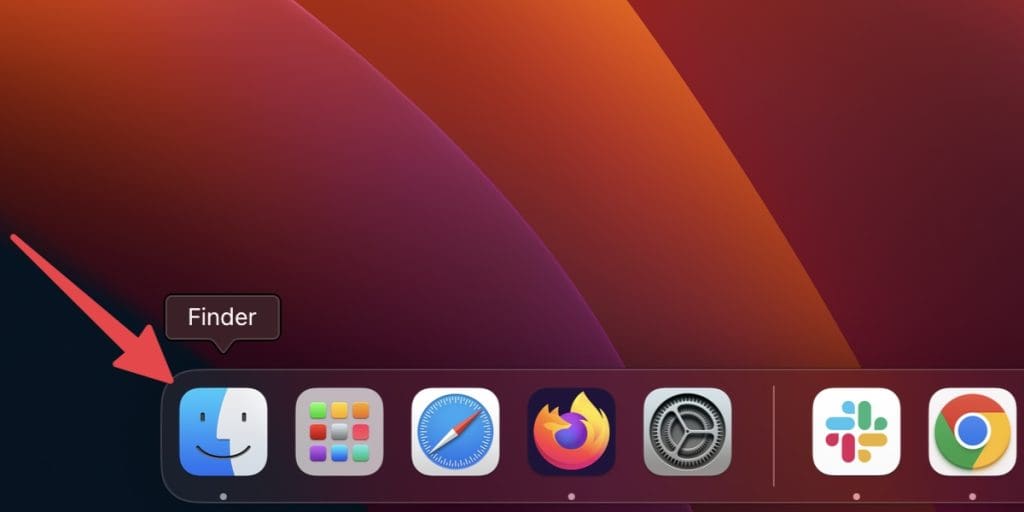
- Click the Finder icon in your Dock to open a new Finder window.
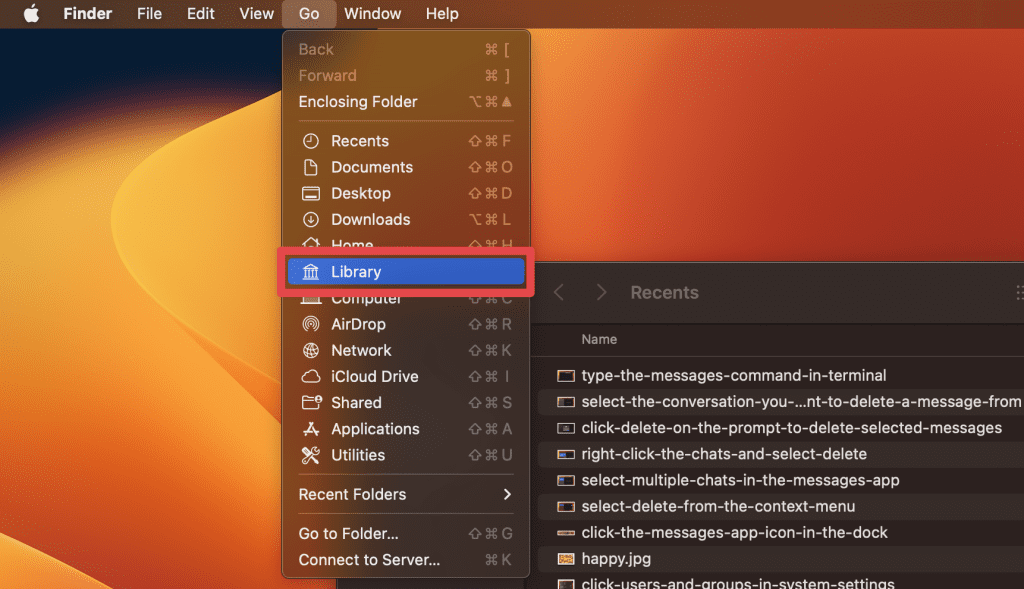
- Hold down the Option ⌥ key and click the Go menu at the top. Then select Library from the dropdown menu.
- In the Library folder, locate and enter the Messages folder.

- Here, you’ll find a folder named Cache or something similar. Move this folder to the Bin.
- After deleting the cache, empty the Trash on your Mac and restart it for the changes to take effect.
- Open iMessage to see if the issue has been resolved.
10. Check Apple’s Servers
Verify if Apple’s iMessage servers are down or undergoing maintenance, which may be causing the problem. Here’s how to check Apple’s servers:
- Open your web browser and go to Apple’s System Status page. This is where Apple provides real-time updates on the status of various services.
- On the System Status page, look for the iMessage service. It should be listed among other Apple services like iCloud, App Store, and more.

- If all is well, you’ll see a green dot next to iMessage. An orange or red dot indicates there are issues or outages.
- If there is an issue, you can usually click the service for more details or a timeline on when the problem is expected to be resolved.
Start Sending iMessages Without a Hitch
From restarting your Mac to scanning for malware, there are many ways to fix iMessage. Here are a few more tips to boost productivity:
- Too many messages can slow down iMessage. Try deleting old messages to fix the issue.
- If you do not use iMessage, you can also turn it off on iMac.
- Too many apps can cause conflicts. Optimize your Mac’s storage to prevent issues with iMessage.