TL;DR
To manage downloads on Mac:
- Clear your Downloads folder regularly to free up space.
- Set your browser to organize downloads automatically.
- Remove duplicate files with Smart Folders.
- Sync files with iCloud Drive for easy access.
Tried and Tested ✅: The methods and steps mentioned in this article have been tried and tested firsthand by Ojash Yadav on his MacBook Pro M3 and rechecked for errors on Hashir’s MacBook Air M2.
Our Macs can quickly become digital dumping grounds, especially in the Downloads folder. I totally understand the struggle, and after trying different methods, I found some that really helped me keep things tidy.
4 Ways to Manage Downloads on Mac
Why You Can Trust MacBook Journal ![]() We always conduct first-hand research and verify every method or solution we present, ensuring you receive reliable and effective advice. Learn more about our process.
We always conduct first-hand research and verify every method or solution we present, ensuring you receive reliable and effective advice. Learn more about our process.
Managing downloads on a Mac can keep your files organized and prevent your Downloads folder from cluttering. Here’s a breakdown of the steps you can take to manage downloads on Mac:
1. Clear Out Your Downloads Folder
Regularly clearing out your Downloads folder helps free up storage space and keeps your Mac organized. To delete downloads on your Mac, follow these steps:
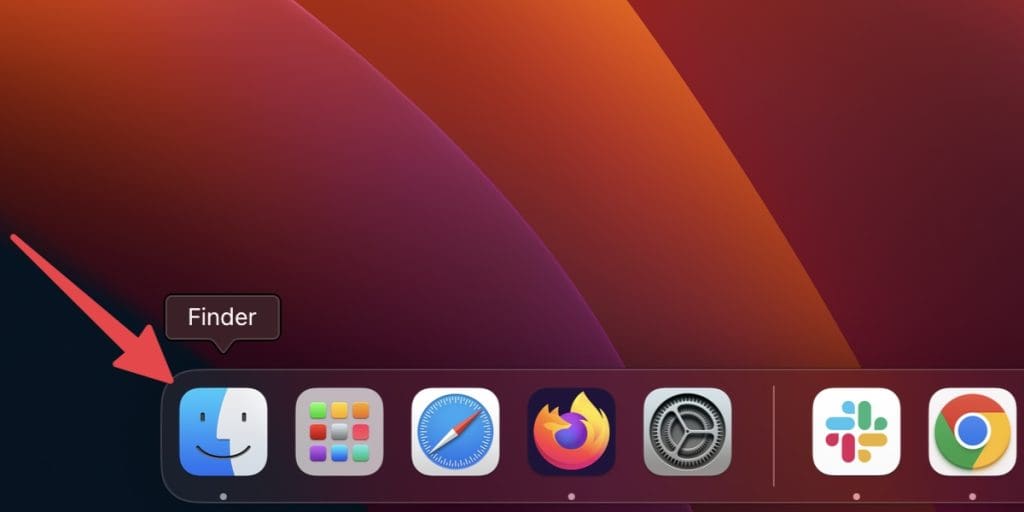
- Click the Finder icon in the Dock (it looks like a blue and white smiling face).
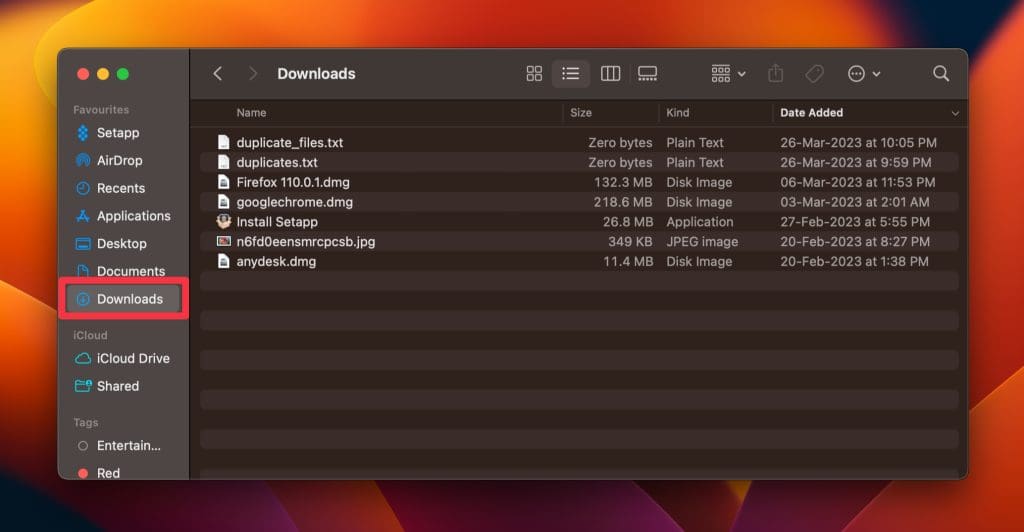
- Open the Downloads folder by clicking Downloads in the left sidebar.
- Go through each file and decide whether you need it or not.
- For any files you want to keep, consider moving them to a more organized location on your Mac, such as a folder within your Documents folder.
- Select the file or files you want to delete. You can click a single file to select it or hold down the Command ⌘ key and click multiple files to select them simultaneously.

- Drag the selected file(s) to the Bin icon in the Dock. Alternatively, right-click the file(s) and select Move to Bin from the context menu.

- Now empty Trash on your Mac by right-clicking the Bin icon in your Dock and selecting Empty Bin to delete the files permanently.

💾 Before making any significant deletions, it’s always a good idea to have a recent backup of your data using Time Machine or another backup solution, just in case you need to recover something later.
2. Configure Web Browser Default Settings
Change your browser’s default download location to organize files into your chosen folder automatically. To configure web browser default settings, follow these steps:
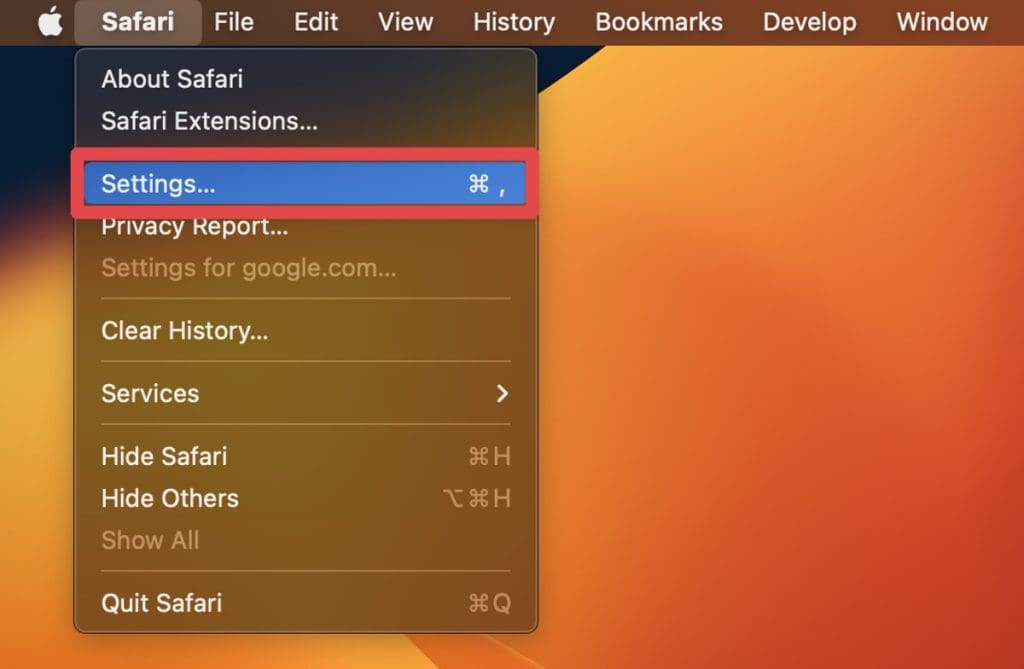
- Open the browser you want to configure (e.g., Safari) and go to its Settings menu.
- Click the General tab and find the File download location option.
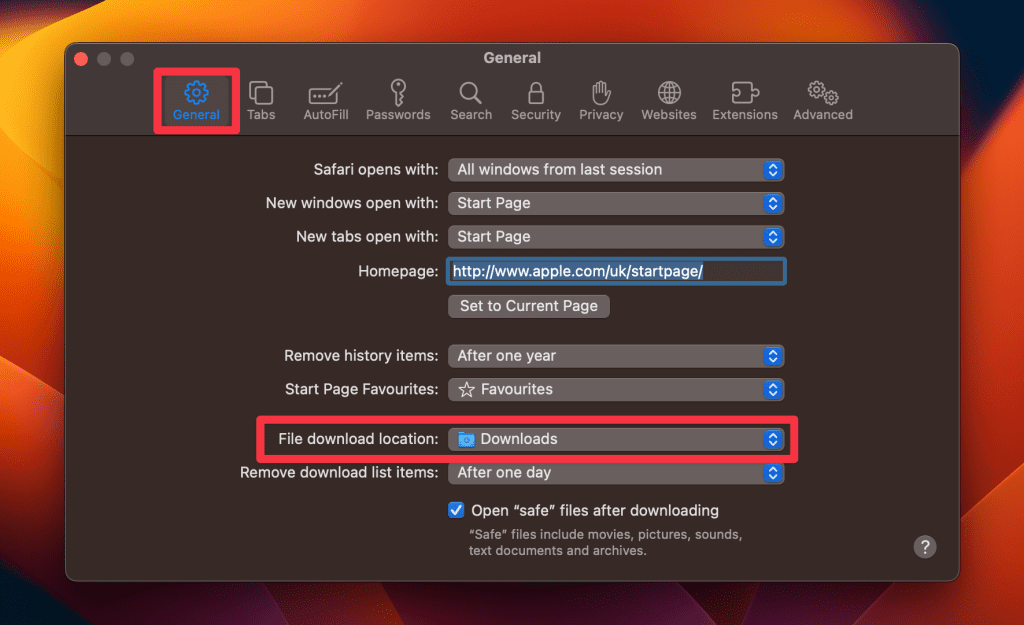
- Click the drop-down menu button and choose Other to select your desired folder to save your downloads. You can create a new folder specifically for your downloads or choose an existing one.

- From now on, all downloads made through that browser will automatically be saved to the designated folder.
Changing your download folder settings works across most browsers like Safari, Chrome, and Firefox. Ensure you adjust settings individually in each browser you use.
3. Remove Duplicate Files
Use Smart Folders to find and delete duplicate files on your Mac quickly. Here’s how to use Smart Folders on your Mac to find and remove duplicate files:
- Open Finder on your Mac, click the File menu, and select New Smart Folder.

- Click the + icon in the upper-right corner of the New Smart Folder window.
- Set the search parameters for finding duplicate files. For instance, select Kind as the first condition, Image as the second, and PNG as the third if you want to access duplicate image files on your Mac.
- Click the + sign again, select Name, choose is, and type in copy.
- Click Save to save the search results as a Smart Folder.

- Specify a name and location for your Smart Folder and tap the Save button.

Review the search results and delete the duplicate files.
You can also use Mackeeper’s Duplicates Finder to search for duplicate files and delete them.
4. Sync Files With iCloud Drive
Sync your files with iCloud Drive to keep them accessible across all your Apple devices. Here are the steps to sync your Mac files with iCloud Drive:
- Go to the Apple menu on the top left corner of your screen and click System Settings.
- Click Apple ID and sign in with your Apple ID if you haven’t already. If you have, click iCloud.

- Click iCloud Drive.

- A new pop-up window will appear. If the iCloud Drive is not enabled, tap the Turn On button and click Done.

- You can also click Options to select the folders you want to sync with iCloud Drive by checking the box next to each folder. Click Done when finished.

- Any files you save to the synced folders will automatically be uploaded to iCloud and can be accessed from other devices signed in to the same Apple ID.
- To access your iCloud Drive files, go to Finder and click iCloud Drive in the left-hand menu.

Optimizing Your Mac Management Process
Managing downloads on a Mac is an important aspect of maintaining a clean and organized system. By combining automatic and manual methods, you can keep your Downloads folder under control and ensure important files are backed up.
Here are some more tips to optimize your Mac’s storage:
- Declutter your Mac to reduce system strain and quickly find what you need.
- Regularly delete unnecessary apps to free up storage.
- Clean up your Mac regularly to boost speed and prevent slowdowns.