


TL;DR
Before you sell your Mac, give it away, or trade it in, take the following steps:
- Back up your files and use the Erase All Content and Settings feature.
- Sign out of your iCloud, Apple ID, and iMessage.
- Deauthorize your Mac from Apple Music and unpair Bluetooth devices.
- Disable FileVault and uninstall the apps you installed.
- Reset NVRAM, erase your hard drive, and reinstall macOS.
Letting go of your Mac isn’t just about handing it over. There’s a lot to do to make sure it’s ready for the next person. I recently upgraded from my MacBook Air M1 (2020) to a MacBook Air M2 (2022). So, I put together a list of 11 simple things that I did while getting my Mac ready for the next owner. These steps will help you keep your stuff safe and make sure the next person receives a clean system.
Before We Begin
Before you sell your Mac, you must remove your data. But deleting apps using regular methods leaves leftover files in hidden corners of your Mac. So, download MacKeeper and use its Smart Uninstaller to uninstall apps with their leftovers to completely erase your data.
11 Things to Do Before You Sell Your Mac
Why You Can Trust MacBook Journal ![]() We always conduct first-hand research and verify every method or solution we present, ensuring you receive reliable and effective advice. Learn more about our process.
We always conduct first-hand research and verify every method or solution we present, ensuring you receive reliable and effective advice. Learn more about our process.
Now that you’re ready to give away, trade-in, or sell your Mac, here are 11 essential steps to take before you pass it on to the next owner.
1. Uninstall the Apps You Installed
Uninstalling apps on your Mac ensures the new owner gets a clean, up-to-date machine without unwanted apps or programs. Plus, uninstalling the apps also protects your data, as leaving apps on could leave personal information and settings behind.
So, if you’re preparing to sell your Mac, here’s how to uninstall all the apps:
- Click the Finder icon in the Dock.
- Open the Applications folder from the left sidebar.

- Right-click the app you want to uninstall and select Move to Bin.

- Next, right-click the Bin icon in the Dock and select Empty Bin.

- This will remove the selected app from your Mac.
Although this method removes the app from your Mac, it may leave leftover files. To completely remove an app and its leftover files, you can use MacKeeper’s Smart Uninstaller. Here’s how to delete apps with leftover files using MacKeeper:
- Download MacKeeper and install it on your Mac.
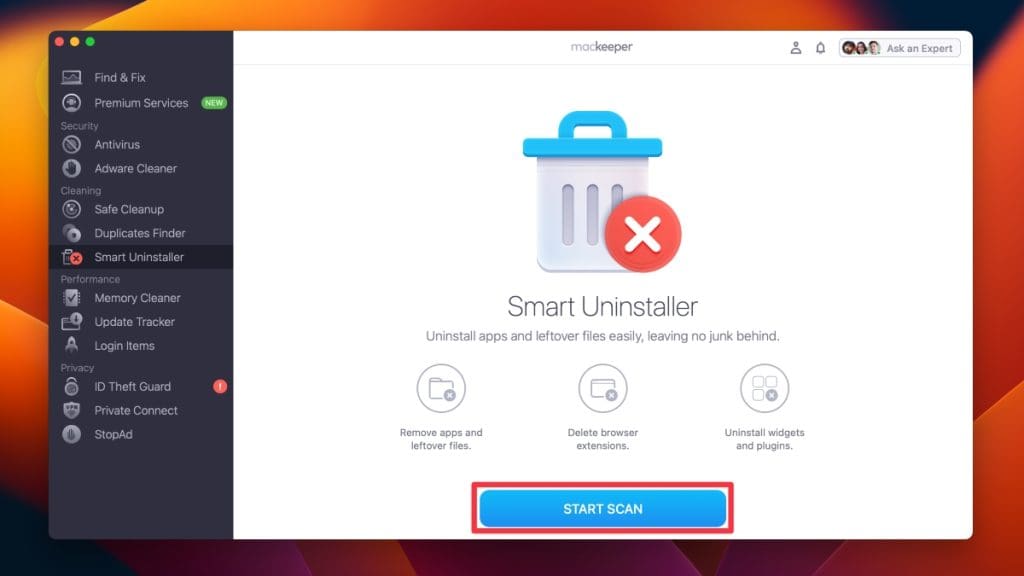
- Open MacKeeper and click the Smart Uninstaller in the left-hand menu.

- Click Start Scan.
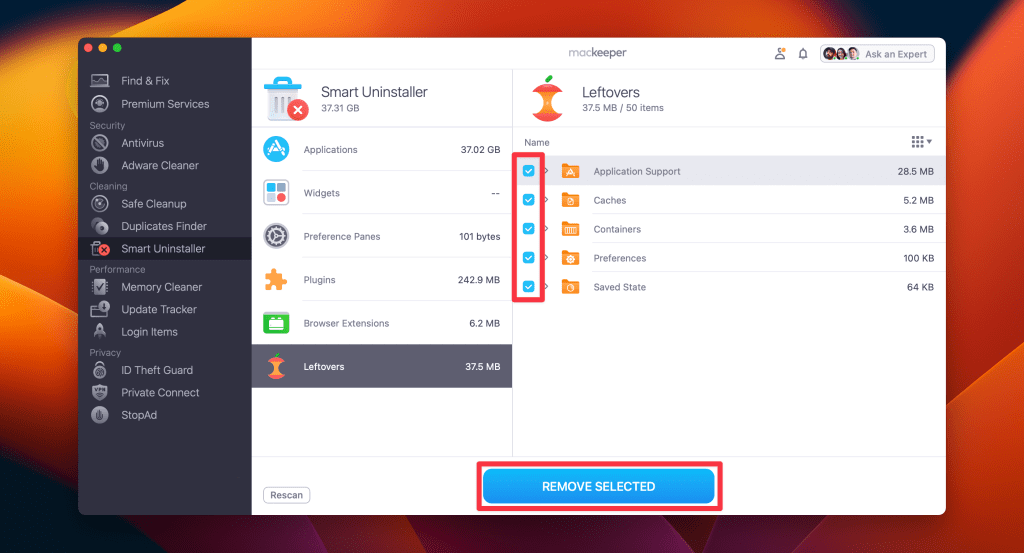
- When the scan completes, click Leftovers in the left sidebar.

- Select the leftover files you want to delete in the right pane and click Remove Selected.
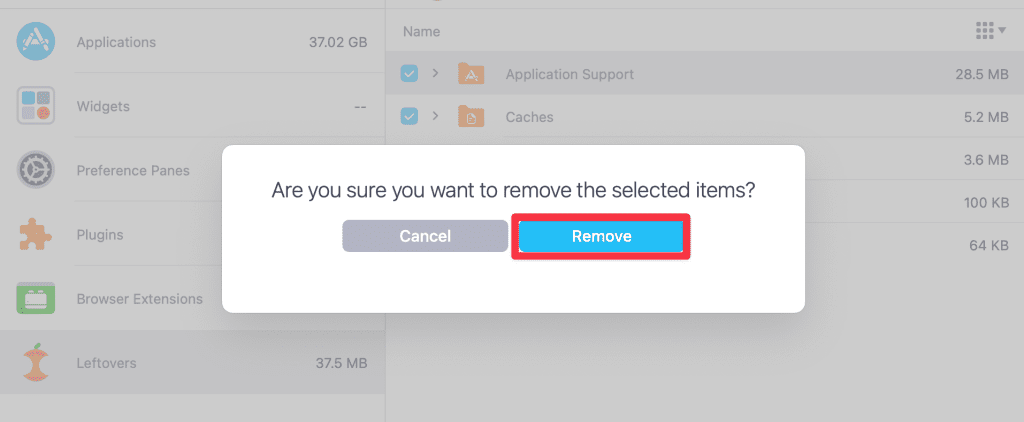
- Tap the Remove button to confirm the removal.
- This will remove your selected app leftovers, and you’ll get a Removal Completed notification. Click Rescan to run the scan again.

What Else Can MacKeeper Do?
Besides deleting apps and their leftover files, MacKeeper can perform different Mac optimization tasks. You can use it to delete browser extensions on your Mac, remove login items, and delete duplicate files. If you want to learn more about its features, read my detailed MacKeeper review.
2. Back Up Your Files
Before anything else, you must back up your data on Mac. This includes your documents, photos, videos, and other files you don’t want to lose. There are several ways to back up your Mac, including the following:
a. Back Up Your Data Using iCloud
You can also back up your data to the cloud if you have enough space on your iCloud account. I personally use iCloud to back up my data because it makes it available across all my Apple devices.
To back up your data using iCloud, follow these steps:
- Click the Apple icon and select System Settings.
- Click your Apple ID and select iCloud.

- In the iCloud window, select iCloud Drive.

- Tap the Turn On button on the pop-up window if your iCloud Drive is not turned on. If it is on, click the Options button to see which apps are syncing to the Drive.

- In the list of apps, check the little box next to each app to enable syncing to iCloud Drive and click Done.

b. Back Up Your Data Using Time Machine
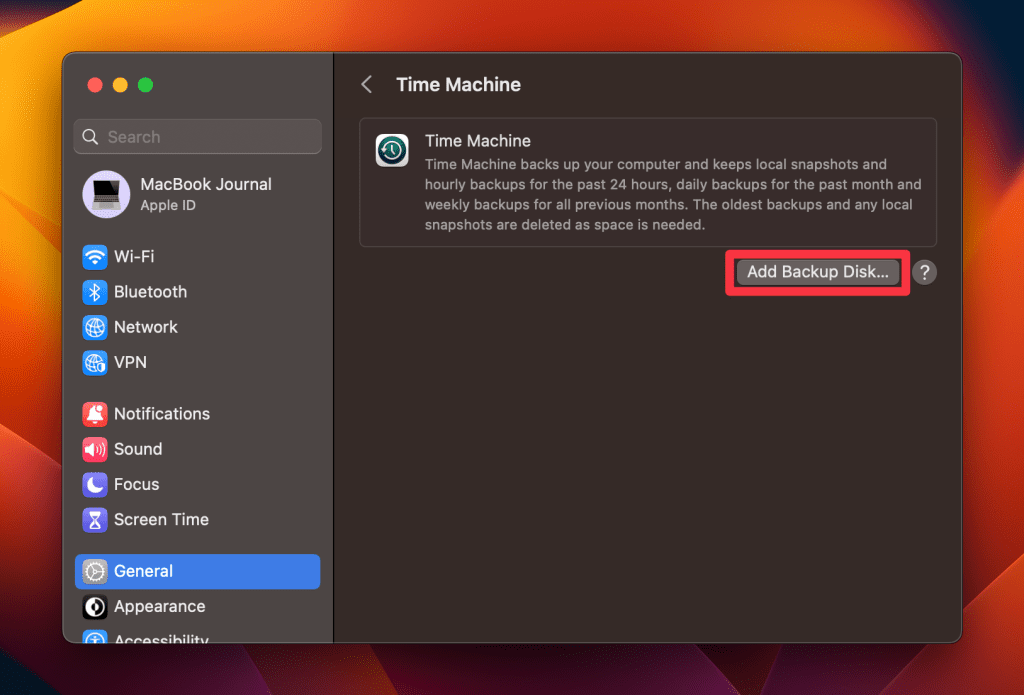
Time Machine is a built-in backup feature in macOS that helps you back up your data to an external hard drive. Follow these steps to use Time Machine to back up your data on Mac:
- Connect an external hard drive to your Mac.
- Click the Apple icon in the menu bar and select System Settings.
- Click General and select Time Machine.

- Tap the Add Backup Disk button and choose the external hard drive you connected.
- Once selected, Time Machine will automatically start backing up your data.
c. Back Up Your Data Using an External Drive
If you want to go old school, you can also use an external drive to back up your Mac data. Here’s how:
- Plug your external hard drive into your Mac.
- Go to Applications > Utilities and open Disk Utility.
- In Disk Utility, find your external hard drive in the sidebar, and click the Erase button.
- In the pop-up, enter a name for your drive and select Mac OS Extended (Journaled) as the format, then click Erase.
- After the drive is formatted, connect it to your Mac. Use Time Machine or another backup software to select the external drive as your backup destination. The backup process will then start automatically.
3. Use Erase All Content and Settings
If you have a Mac with Apple Silicon or Apple T2 Security Chip running on macOS Monterey or later, use the Erase All Content and Settings option. For other Macs and macOS versions, please proceed to the next step.
Here’s how to use the Erase All Content and Settings option on macOS Sonoma:
- Select System Settings from the drop-down menu of the Apple menu.
- Click General and select Transfer or Reset.

- Tap the Erase All Content and Settings button.

- Enter your Mac’s password and tap Unlock to open the Erase Assistant.
- Click Continue on the next screen.

- Enter your Apple ID password to sign out of Apple ID and click Continue.

- Enter your Apple ID password to sign out of Find My Mac and click Continue.

- Tap Erase All Content & Settings on the warning pop-up.
- Your Mac will restart with a black screen. You’ll have to reconnect all Bluetooth accessories, like a mouse or keyboard. While reconnecting the Bluetooth accessory, you may be asked to choose a language.
- Next, you’ll be asked to select a Wi-Fi network.
- When you connect to a Wi-Fi network, your Mac will activate. You’ll get a Your Mac is Activated message on your screen. Tap the Restart button to continue through the setup process.
4. Sign Out of iCloud and Apple ID
Signing out of iCloud and your Apple ID before selling your Mac is essential to protect your personal information, keep app purchases from transferring to the new owner, and preserve device settings.
Here’s how to sign out of iCloud and Apple ID on Mac:
- Click the Apple icon in the menu bar and go to System Settings.
- Click your Apple ID and tap Sign Out.

- This will sign you out of your Apple ID and iCloud. You won’t be able to use any of these features unless you sign in again.
5. Sign Out of iMessage
Turning off your iMessage is not enough if you’re selling or giving away your Mac. You must sign out of iMessage to prevent security breaches. If you don’t sign out, your Apple ID might stay logged in on the Mac, which could lead to a security risk with the new owner.
Here are the steps to safely sign out of iMessage from your Mac:
- Open the Messages app on your Mac and select Settings from Messages in the menu bar.

- Click the iMessage tab at the top and tap Sign Out.

- Click Sign Out on the pop-up to confirm you want to sign out.

- This should sign you out of iMessage and all related services associated with that account on your Mac.
6. Deauthorize Your Mac From Apple Music
Before selling your Mac, make sure to deauthorize it from Apple Music. If you don’t, your Apple ID and all the music and content you’ve bought or streamed through iTunes and Apple Music will still be linked to the Mac. This could let the new owner access and use your content.
To deauthorize your Mac from Apple Music, follow these steps:
- Open the Music app on your Mac and click Account in the menu bar.

- Hover your mouse over Authorisations and select De-authorise This Computer.

- Enter your Apple ID and password on the pop-up and tap De-authorise.

- Your Mac will be deauthorized from Apple Music. It won’t be able to access content purchased through iTunes or streamed through Apple Music until it is reauthorized again with an active Apple ID account.
7. Disable FileVault
FileVault encrypts the data on your Mac so no one can read it without your password. If you plan to erase your Mac before selling or giving it away, you can safely leave FileVault turned on because the erase will remove your data anyway. But it’s best to hand over the Mac with encryption disabled.
Here’s how to turn off FileVault to make your Mac fully ready for the next person:
- Click the Apple icon and select System Settings.
- Click Privacy & Security and select FileVault in the right pane.

- Tap the Turn Off button next to FileVault. I didn’t have it enabled on my MacBook Air M1 (2020) so it showed me the Turn On button.

- Enter your administrator password when prompted and tap Unlock.

- Tap Turn Off Encryption on the pop-up to disable FileVault.

- This will disable FileVault disk encryption on your Mac and decrypt data on your hard drive.
8. Unpair Bluetooth Devices
Before you give away or sell your Mac, unpair all your Bluetooth devices. This stops the new user from possibly getting to your data or confidential info that might still be connected to these devices. Also, unpairing keeps you safe from security risks if the new owner tries to use these devices with the Mac.
Here’s how to unpair Bluetooth devices with your Mac:
- Click the Apple icon and select System Settings from the drop-down menu.
- Click Bluetooth and locate the Bluetooth device you want to unpair in the My Devices list.

- Hover your mouse over the Bluetooth device and click the Disconnect button next to the device’s name.

- Confirm you want to unpair the device by clicking Remove in the confirmation box that appears.
- The device should now be removed from your Mac’s list of connected devices.
9. Reset NVRAM
If you sell your Mac, you must reset the NVRAM so your information and settings are no longer present. It can protect personal data, prevent compatibility issues, and ensure the new user receives an optimal experience.
Here’s how to reset your Mac’s NVRAM:
On Intel-based Macs
- Turn off your Mac and press the Power button to turn it on.
- Press and hold the Option ⌥ + Command ⌘ + P + R keys simultaneously on your Mac’s keyboard before the gray screen appears.

- Hold the keys until your Mac restarts and you hear the startup chime twice.
- Release the keys and let your Mac start up normally.
On M1 and M2 Macs
Resetting NVRAM on M1 and M2 Macs is unnecessary because the reset process occurs automatically if needed when you restart your Mac. Unlike Intel-based Mac models, there is no key combination to initiate NVRAM inspection during startup. To reset the NVRAM on an M1 or M2 Mac, shut it down, wait a few seconds, and power it back on.
10. Erase Your Hard Drive
To protect your privacy, it’s important to erase your hard drive before selling or giving away your Mac. This ensures none of your personal data is left behind.
This process cannot be reversed, so if you want to save your data, create a backup before starting this process.
To erase your hard drive, follow these steps:
- Power off your Mac by clicking the Apple icon and selecting Shut Down.
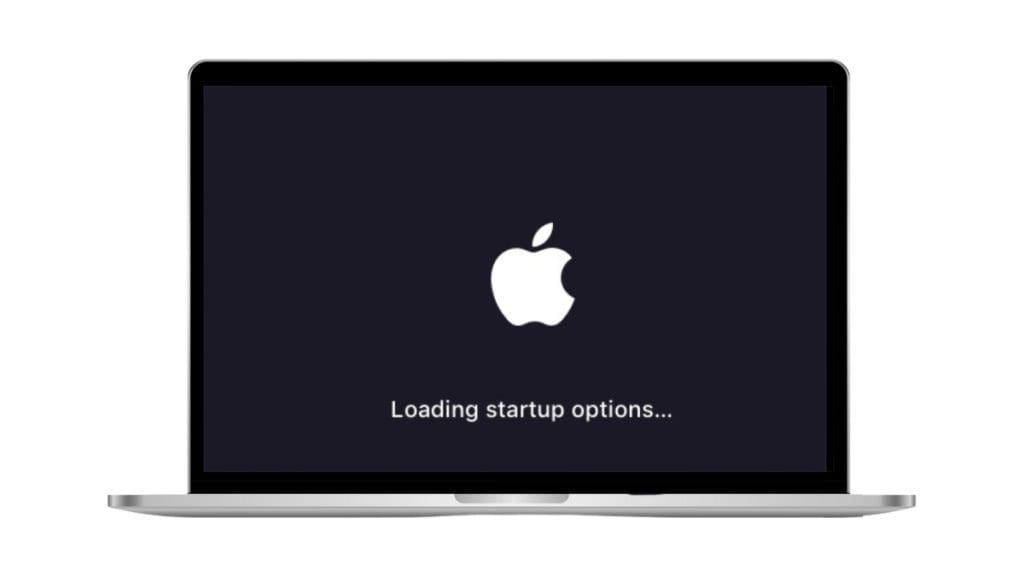
- To turn on your Mac, press and hold the Power button. Keep holding the button until you see the Loading Startup Options screen.
- Click the gear icon to select Options.

- Select Disk Utility from the Recovery Mode options and click Continue.

- Inside the Disk Utility window, click the Macintosh HD drive and tap Erase in the top menu.

- In the pop-up window, type your drive’s name. Choose its format as APFS and tap the Erase button.

- This will erase your hard drive completely.
11. Reinstall macOS
After erasing your hard drive, you’ll need to reinstall macOS. This ensures the new owner gets a clean slate without running into compatibility issues. There are two ways to reinstall macOS:
- Using the Built-in Recovery Mode: Restart your Mac and press and hold the Power button. Keep holding the button until you see the Loading Startup Options screen. On the Startup screen, select Options to access the Recovery Mode options. Here, select Reinstall macOS and click Continue.
- Using a Bootable USB Drive: If you don’t have an internet connection or Recovery Mode isn’t working, create a bootable USB drive with the macOS installer. To do this, download the macOS installer from the App Store and follow the prompts to create a bootable USB drive.
Prepare Your Mac for Hand Over
Properly preparing your Mac before selling, giving away, or trading-in is important to protect your data. It also ensures the new owner can use the device without any issues. Here are some more tips to prep your Mac before handing it over to the new owner:
- If you access confidential sites, make sure you factory reset your browser on Mac before selling or giving it away.
- Reset your Mac password so the new owner doesn’t have a problem accessing the system.
- Clean up your Mac – both digitally and physically.


