


TL;DR
To transfer photos from your iPhone to your Mac:
- Connect your iPhone to your Mac with a USB cable.
- Unlock your iPhone and tap Trust, then click Allow on your Mac.
- Open the Photos app and select your iPhone in the sidebar.
- Click Import All or pick specific photos to import.
- Choose whether to delete or keep them on your iPhone.
- Disconnect your iPhone. You’ll find your photos in the Imports album.
Tried and Tested ✅: The methods and steps mentioned in this article have been tried and tested firsthand by Ojash Yadav on his MacBook Pro M3 and rechecked for errors on Hashir’s MacBook Air M2.
Snapped the perfect shot on your iPhone and need it on your Mac? Don’t let memories stay trapped. Learn how to transfer photos from an iPhone to Mac effortlessly with this guide.
With macOS Sequoia and iOS 18, you can also use iPhone Mirroring to drag and drop photos directly between your iPhone and Mac. It’s a new, wireless transfer option that works when both devices are signed in with the same Apple ID.
Before We Begin
Photos on a Mac mean more space and less hassle. But moving pics from iPhone to Mac can mean unwanted duplicates. MacKeeper can help you clear out those duplicates in 3 easy steps and ensure you only have one copy of each image on your Mac.
Clear Out Duplicate Photos on Your Mac With MacKeeper
Over time, as you transfer, share, and backup photos, you accumulate duplicates that take up precious storage space on your Mac. But manually sifting through thousands of photos to identify and delete duplicates can be a daunting task.
Enter MacKeeper, a utility designed to make this process effortless. Here’s how to use MacKeeper’s Duplicates Finder to delete duplicate photos on Mac:
- Download and install MacKeeper on your Mac.
- Open MacKeeper on your Mac and click Duplicates Finder in the left sidebar.

- Click Start Scan.

- Select a folder in the left menu to review duplicate files before deletion.

- Alternatively, you can click Check All and tap the Remove Selected button to remove all duplicate files at once.

- Tap the Remove button on the pop-up to confirm the deletion.

- This will remove the selected files, and you’ll get a Removal Completed message. Click Finish to end the process.

What Else Can MacKeeper Do?
Besides removing duplicate photos, MacKeeper offers valuable optimization tools to delete unwanted apps, clear the cache, and optimize your Mac’s storage. Check out my detailed Mackeeper review to learn more about its features.
How to Transfer Photos From an iPhone to a Mac
Why You Can Trust MacBook Journal ![]() We always conduct first-hand research and verify every method or solution we present, ensuring you receive reliable and effective advice. Learn more about our process.
We always conduct first-hand research and verify every method or solution we present, ensuring you receive reliable and effective advice. Learn more about our process.
Below, I’ve shared different methods for transferring photos from iPhone to Mac.
1. Via Photos App
The Photos app on your Mac makes importing pictures from your iPhone simple and organized. Here’s how to do it:
- Connect your iPhone to your Mac using a USB cable.
- Unlock your iPhone and tap Trust when prompted to trust the computer.

- You’ll also get a pop-up on your Mac. Click Allow to connect your iPhone to your Mac.

- Open the Photos app on your Mac.
- You should see your iPhone listed in the sidebar. Click your iPhone’s name, and you’ll see a preview of your device’s photos and videos.

- You can import all new photos by clicking Import All New Items.

- If you want to import selected items, select the photos and click Import X Selected.

- Once the import is complete, you’ll be asked if you want to delete or keep the imported items on your iPhone. Choose based on your preference.
- Disconnect your iPhone, and you’ll find the imported photos in the Imports album (or ‘Last Import’ in newer macOS versions) in the Photos app on your Mac.
2. Using AirDrop
AirDrop is Apple’s wireless tool for quickly sharing photos between iOS and macOS devices. Here’s how to use AirDrop to transfer photos from your iPhone to your Mac:
Your iPhone and Mac must be on the same Wi-Fi and close enough for Bluetooth. Make sure both devices are signed in with the same Apple ID or that AirDrop visibility is set to Everyone or Contacts Only.
- Turn on Wi-Fi and Bluetooth on your iPhone and Mac.
- Activate AirDrop on your Mac by going to Finder > AirDrop and choosing Allow me to be discovered by: Everyone or Contacts Only.

- Open the Photos app on your iPhone and select the photos you want to transfer.
- Tap the Share icon (a square with an upward arrow) at the bottom of the screen.
- Tap the AirDrop icon.
- In the AirDrop section, you should see your Mac’s name. Tap on it.

- A notification will appear on your Mac, asking if you want to accept the photos. Click Accept.

- The photos will be saved in the Downloads folder on your Mac.
Voilà! Your photos have been wirelessly transferred to your Mac using AirDrop.
3. Via Image Capture
Here’s how to transfer photos from your iPhone to your Mac using Image Capture:
- Connect your iPhone to your Mac using a USB cable.
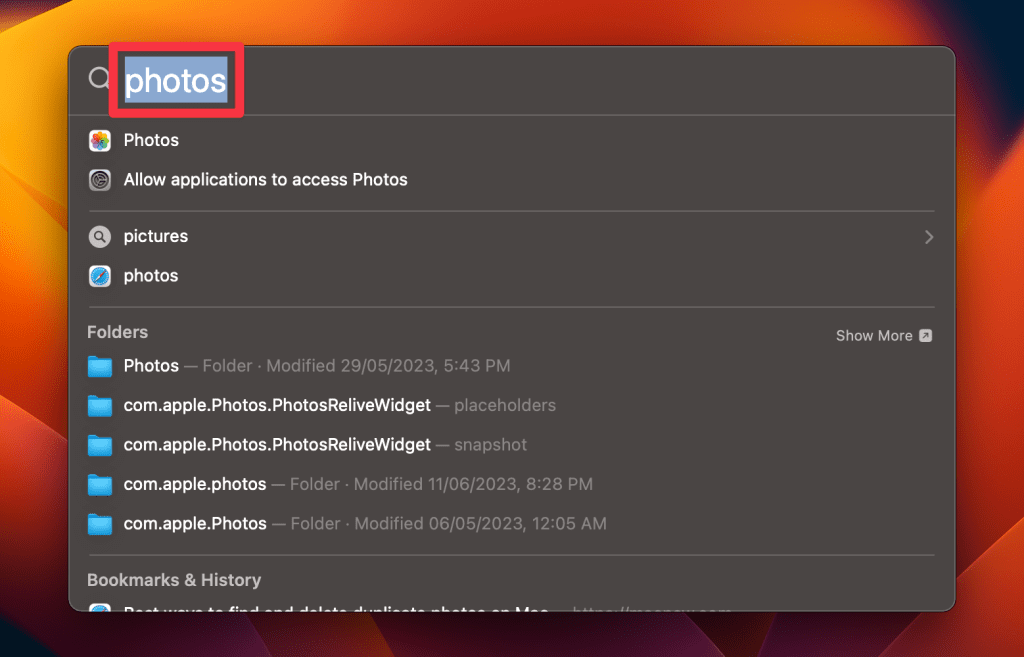
- Open the Image Capture application on your Mac. You can find it in the Applications folder or search for it using Spotlight.

- Select your iPhone from the list of devices on the left in the Image Capture app.

- You’ll see a list of all the photos and videos on your iPhone. You can select individual photos or use a Mac keyboard shortcut Command ⌘ + A to select all photos.
- At the bottom of the Image Capture window, choose where to save the imported photos on your Mac using the Import To dropdown.
- If Image Capture shows no photos, unlock your iPhone, tap Trust, and on your iPhone go to Settings > Photos > Transfer to Mac or PC > Keep Originals to ensure compatibility

- Click Download to transfer the selected photos or Download All to transfer all photos and videos.

- Once the transfer is complete, you can delete or keep the imported items from your iPhone.
- Disconnect your iPhone, and you’ll find the imported photos in the location you chose on your Mac.
4. Using iCloud Photos
iCloud Photos syncs photos and videos across devices, so your iPhone shots appear on your Mac automatically. Here’s how to set it up and use it:
- Log in to iCloud using your Apple ID and password. Ensure you’re logged in on every device you wish to synchronize.
- On your iPhone, go to Settings > [your name] > iCloud > Photos.
- Toggle on Sync this iPhone.

- On your Mac, open the Photos app. Go to Photos > Settings in the menu bar.

- Click the iCloud tab and check the box for iCloud Photos.

- Once both devices have iCloud Photos enabled, your photos will start syncing.
Depending on the number of photos and your internet speed, this might take some time.
- After syncing, any photo you take on your iPhone will automatically appear on your Mac’s Photos app. Similarly, any photo you add to your Mac’s Photos app will be available on your iPhone.
- If you want to access your photos online, log in to iCloud.com and view your photos there.
Using iCloud Photos requires enough iCloud storage to accommodate your photos and videos. If you run out of space, you might need to purchase additional iCloud storage.
5. Via iCloud Files
iCloud Drive lets you manually transfer photos from your iPhone to your Mac, syncing files across devices. Here’s how to transfer photos from an iPhone to a Mac via iCloud Files:
- Ensure iCloud Drive is enabled on both devices.
- On your iPhone, go to Settings > [your name] > iCloud > iCloud Drive and toggle on Sync this iPhone.

- On your Mac, go to System Settings > Apple ID > iCloud.

- Select iCloud Drive.

- Toggle on the Sync this Mac switch.

- Open the Photos app on your iPhone and select the photos you want to transfer.
- Tap the Share icon (a square with an upward arrow) and choose Save to Files.

- Navigate to the location within iCloud Drive where you want to save the photos and tap Save.

- On your Mac, open Finder and click iCloud Drive in the sidebar. Navigate to the location where you saved the photos.

Remember, using iCloud Drive consumes your iCloud storage. Ensure you have enough space available, especially if transferring multiple photos.
6. With a USB Cable
A USB cable is a simple, reliable way to transfer many photos from iPhone to Mac. Here’s how:
- Connect your iPhone to your Mac using a USB cable.
- On your Mac, you can use various applications to access your iPhone’s photos. The most common are the Photos app, Image Capture, and Finder.
- Photos App: Open the Photos app, click your iPhone in the sidebar, and choose to import selected or all new photos.
- Image Capture: Open Image Capture, select your iPhone from the device list, and choose where to import your photos.
- Finder (for macOS Catalina and later): Open Finder, click your iPhone in the sidebar, go to the Photos tab, and choose to import.
- After selecting and importing the photos, you can delete them from your iPhone or keep them.
Always ensure you use a good quality, preferably original, USB cable to prevent data corruption or transfer issues.
7. Using iPhone Mirroring (macOS Sequoia + iOS 18)
Apple’s new iPhone Mirroring feature lets you wirelessly access your iPhone right on your Mac. You can browse your Photos app and drag files straight to your desktop or any folder.
Here’s how:
- Make sure both devices use the same Apple ID and Wi-Fi.
- On Mac, open iPhone Mirroring from Launchpad or Spotlight.
- Unlock your iPhone and accept the prompt.
- In the mirrored iPhone window, open Photos and drag the image of your choice onto your Mac.
- Or tap and hold on the photo and select the Copy option.
- Go to Mac Finder window/Desktop and paste the image there.
- The file saves instantly to Finder or your Desktop.
Transfer Photos From Your iPhone to Mac Effortlessly
Transferring photos from iPhone to Mac is easy with wired, cloud, or wireless options covered in this guide. Here are more tips for managing photos on Mac:
- If you cannot transfer photos, convert HEIC to JPG on Mac to make them easy to transfer.
- You can sync your iPhone photos to the cloud and access iCloud photos on your Mac to keep your photos handy on all devices.
- If you have too many old photos cluttering your hard drive, you can delete photos on your Mac to make space for new photos.


