Congrats on your new Mac! I remember feeling a bit lost when I got mine, but with some tips, you’ll get the hang of it quickly. This guide covers everything from setting up your Mac to customizing it and exploring key features. Let’s get started!
Tried and Tested ✅: The methods and steps mentioned in this article have been tried and tested firsthand by Ojash Yadav on his MacBook Pro M3 and rechecked for errors on Hashir’s MacBook Air M2.
macOS Beginner’s Guide: How to Get Started with Mac
Why You Can Trust MacBook Journal ![]() We always conduct first-hand research and verify every method or solution we present, ensuring you receive reliable and effective advice. Learn more about our process.
We always conduct first-hand research and verify every method or solution we present, ensuring you receive reliable and effective advice. Learn more about our process.
Whether transitioning from a Windows computer or starting fresh, learning to navigate the Mac interface and its unique features is crucial to maximizing your productivity and enjoyment.
Choosing the Right Mac for Your Needs
When buying a new Mac, there are a few things to consider. Here are some questions to ask yourself before making your purchase:
- 💻 What will you be using your Mac for? You might not need the most powerful machine if you’re using it for basic tasks like web browsing and email. You’ll want to invest in a higher-end model if you do more intensive tasks like video editing or graphic design.
- 🗄️ How much storage do you need? If you have a lot of files or large programs, you’ll want to ensure you have enough storage to accommodate them.
- 💰 What is your budget? Macs can be expensive, so deciding how much you want to spend before purchasing is essential.
Setting Up Your Mac for the First Time
Once you’ve purchased your Mac, it’s time to set it up. Here’s what you’ll need to do:
- Plug in your Mac and turn it on. You’ll be prompted to select your language and region.
- Connect to Wi-Fi. If you don’t have Wi-Fi, you can connect your Mac to the internet using an Ethernet cable.
- Sign in with your Apple Account or create a new one. It will give you access to the App Store, iCloud, and other Apple services.
- Set up Touch ID. It will make it easier to log in to your Mac and secure your files. It also makes signing in and approving purchases faster.
- Optional: Turn on “Unlock with Apple Watch” (if you wear one) in System Settings > Touch ID & Password.
- Choose whether to use Siri. Siri can be a helpful tool for searching the web, setting reminders, and more.
- Set up iCloud in System Settings > Apple Account > iCloud to sync files, photos, and passwords across devices. This will allow you to access your files and documents from any device.
Understanding the macOS
macOS is a powerful and user-friendly operating system that powers all Apple Mac computers. If you’re new to macOS, it can be a bit intimidating at first, but with some guidance, you’ll quickly get the hang of it. Here are the basics of using macOS:
The Dock
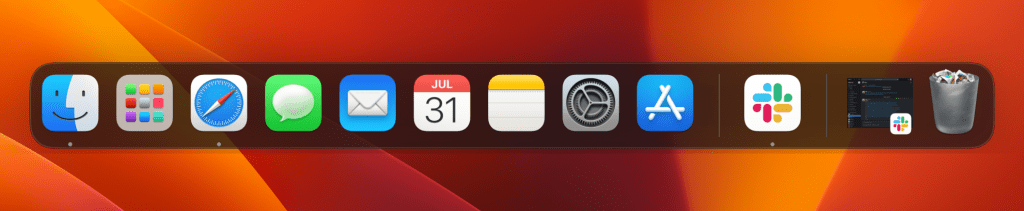
The Dock is one of the essential features of macOS, and it’s where you can access your most frequently used apps. By default, the Dock is at the bottom of the screen, containing icons for apps like Finder, Safari, and Mail. Here are the components and features of the Dock on Mac:
- App Icons: Launch and switch between apps easily.
- Divider: Separates apps from folders and files.
- Recent Apps: Displays recently used apps (customizable).
- Folders & Downloads: Quickly access files or change folder icons.
- Minimization: Minimized windows appear in the Dock for easy restoration.
- Mission Control: Press F3 or swipe up with four fingers to see all open windows and Spaces.
- App Exposé: Press Control–Down Arrow or swipe down with four fingers to see all windows for the current app.
Finder
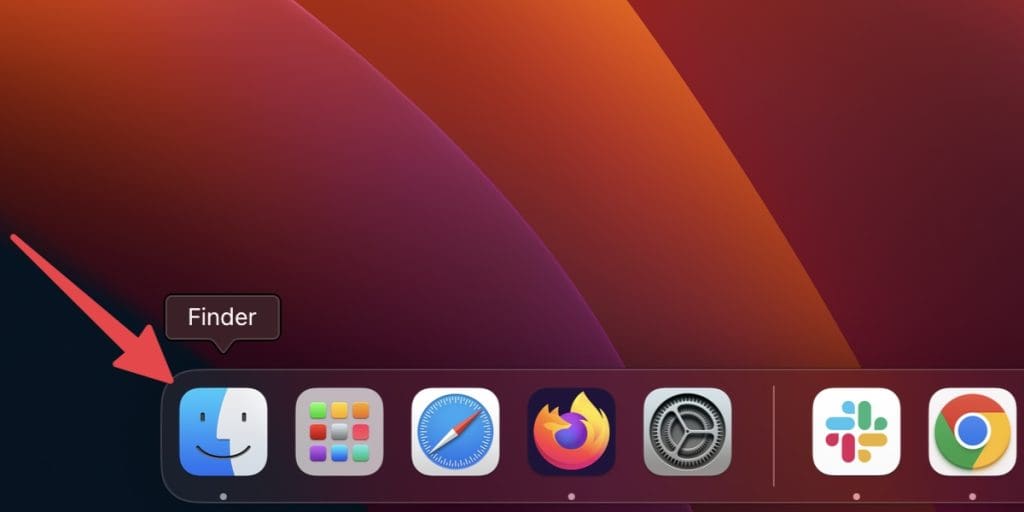
Finder is another essential feature of macOS, where you’ll find all your files and folders. You can open Finder by clicking its Dock icon or pressing the Command ⌘ + N keys. Here are some of the critical components and features of the Finder:
- Sidebar: The Sidebar is located on the left-hand side of the Finder window and contains shortcuts to various locations on your Mac, such as your Desktop, Documents, Downloads, and iCloud Drive.
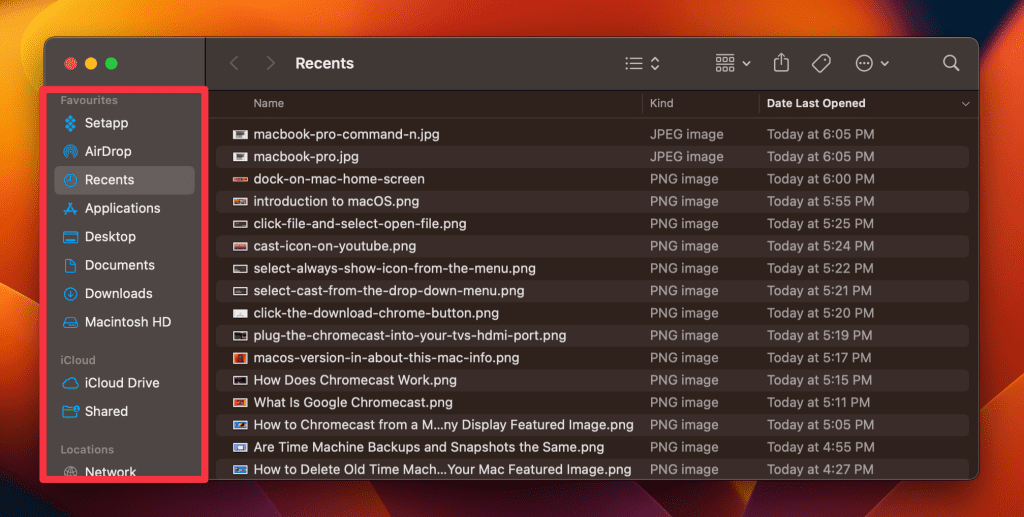
- Toolbar: The Toolbar is located at the top of the Finder window and contains buttons for everyday tasks, such as creating a new folder, searching for files, and sorting files by various criteria.

- Grouping Option: The Grouping Option allows you to customize the grouping of the Finder items, including by name, kind, size, and more.
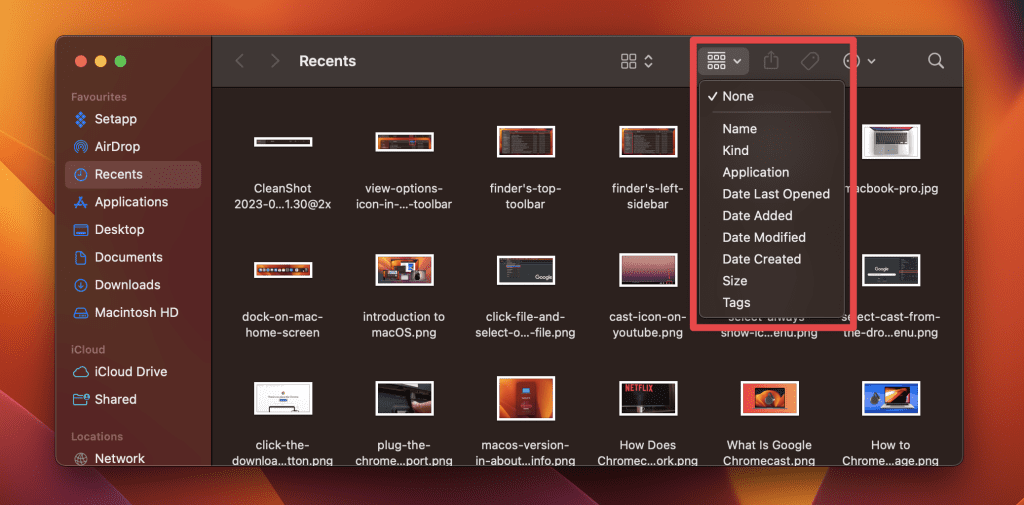
- Show Items Icon: The Show Items icon lets you view items as icons, list, columns, and gallery.
- Preview Pane: The Preview Pane appears on the right-hand side of the Finder window and displays a preview of the selected file. It is helpful for quickly viewing the contents of a file without opening it.

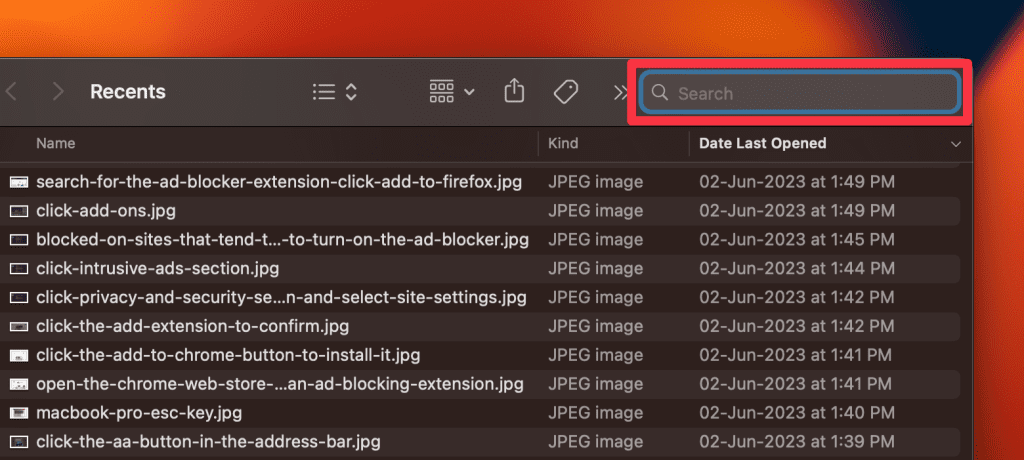
- Search Bar: The Search Bar is located at the top right-hand side of the Finder window and allows you to search for files on your Mac. You can search by file name, contents, or metadata.
- Context Menu: The Context Menu is accessed by right-clicking a file or folder and contains a variety of actions you can perform on the selected item, such as copying, moving, renaming, or deleting.
Menu Bar

The Menu Bar is at the top of the screen and contains menus for various functions, including Wi-Fi, Bluetooth, and volume. To access a menu, click on its icon in the Menu Bar.
Here are some of its key features and functions:
- Apple Menu: This is the first item on the Menu Bar, represented by the Apple logo. It contains system-level options like System Settings, Sleep, Restart, and Shut Down.

- Application Menu: This menu is right next to the Apple icon and changes depending on the application you’re using. It contains options related to the active application, such as File, Edit, View, and Help.
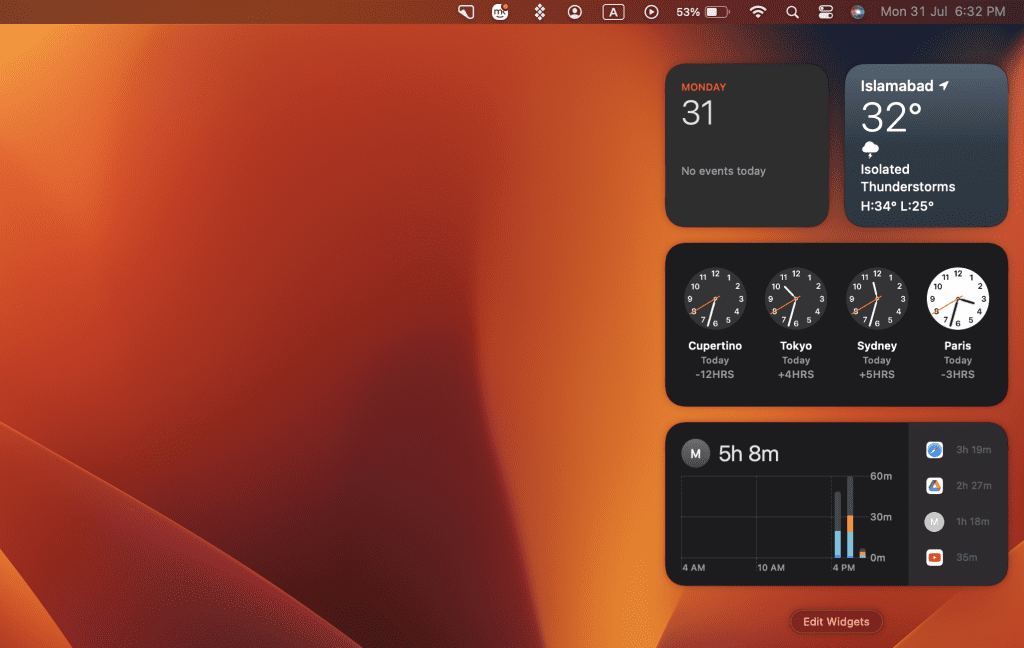
- Notification Center: View notifications and widgets. On macOS Tahoe, Live Activities from your iPhone (rides, flights, sports, timers, etc.) can appear on your Mac and update in real time.
- Spotlight: The magnifying glass icon on the Menu Bar opens Spotlight, which is a powerful search tool. You can use Spotlight to search for files, apps, emails, and even information on the web. It also lets you do quick calculations, unit conversions, and open settings directly from Spotlight.
- Wi-Fi: The Wi-Fi icon displays the current network status and lets you connect to Wi-Fi networks. You can also turn Wi-Fi on or off from this menu.
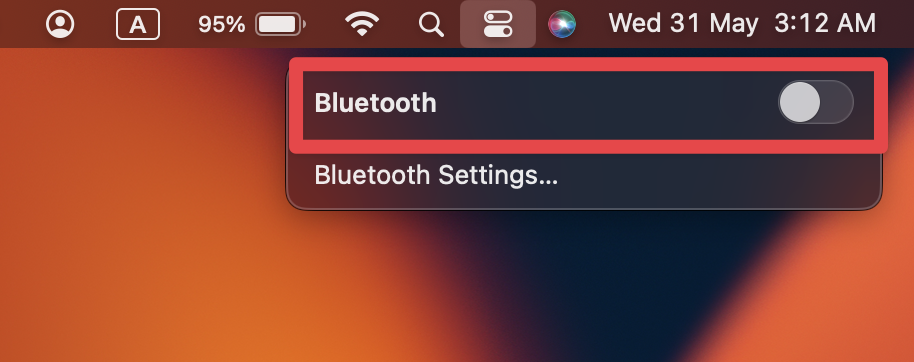
- Bluetooth: The Bluetooth icon (found in the Control Center icon in macOS Ventura) displays the current status of your Bluetooth connections. This menu can connect to Bluetooth devices like headphones or speakers.
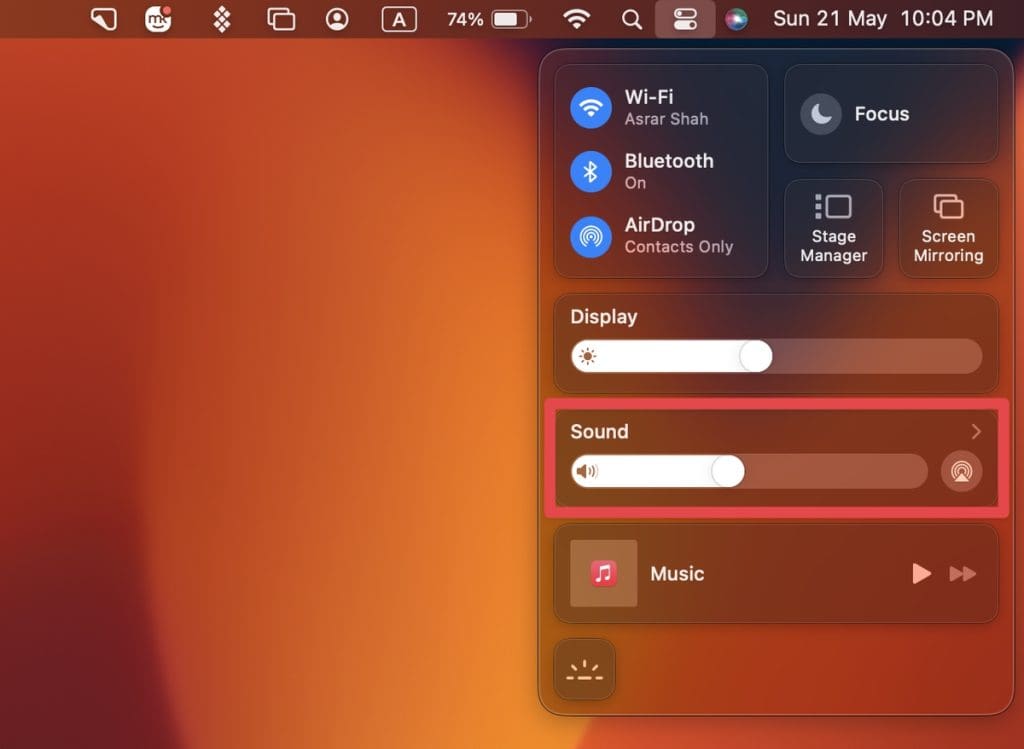
- Sound: The Sound icon (found in the Control Center icon in macOS Ventura) displays the current volume level and allows you to adjust it. You can also use this menu to switch between input and output devices.
- Battery: The Battery icon displays the current battery level and (optionally) the percentage. When charging, the menu shows an estimated time until fully charged.
Launchpad
Launchpad is where you can access all of your installed applications. You can open Launchpad by clicking the colorful grid icon in the Dock or using the gesture pinch with your fingers.
Here are some components and features of Launchpad:
- App icons: Launchpad displays all of your installed applications as clickable icons. The icons are organized in a grid layout, which can be scrolled vertically or horizontally depending on the number of installed apps.
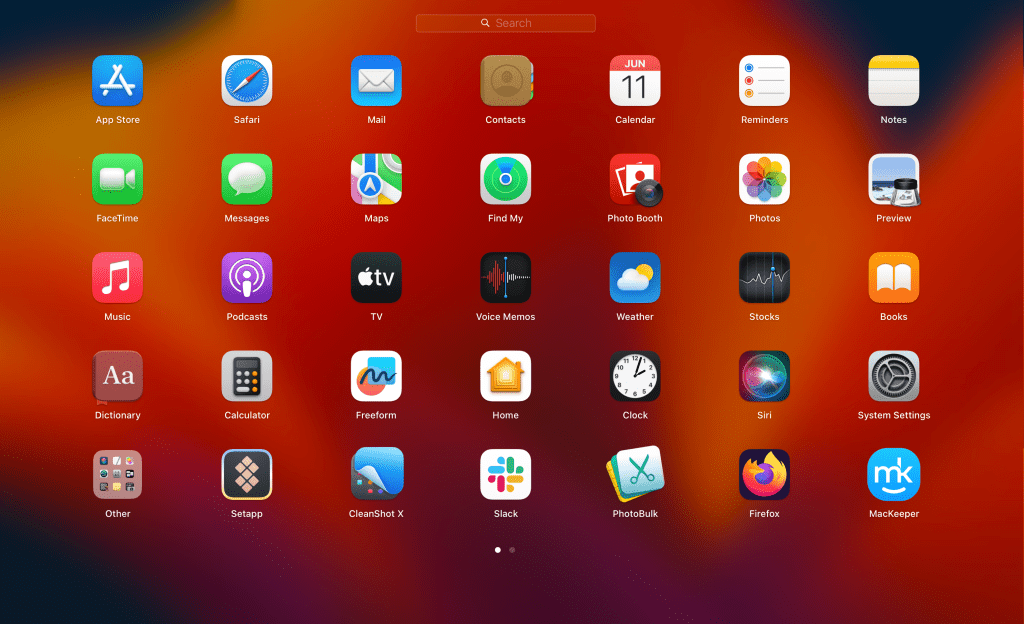
- Pages: If you have a lot of installed applications, Launchpad may have multiple pages of app icons. You can switch between pages by swiping left or right with two fingers on your trackpad or by clicking the dots at the bottom of the Launchpad screen.
- Search bar: If you have a lot of installed applications, it can be quicker to search for the app you want rather than scrolling through multiple pages. Launchpad has a search bar at the top of the screen where you can type the name of the app you’re looking for.

- App folders: Launchpad allows you to create folders to organize your installed applications. To create a folder, drag one app icon on top of another, and a new folder will be created containing both apps.

- Delete apps: If you want to delete an application from your Mac, you can do so from Launchpad. Click and hold any App Store app until icons jiggle, then click the X to delete it. For apps you downloaded from the web, use Finder > Applications and Move to Trash, or run the app’s built-in Uninstaller if provided.
Mission Control
Mission Control is another powerful feature of macOS, allowing you to see all your open windows and virtual desktops. You can access Mission Control by swiping up three fingers on your trackpad or pressing the F3 key.
- Desktop Spaces: Create and switch between multiple desktops.
- Application Windows: View all open windows for easy switching or reorganization.
- Full-Screen Apps: Each full-screen app gets its own desktop space.
- Expose: Hover over an app in the Dock to see its open windows.
Spotlight
Spotlight is a search feature built into macOS that allows you to quickly find files, folders, and apps on your Mac. You can access Spotlight by clicking its Menu Bar icon or pressing the Command ⌘ + Space keys.
Here are some of the critical components and features of Spotlight:
- Search Bar: This is where you can type in your search query.
- Search Results: After you’ve entered your search query, Spotlight will display a list of results that match your search terms. These results include files, applications, contacts, emails, messages, and more.

Moving Your Files from Windows to Mac
Switching from a Windows computer to a Mac can be an exciting experience but can also be a bit daunting, especially when moving your files.
1. Using Migration Assistant (Windows → Mac)
Migration Assistant is a built-in tool on Mac that allows you to transfer files from your old computer to your new Mac. Here’s how to use it:
Prep first
- Update both machines (macOS and Windows). Temporarily turn off antivirus, firewall, and VPN on both computers.
- Turn on Wi-Fi on both. On macOS Sonoma 14.4 or later, Migration Assistant can connect wirelessly. Otherwise connect both to the same network or use Ethernet.
- If your PC doesn’t support Bluetooth Low Energy, Migration Assistant may ask for a BLE USB adapter.
Install the correct Windows Migration Assistant
- If your Mac is on macOS Sonoma 14.4 or later, install Windows Migration Assistant 3.0.1.0 on the PC.
- If your Mac is on Sonoma 14.3.1 or earlier / Ventura / Monterey, use the version Apple lists for those systems (e.g., 2.4.5.0). Apple’s page shows the correct download per macOS version.
Connect the two computers
- Wait while the assistants connect.
- On the Mac: open Migration Assistant (Applications → Utilities).

- Choose From a Windows PC, then Continue. A code appears on the Mac.
- On the PC: open Windows Migration Assistant, follow prompts, and enter the code shown on the Mac.
Transfer your information
- If you use Apple media you purchased, authorize the Mac with your Apple Account.
- After connection, the Mac catalogs your PC data. Select what to migrate (documents, user account, mail, calendars, bookmarks, media, etc.) and click Continue.
- When finished, quit Migration Assistant on both, then sign in to the migrated account on the Mac.
2. Transferring Files Manually
If you prefer to transfer your files manually, copy them to an external hard drive or USB flash drive and then transfer them to your Mac. Here’s how:
- Connect your external hard drive or USB flash drive to your Windows PC.
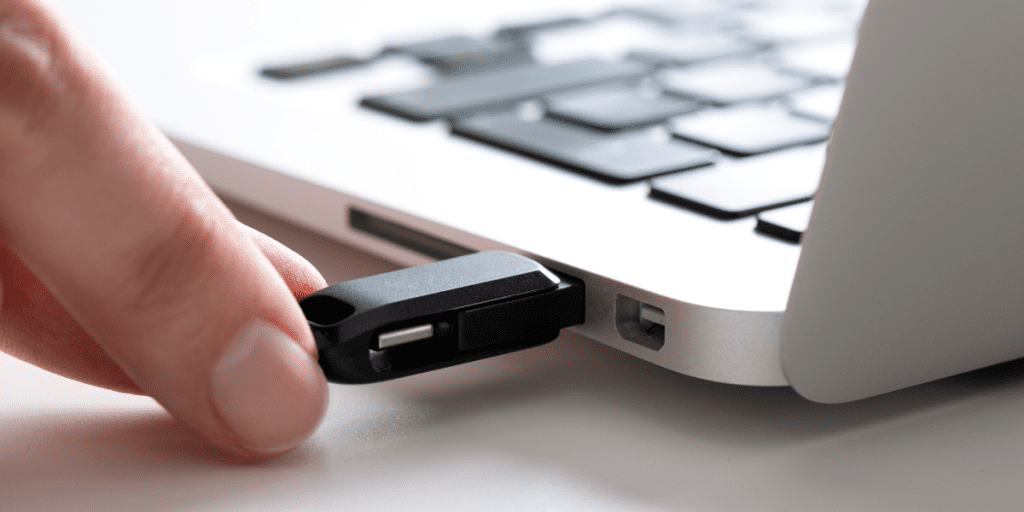
- Copy the files and folders you want to transfer to your external hard drive or USB flash drive.
- Eject the external hard drive or USB flash drive from your Windows PC and connect it to your Mac.
- Open Finder on your Mac and select the external hard drive or USB flash drive from the sidebar.
- Copy the files and folders to your Mac from the external hard drive or USB flash drive.
How to Use Mac Applications
If you’re new to Mac, you might wonder how to use the built-in apps and find new ones to download.
1. Built-In Apps
Mac computers have built-in apps covering everything from browsing the web to creating documents. Here are some of the most commonly used built-in apps:
- Safari: This is the default web browser for Mac. You can browse the internet, bookmark your favorite websites, and save passwords securely.
- Mail: This is the default email client for Mac. You can use it to send and receive emails, manage your inbox, and set up filters and rules.
- Pages: This is a word processing and page layout app. You can use it to create documents, reports, flyers, and other documents.
- Numbers: This is a spreadsheet app. You can use it to create budgets, track expenses, and analyze data.
- Keynote: This is a presentation app. You can create professional-looking presentations with images, videos, and animations.
- Photos: This is a photo management app. You can use it to organize and edit your photos, create albums, and share them with friends and family.
- Music: Listen to and manage your music library and Apple Music.
- TV: Watch movies, TV shows, sports, and Apple TV+ in the TV app.
- Phone: Place and receive phone calls on your Mac via your iPhone.
- Journal: Capture notes and memories that sync across devices.
- Games: Browse and launch installed games in one place.
2. Downloading New Apps
In addition to the built-in apps, you can download new apps from the App Store. Here’s how to find and download apps on your Mac:
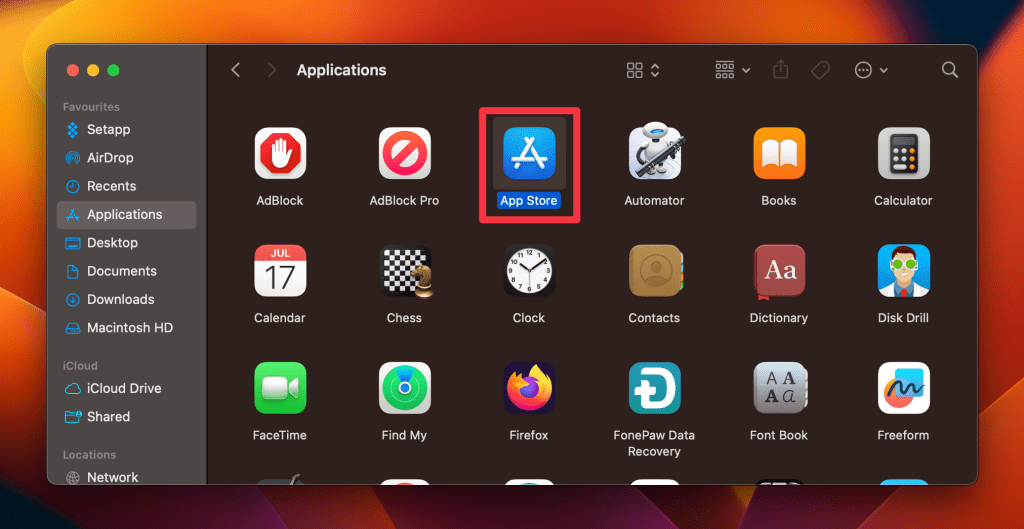
- Open the App Store app from the Dock or the Applications folder.
- Browse or search for the app you want to download.
- Click the app to see its details and reviews.
- Click the Get or Buy button to download the app.
- If prompted, enter your Apple ID and password to complete the purchase.
Installing and Uninstalling Apps
To install an app on your Mac, double-click the downloaded file and follow the prompts. The app will appear in your Applications folder and Launchpad. To uninstall apps and free up space, use tools like MacKeeper’s Smart Uninstaller to remove the app and its associated files in a few clicks.
Here’s how to use it:
- Open MacKeeper, go to the Tools tab and select Smart Uninstaller.
- Select the app you want to uninstall from the list of installed apps.
- Click the Uninstall button next to the app you selected.
- A pop-up window will appear, asking you to confirm that you want to uninstall the app. Click Uninstall to proceed.
What Else Can MacKeeper Do?
Besides freeing up RAM, uninstalling apps, updating apps, and scanning your Mac for viruses, MacKeeper can do many other Mac maintenance tasks. You can use it to connect to the internet privately via VPN, remove cache files, and delete login items. Learn more about its features in my detailed Mackeeper review.
Mac Tips and Tricks: How to Get the Most Out of Your Mac
Are you looking to get more out of your Mac? Here are some tips and tricks to help you customize, optimize, and back up your Mac for maximum efficiency.
- 🖼️ Change Your Desktop Background: Update your Mac’s wallpaper by selecting a pre-installed option or adding your own through System Settings > Wallpaper.
- 🧩 Customize the Dock: Personalize the Dock by adjusting its size, position, adding/removing apps, and rearranging icons in System Settings > Desktop & Dock.
- ☁️ Set Up iCloud: Sync photos, files, and apps across devices by signing into iCloud and toggling desired apps in System Settings > Apple Account > iCloud.
- 💾 Back Up Your Data: Use Time Machine with an external drive to create automatic backups and restore files when needed via System Settings > General > Time Machine.
- 🗑️ Clear Disk Space: Free up storage by deleting unnecessary files, uninstalling unused apps, emptying the Trash, and using tools like MacKeeper.
- 🚀 Manage Startup Items: Optimize startup performance by removing unnecessary login items in System Settings > General > Login Items.
Figure Out Your New MacBook With this macOS Beginner’s Guide
In conclusion, using a Mac for beginners may seem daunting initially, but it can become second nature with practice and guidance. Here are three tips to keep in mind as you continue to explore the world of Mac:
- Familiarize yourself with Mac keyboard shortcuts to work faster and more efficiently.
- Perform regular maintenance to keep your Mac running smoothly and prevent issues.
- Install antivirus software and run regular scans to protect your Mac from malware.